Mastering Pro Tools: A Guide for New Users
Contents
hide
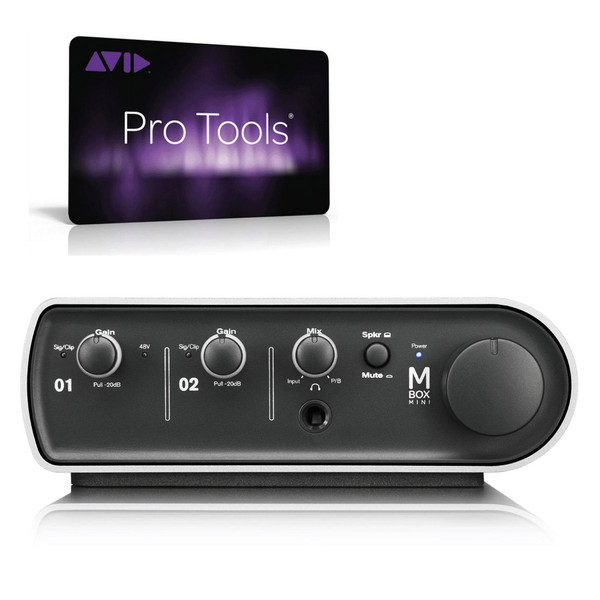
Pro Tools Overview
Pro Tools remains the industry standard in digital audio workstations (DAWs), known for its robust feature set and emphasis on precision audio editing. Its depth and complexity can be overwhelming for new users, but understanding Pro Tools’ origins, variations, and core capabilities brings clarity in navigating its extensive environment.
Pro Tools’ journey began with Sound Tools in 1989 by Digidesign, a pioneer in the field of digital recording. Over the years, it evolved significantly with advances in computer technology, transitioning from a simple audio editor to a comprehensive audio production suite. By the 2000s, it became the preferred choice of professionals, particularly in commercial studios. Its early reliance on DSP (Digital Signal Processing) hardware marked Pro Tools as a high-end option.
Today’s Pro Tools, though still catering to professional needs, doesn’t mandate DSP hardware, making it more accessible to a wider range of users, from beginners to industry veterans. The licensing via the iLok system does add a layer of complexity that might deter some, but it also contributes to the security and portability of the software.

Understanding Pro Tools Editions
Avid, the current developer of Pro Tools, offers various editions tailored to different skill levels while maintaining a professional core. Editions range from the limited but free Pro Tools Intro to the full-featured Pro Tools Flex aimed at large post-production facilities. Each edition presents unique limitations on track counts, I/O capabilities, and integration with Avid hardware, catering to specific workflow needs. For instance, Pro Tools Studio offers a balance of functionality and affordability for serious creators, while Pro Tools Artist suits newcomers with its budget-friendly subscription.
Pro Tools shines with its non-destructive audio editing capabilities, touted as some of the best in the industry. Features like Beat Detective and Elastic Audio facilitate easy manipulation and alignment of audio to the tempo grid. The DAW’s stability is legendary, making it a reliable tool for sessions where downtime isn’t an option. The integrated AAX plugin ecosystem and inclusion in Avid’s Inner Circle program provide extensive creative tools and third-party offerings. Despite the learning curve, mastering Pro Tools opens doors to professional audio editing and production that align with the rigorous demands of the music and film industries.
Setting Up Pro Tools
Setting up Pro Tools for the first time is a foundational step in crafting a workspace that caters to efficient music production and audio editing. This initial setup is a blend of ensuring compatibility, understanding the licensing mechanism, and becoming adept at the Pro Tools interface. Let’s explore what you need to know to get started.
System Requirements and iLok Licensing
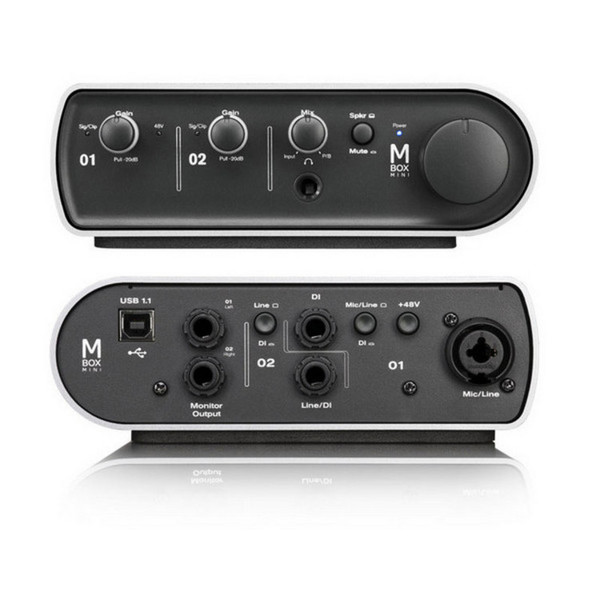
Before diving into Pro Tools, it’s crucial to ensure your system meets the necessary requirements for a smooth experience. Pro Tools demands a robust and stable computing environment—check the latest specifications on Avid’s website, as they’re evolving with software updates. Typically, requirements include a compatible operating system, enough RAM (16 GB or more is recommended), adequate storage, and a supported processor. Having an audio interface with proper drivers is also essential for recording and playback.
Pro Tool uses iLok for license management, which means you’ll need to have either a physical iLok USB device or use the iLok Cloud option to authorize and use Pro Tools. Although this may seem cumbersome, the iLok system offers flexibility and security. Allowing you to work from different systems without the need to constantly re-authorize the software.
Once Pro Tool is installed and authorized, the next step is to get comfortable with its workspace. The interface may seem daunting at first, but it’s logically structured into sections—Edit window for manipulating tracks and clips, Mix window for adjusting levels and applying effects, and Transport for playback and recording controls. Familiarizing yourself with menu structures, toolbars, and key commands will greatly increase your efficiency.
Start by customizing the interface to your preferences. Avid allows you to tailor the appearance, including waveform display and color coding, to make it more visually intuitive. Learning the keyboard shortcuts can also significantly speed up your workflow.
Creating and Managing Tracks
In Pro Tool, everything revolves around tracks—whether you’re recording instruments, programming MIDI, or importing audio files. Each new project begins with track creation, which could be audio, MIDI, Instrument, or Auxiliary tracks, depending on your needs. Pro Tool provides the ability to organize and manage these tracks using folder and color-coding systems, which is crucial for keeping sessions uncluttered, especially when dealing with large projects.
Understanding the distinct types of tracks and their purposes will enable you to harness Pro Tools’ full potential. For instance, being able to distinguish between an Audio Track and an Aux Input Track is fundamental in setting up complex routing schemes for effects or submixes.
Each track can house a variety of takes through Pro Tools’ Playlist feature, and adeptly using the comping tools can streamline the selection of the best performance segments. Additionally, leveraging features such as Batch Rename and Track Commit can further assist in maintaining a tidy session.
Pro Tools’ comprehensive functionality is ultimately designed to simplify and enhance the creative process. Having a solid grasp on track management is a quintessential skill for any sound engineer or music producer. By methodically setting up Pro Tool and learning to navigate its complexities. You’re equipped to exploit the power of this industry-standard DAW.
Advanced Pro Tools Techniques
Navigating the basics and setting up Pro Tool is just the start. To truly master this industry-standard DAW, one must dive into the advanced features that allow for precision and creativity in recording and editing audio. Broadly, the advanced techniques encompass meticulous editing options, mixing and mastering finesse, and the use of a wide variety of plugins. Understanding these advanced features will elevate your Pro Tool user experience and help you realize your artistic vision with nuance and professional polish.
Recording and Editing Audio with Precision
Recording in Pro Tool is highly customizable and can cater to the most demanding recording sessions. The DAW’s non-linear approach allows for experimentation without losing original takes using the playlists feature. When it comes to editing, Pro Tool excels with its suite of powerful tool such as Beat Detective and Elastic Audio. Which facilitate non-destructive editing for tight rhythm arrangements and polished performances. The Quick Punch feature offers the flexibility to punch in and out during recording with precision, ensuring that you capture the best performance.
For intricate editing tasks, Pro Tools’ Trim tool, Smart Tool, and Fade functions allow for detailed waveform manipulations. Compound these with the Track Commit and the Track Bounce features.You have an efficient workflow that minimizes CPU load and enhances session fluidity.
Mixing and Mastering with Pro Tools
Pro Tools is not just about recording and editing, but it’s also a powerhouse for mixing and mastering. The advanced mixer in Pro Tool is designed for a no-compromise approach with features such as advanced automation, A/B plugin comparison, and VCA Masters. These tools help control large mixes with ease. Mastering within this DAW, Pro Tool offers precision with its Master Fader track and provides a wide range of metering tools to achieve the perfect levels.
Mix engineers can take advantage of the integrated Heat analog emulation tool to add warmth and life to their mixes. When it comes to spatial audio, the Dolby Atmos integration empowers you to delve into the world of immersive soundscapes. With these features, Pro Tool stands out as a comprehensive solution for taking projects from initial recording through to final mastering.
Utilizing Plugins and the AAX Format
Plugins extend the functionality of Pro Tool. The DAW supports the AAX (Avid Audio eXtension) plugin format, which is optimized for stability and performance. With an extensive range of AAX plugins, from industry-standard EQs to complex reverbs, users can craft any sound imaginable. Every subscription tier of Pro Tool comes with a selection of AAX plugins that can cover most mixing and mastering needs. For even more creative options, the Inner Circle program offers access to a suite of third-party plugins.
Leveraging these plugins to their full potential involves understanding the routing, automation, and nuanced control each one offers. Furthermore, the AAX format’s compatibility with DSP allows for efficient session handling, especially for large and CPU-intensive projects. By mastering these advanced tools, you can significantly enhance your music production skills and achieve professional, studio-grade audio results within Pro Tool.
Conclusion: Mastering the Basics of Pro Tools for Ultimate Audio Production
Learning how to use Pro Tools can be a game-changer for anyone passionate about audio production. This powerful digital audio workstation offers an array of tools and features that can elevate your recording, editing, and mixing skills to professional levels. Whether you’re a novice just getting started or an experienced producer looking to refine your techniques, mastering Pro Tools opens up endless creative possibilities.
Start by familiarizing yourself with the basic interface and core functionalities, then gradually explore advanced features and plugins to further enhance your projects. Participate in online tutorials, forums, and practice regularly to build your confidence and expertise. Remember, proficiency in Pro Tools is not just about knowing the software; it’s about understanding how to use it to make your creative vision come to life. Keep experimenting, stay curious, and soon you’ll find Pro Tool to be an indispensable part of your audio production toolkit.