Why CM on Tape Measure Matters for Precision in Projects
Understanding how to read cm on tape measure is essential for anyone involved in crafting, building, or measuring with precision. Centimeters are a standard unit in the metric system. They appear clearly on most modern tape measures alongside inches. When you look at cm on tape measure, you’ll notice small lines grouped in tens. Each group equals one centimeter. These markings allow users to take exact measurements without guesswork.
In countries using the metric system, cm on tape measure is the primary method for sizing materials. Even in imperial-dominant regions, dual-scale tapes make metric use common. As a result, knowing how to interpret these units improves accuracy. Moreover, professionals in sewing, woodworking, and engineering rely on this skill daily. Therefore, mastering cm on tape measure benefits both beginners and experts.
 What Is a CM Tape Measure?
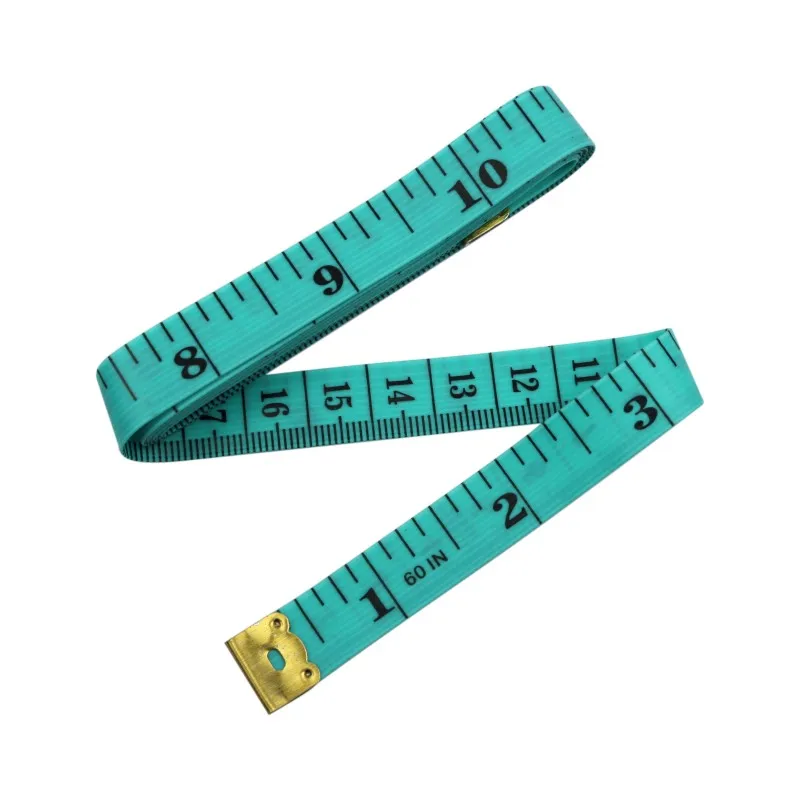
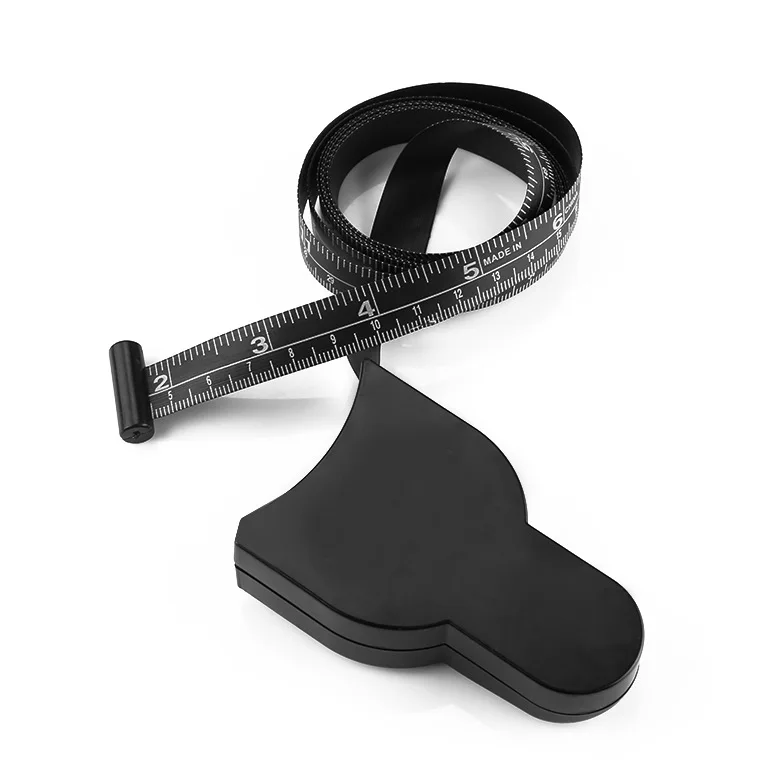
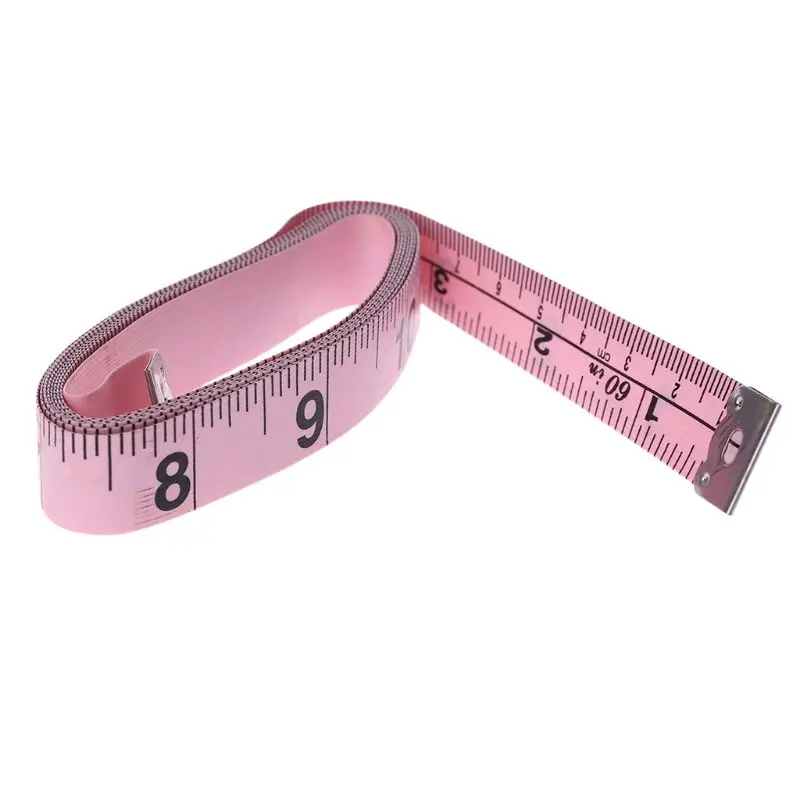
A CM tape measure is a tool used for measuring lengths in metric units. “CM” stands for centimeters, a metric unit commonly used around the world for precise measurements. These tape measures are marked with clear centimeter and millimeter gradations for easy use.
Features of a CM Tape Measure
- Centimeter and Millimeter Markings: CM tape measures include both centimeter and millimeter divisions. This enables accurate measuring for detailed tasks.
- Metric System Only: Unlike dual-measure tape measures, CM tape measures focus solely on metric units without inch markings.
- Durable Materials: These are often made of steel or flexible fiberglass for lasting toughness.
- Compact Design: CM tape measures are lightweight and easy to carry, perfect for personal and professional use.
- Retractable Mechanism: Many CM tape measures come with a retractable reel for convenience and safety.
Differences Between CM and Inch Tape Measures
- Units of Measurement: CM tape measures use the metric system (centimeters and millimeters), while inch tape measures use imperial units (inches and fractions).
- Precision: CM tape measures often offer finer gradations with millimeter increments, making them ideal for precise tasks.
- Global Usage: CM tape measures are more widely used internationally, especially in countries that adopt the metric system.
- Visual Layout: Inch tape measures may feature larger divisions and fewer markers compared to CM tape measures.
- Applications: CM tape measures are preferred for technical tasks like engineering and design, while inch tape measures are common in regions like the United States for general use.
Understanding Metric Measurements on a CM Tape
Understanding metric measurements on a CM tape measure is vital for precise tasks. CM tape measures are divided into metric units—centimeters and millimeters—making them accurate and user-friendly. These units are part of the metric system, a globally recognized standard for measurement.
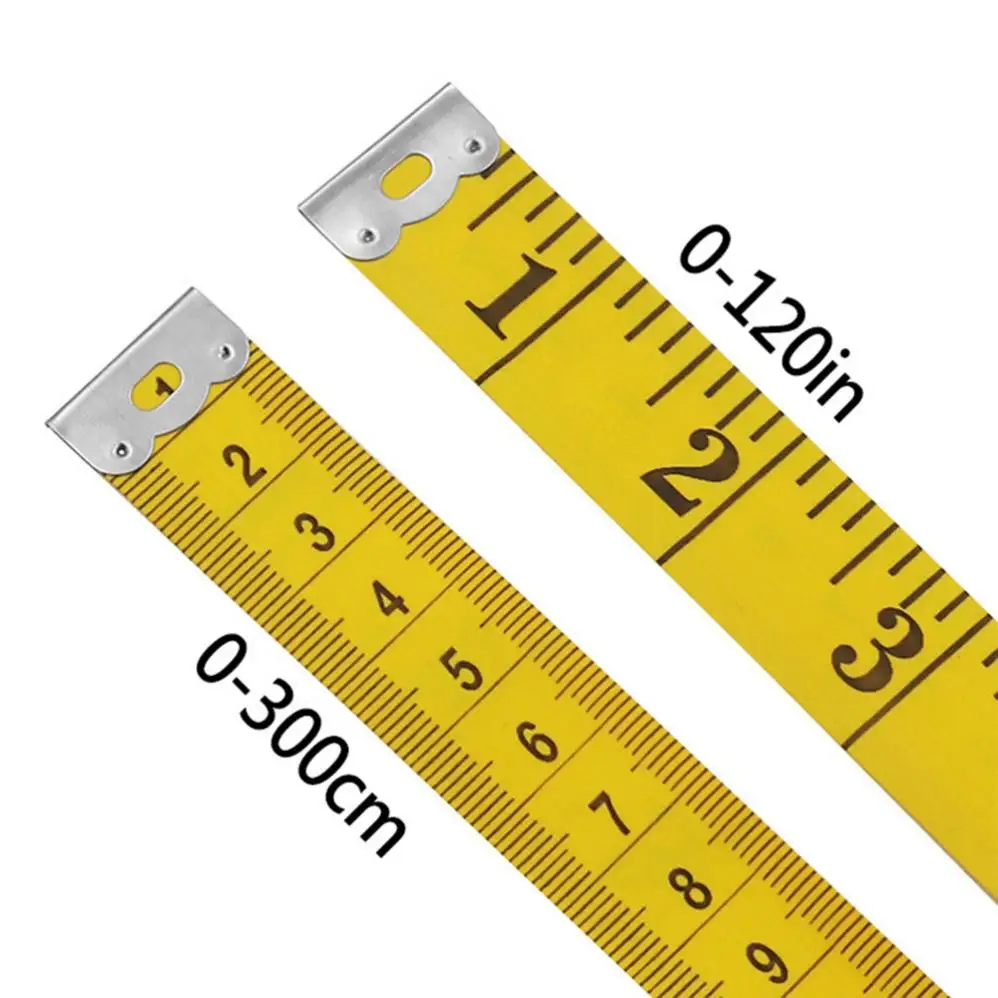
Millimeters vs. Centimeters on the Tape
Millimeters and centimeters are the two key units on a CM tape measure. Each centimeter is divided into ten millimeters. Millimeter markings are shorter and indicate finer measurements. Centimeter markings are longer, spaced evenly, and numbered for easy identification. For example, a length of 5.7 cm means 5 centimeters and 7 millimeters. Understanding this division helps achieve greater accuracy.
Common Metric Units Used in Measuring
- Millimeters (mm): Ideal for small objects or detailed measurements. Used where precision is critical.
- Centimeters (cm): Suitable for larger lengths or everyday measurements. Convenient for quick estimations.
- Meters (m): Sometimes included for very large measurements. Typically used for construction or surveying.
By knowing these units, you can confidently measure objects or spaces using a CM tape measure.
 Step-by-Step Guide to Reading a CM Tape Measure
Using a CM tape measure can seem tricky at first, but a step-by-step approach makes it simple. Understanding centimeter markings and reading between the lines are key for accurate measurements. Follow this guide to master the skill.
Identifying Centimeter Markings
- Spot the Numbered Markings: Look for long lines with numbers. These represent centimeters.
- Find Millimeter Divisions: Between each numbered line, identify smaller markings. These lines represent millimeters.
- Understand the Scale: One centimeter equals ten millimeters. This helps with precision.
- Locate Full Centimeter Marks: Start with a full centimeter closest to the object’s length.
- Count Centimeters: Measure from zero to the last full numbered marking.
How to Read Between the Lines for Precision Measurements
- Focus on Millimeter Lines: After identifying full centimeters, check the smaller millimeter markings.
- Add Millimeters to Centimeters: Combine the number of full centimeters with millimeters for precise measurements.
- Avoid Estimation: Always count markings instead of guessing fractional lengths.
- Hold Tape Steady: Keep the tape in place to prevent errors caused by movement.
- Double-Check the Reading: Verify your count once to ensure accuracy before noting the measurement.
With practice, you’ll easily read measurements and handle detailed tasks using your CM tape measure efficiently.
Tips for Accurate Measurement Using a CM Tape
Accurate measurements with a CM tape depend on correct technique and attention to detail. Follow these tips for better precision.
Ensuring Proper Placement of the Tape
- Start at Zero: Align the tape’s zero mark with the starting point of the object.
- Keep the Tape Straight: Avoid bending the tape to maintain an accurate reading.
- Hold Firmly: Securely hold the tape to prevent it from slipping during measurement.
- Position the Tape Edge: Ensure the tape edge is flush against the surface being measured.
- Measure at Eye Level: Read the scale at eye level for a clearer view of the markings.
By carefully setting up the tape, you avoid errors caused by poor alignment or slippage.
Avoiding Common Mistakes When Measuring
- Do Not Rush: Take your time to avoid missed or misread markings.
- Account for Tape Slack: Pull the tape tight to eliminate slack for accurate readings.
- Avoid Tilts in Tape: Ensure the tape is completely flat, especially on uneven surfaces.
- Double-Check Measurements: Repeat the process to ensure the measurement matches consistently.
- Keep the Tape Clean: Remove dirt or debris for clearer visibility of markings.
Following these simple practices ensures precise measurements every time you use your CM tape measure.
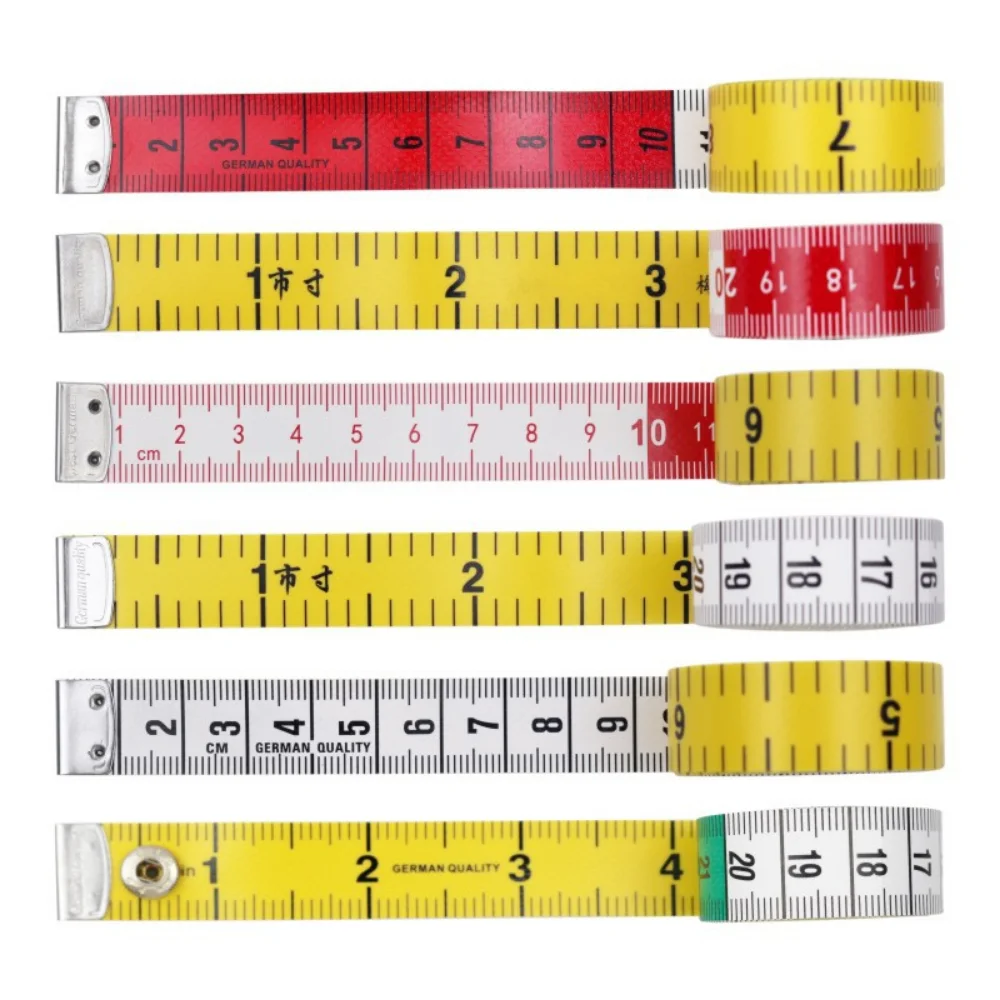
 Dual-Scale vs. Metric-Only Tape Measures
Most tape measures sold today feature dual scales. One side shows inches. The other displays cm on tape measure. This design suits global trade and mixed-unit environments. Builders in Canada or Australia often work with both systems.
Dual tapes save time switching tools. You flip the blade to access either scale. However, some users find this confusing. Misreading the wrong side leads to costly mistakes. Beginners should practice identifying each edge clearly.
Metric-only tapes exist too. These are common in Europe, Asia, and South America. They simplify reading by removing imperial clutter. Professionals who use only metric prefer them. They reduce cognitive load during complex jobs.
Both types work well. Choice depends on location, industry, and personal preference. Regardless, understanding cm on tape measure remains critical.
Advantages of Metric-Only Tools
Using a metric-only tape eliminates distraction. No need to check which side you’re reading. All numbers follow decimal logic. Ten millimeters equal one centimeter. One hundred centimeters equal one meter. This base-10 system simplifies math.
Calculations become faster. Adding 45 cm and 38 cm is easier than adding 17 ¾ inches and 15 ⅛ inches. There are no fractions to manage. Conversions between mm, cm, and m are straightforward.
Metric-only tapes often have clearer layouts. Wider font sizes and uncluttered lines improve visibility. They suit classrooms and technical workshops. New learners grasp concepts faster. Hence, focusing on cm on tape measure builds strong measurement habits.
Applications of CM Tape Measure in Everyday Life
CM tape measures are versatile tools useful in various everyday activities. They help with precise measurements and make tasks more efficient. Below are common scenarios where they excel.
Home Improvement and DIY Projects
- Furniture Placement: Measure spaces to ensure furniture fits perfectly in your room.
- Home Renovations: Use it to size materials like wood or tiles for cutting and fitting.
- Wall Decorations: Get exact measurements for hanging mirrors, artwork, or frames.
- Garden Planning: Measure garden beds, walkways, or fences for landscaping projects.
- Crafts and DIYs: Ideal for hobbies requiring small-scale, accurate measurements like sewing or cutting materials.
A CM tape measure simplifies these tasks by providing accurate and reliable metrics.
Professional Use in Construction and Design
- Blueprint Creation: Measure dimensions for drafting accurate building blueprints.
- Material Cutting: Ensure materials like pipes or metal sheets are cut to precise lengths.
- Room Layouts: Measure rooms before installing cabinets, flooring, or ceiling fixtures.
- Engineering Tasks: Use it to verify machine part dimensions or placements during assembly.
- Interior Design: Measure walls, spaces, and furniture to create balanced, visually appealing layouts.
Professionals rely on CM tape measures for their combination of precision and simplicity in technical work.
 Maintaining Your CM Tape Measure
To keep your CM tape measure accurate and durable, regular care is essential. A well-maintained tape measure ensures reliable functionality and extends its lifespan. Below are key tips to clean, store, and fix your tape measure effectively.
Cleaning and Storage Tips
- Wipe After Use: Clean dirt and debris off the tape after every use.
- Use Mild Cleaners: Avoid harsh chemicals. Use a damp cloth with mild soap for cleaning.
- Dry Thoroughly: Ensure the tape is fully dry before retracting it to prevent rust.
- Store Safely: Keep the tape measure in a dry, dust-free area to avoid damage.
- Avoid High Heat: Protect the tape from extreme heat, which can warp materials.
- Retract Slowly: Allow the tape to wind back gently to avoid damaging the mechanism.
Proper cleaning and storage keep your tape measure ready for accurate measurements every time.
How to Fix Common Issues
- Sticking Mechanism: Apply light lubricant to the retractable reel if it becomes sticky.
- Bent Tape: Carefully straighten bent sections using pliers or a flat surface.
- Faded Markings: Enhance faded markings by remarking with a permanent marker.
- Loose Housing: Tighten screws on the tape housing to secure loose parts.
- Broken Spring: Replace the internal spring if the tape no longer retracts properly.
Addressing these issues promptly ensures your CM tape measure remains functional and efficient throughout its use.
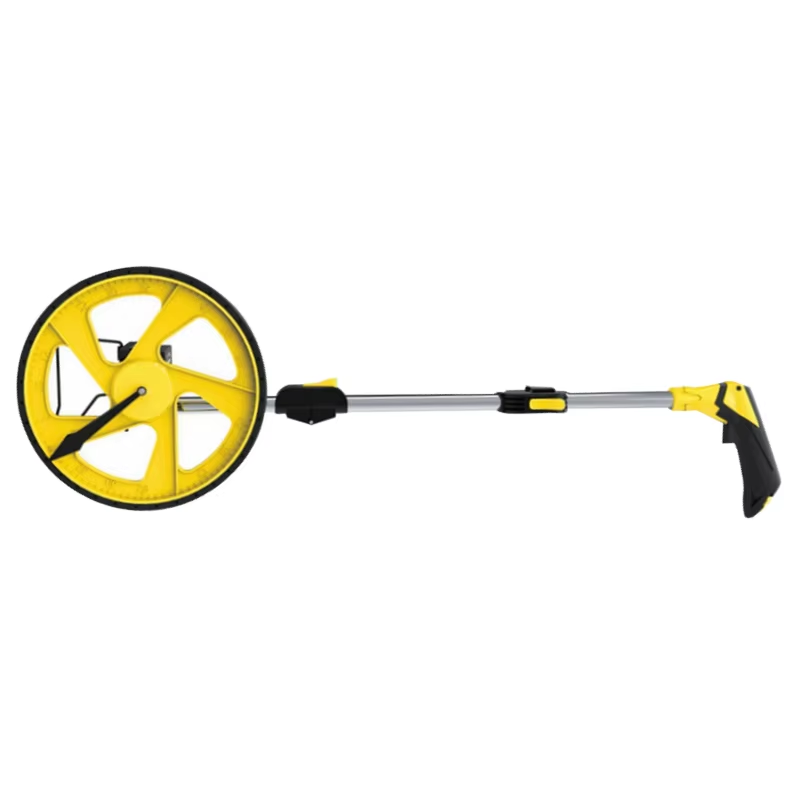
Choosing the Right Tape Measure for Your Needs
Selecting a quality tape measure starts with intended use. For light home tasks, a 3-meter (300 cm) model suffices. Heavy-duty jobs may require 5 meters or more. Longer tapes extend farther but weigh more.
Look for durable housings made of rubber-coated metal. These resist drops and impacts. The blade should lock securely during use. Retractable mechanisms must be smooth. A belt clip keeps it handy.
Blade width affects stability. Wider blades (25 mm) stay rigid over distance. Narrow ones (16 mm) bend easily. Check print clarity. High-contrast ink makes cm on tape measure easy to read. UV-resistant printing prevents fading.
Features That Improve Accuracy and Safety
High-end tapes include features that boost usability. Magnetic tips hold onto metal surfaces. This frees up one hand during solo measurements. Self-locking blades prevent sudden retraction.
Some tapes glow in the dark. Phosphorescent printing helps in dim areas. Anti-slip grips enhance control. Blade coatings resist rust and scratching.
The end hook moves slightly. This accounts for its own thickness. It ensures accurate inside and outside readings. Always press firmly against the surface. Avoid angling the tape. Otherwise, parallax error occurs. These details protect accuracy when relying on cm on tape measure.
Frequently Asked Questions About CM on Tape Measure
How do I switch from inches to cm on tape measure? Flip the blade. One side shows inches. The other shows centimeters. Make sure you’re reading the correct edge.
Is cm the same as mm? No. One centimeter equals ten millimeters. Cm marks larger units. Mm provides finer detail.
Can I measure curves with a rigid tape? Not effectively. Use a flexible cloth or tailor’s tape instead. Rigid tapes work best on straight edges.
Why does the metal hook wiggle? It compensates for its thickness. This ensures consistent inside and outside measurements. It’s not broken—it’s designed that way.
Summary
Knowing how to read cm on tape measure is a fundamental skill across many disciplines. From sewing and DIY to construction and education, metric precision matters. The layout of centimeters and millimeters allows detailed, repeatable measurements. Dual-scale and metric-only tapes serve different needs. Yet both require understanding of cm on tape measure.
With proper tools and techniques, users achieve reliable results. Clear markings, good lighting, and correct alignment prevent errors. Whether measuring fabric, wood, or space, accuracy builds confidence. As global collaboration grows, so does reliance on the metric system. Ultimately, mastering cm on tape measure empowers individuals to complete projects successfully and safely.