Dirty Hand Tools
Contents
hide
Dirty Hand Tools: A Comprehensive Guide to Cleaning and Restoration
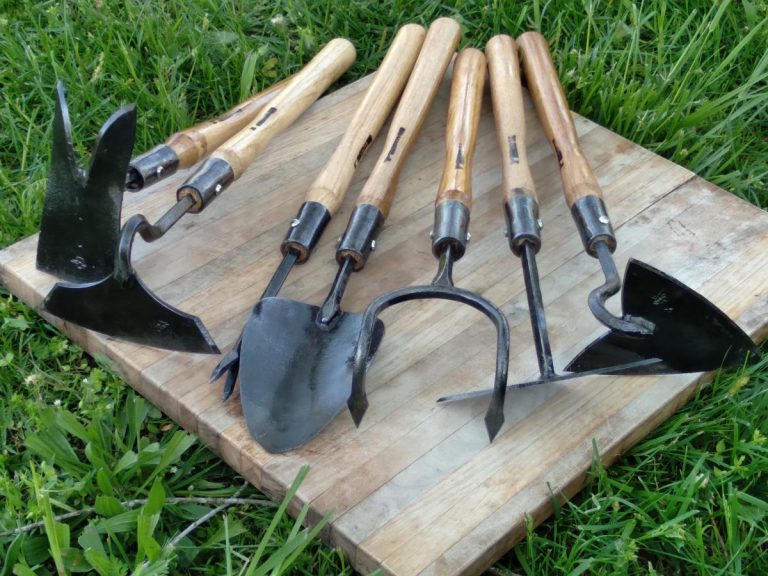
After tackling home improvement projects or landscaping tasks, your once shiny hand tools look filthy and grimy. Caked-on dirt, rust spots, and stuck-on gunk accumulate quickly. Neglecting to clean tools shortens their lifespan and impairs performance. Don’t let your trusty instruments deteriorate – revive them with proper cleaning and maintenance. This comprehensive guide covers how to efficiently remove built-up grime, prevent corrosion, and restore tools to peak condition.
Why Clean Dirty Hand Tools?
Beyond an unsightly appearance, ignoring dirty hand tools leads to several issues:
- • Moisture exposure causes metal components to rust and corrode over time
• Stuck-on debris jams hinges and obstructs smooth operation
• Built-up grime harbors bacteria, fungal spores, and plant pathogens
• Premature tool wear and damage require frequent replacements
Cleaning and maintaining tools on a regular basis maximizes their lifespan. It also prevents potentially spreading plant diseases between gardens when using dirty pruning shears or trowels. Regular cleaning represents smart investment protection.
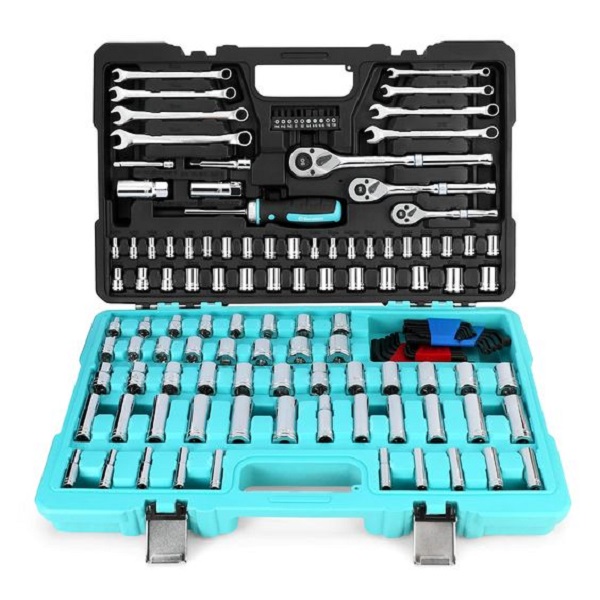
Assemble Your Tool Cleaning Kit
Having the right supplies on hand makes cleaning messy tools far easier. Stock up on these affordable essentials:
- • Plastic buckets or bins for soaking
• Stiff scrub brushes with abrasive bristles
• Fine-grit sandpaper or steel wool pads
• Lubricants like WD-40, mineral oil, or linseed oil
• Microfiber cleaning rags or old towels
• White vinegar, baking soda, or trisodium phosphate cleanser
• Garden hose with high-pressure nozzle (optional)
You’ll also need appropriate workspaces like utility sinks or flat surfaces for disassembling components. Access to running water provides ideal rinsing capabilities too.
A 7-Step Cleaning Process
With all supplies ready, use this thorough cleaning process for maintaining dirty hand tools:
1. Sort and Disassemble
First, gather all grimy hand tools and components. Disassemble any multi-piece tools into detachable parts for easier scrubbing. Remove debris like tangled roots or vine clippings.
2. Preclean and Soak
Use a stiff brush to knock off loose chunks of dirt, mud, or debris. Next, fully submerge tools in a cleaning solution of warm water and degreasing soap or white vinegar. Allow to soak for 30-60 minutes.
3. Scrub
After soaking, vigorously scrub all tool surfaces using abrasive brushes, steel wool, and cleaning rags. The soaking helps loosen and dissolve any stuck-on grime for easier removal.
4. Rinse and Inspect
Thoroughly rinse off any remaining dirt or dissolved debris under running water. Use a pressure washer, hose, or utility sink faucet to flush everything out. Inspect for any missed crud.
5. Remove Rust and Resharpen
For any rusted areas missed during scrubbing, use sandpaper or steel wool pads to buff off rust spots and oxidation. Resharpen dull pruning blades, shears, and knives with sharpening stones or files.
6. Dry and Lubricate
Wipe down all tool surfaces using clean microfiber cloths or rags until 100% dry. Any residual moisture accelerates rusting down the line. Coat moving metal parts with lubricant like WD-40 to prevent sticking.
7. Reassemble and Store
Reassemble any multi-component hand tools. Then, properly store the now-cleaned tools in a cool, dry location until next use. Indoor storage prevents weathering exposure.
Deep Cleaning Solutions for Extreme Grime
If normal scrubbing fails to budge accumulated gunk on filthy tools, employ one of these potent deep-cleaning solutions:
Vinegar Soak
Make a heavy-duty soak by combining one gallon of white vinegar with ¼ cup mild detergent. Let tools fully soak for up to 24 hours to dissolve built-up deposits.
Baking Soda Paste
Mix baking soda and water into a thick abrasive paste. Apply generously to grimy surfaces and allow to sit for 15-30 minutes before scrubbing with nylon brushes.
Oxalic Acid or Rust Dissolvers
For extreme rust discoloration or corrosion, use oxalic acid solutions or commercial rust remover products per instructions. Always use caution when working with acids.
Soak tools showing any signs of rust immediately after cleaning to prevent further corrosion. Dip pruning shears in a bleach solution for disinfection after cutting diseased plants too.
Caring for Wooden Tool Handles
Many hand tools feature wooden handles prone to drying out, splitting, or mold growth. Clean wood components gently using:
- • Soft cloths or brushes
• Wood-safe, pH-neutral detergents
• Mineral oil, linseed oil, or beeswax coatings
Avoid soaking wooden handles in water baths or chemical solutions. The moisture penetrates and expands the wood fibers, leading to cracking and warping.
Storing Tools After Cleaning
With tools thoroughly scrubbed and decontaminated, employ smart storage practices:
- • Keep indoor storage areas at consistent, moderate temperatures
• Use rust-preventative vapor bags or silica gel packs for extra protection
• Store tools in enclosed cases or drawers away from moisture
• Hang larger hand tools on slotted walls or brackets for easy access
Preventative care between uses also reduces future dirt buildup on gardening implements. After each project, quickly rinse off any fresh soil, sap, or plant debris before it solidifies. A quick cleaning minimizes harsh scrubbing later.
Replace When Necessary
Despite your best cleaning efforts, no tool lasts forever. Rust weakens tool integrity. Dull, chipped blades become safety hazards. Excessively worn components compromise performance.
Don’t stubbornly keep filthy, compromised tools. Once dirt accumulation prevents proper operation or cleaning, retire those tools responsibly. Replace with fresh, high-quality new implements better suited for the job.
With routine cleaning and maintenance, hand tools provide decades of reliable service around the home, workshop, and garden. Don’t neglect these hard workers! Smarten up your maintenance habits today.
In conclusion, maintaining clean hand tools is essential for their longevity and performance. Regular cleaning prevents rust, corrosion, and the spread of plant diseases, ensuring that your tools remain in good working order.
Additionally, clean tools are safer to use and more efficient in their operation. By incorporating routine cleaning and maintenance into your tool care regimen, you can extend the lifespan of your equipment and save on replacement costs. Remember to store your tools properly after cleaning to further protect them from the elements.
By taking these simple steps, you can ensure that your hand tools are always at their best when you need them, ready to help you tackle any gardening or DIY project. So, make it a habit to clean and maintain your hand tools, and enjoy the benefits of reliable, efficient, and long-lasting equipment for all your gardening and landscaping needs.