11/16 on a Tape Measure: Guide to Reading Measurements
Accurate measurements are the cornerstone of any successful DIY project, whether you’re a seasoned carpenter or a home improvement enthusiast. Among the various fractional measurements on a tape measure, 11/16 on a tape measure holds particular significance. This specific fraction often plays a crucial role in tasks ranging from woodworking and carpentry to sewing and home renovations. In this comprehensive guide, we will delve into the intricacies of the 11/16 measurement, exploring its position on the tape measure, practical applications, conversion techniques, common mistakes, and advanced measuring strategies. By the end of this article, you will have a thorough understanding of how to effectively use the 11/16 mark to enhance the precision and quality of your projects.
 Locating 11/16 on a Tape Measure
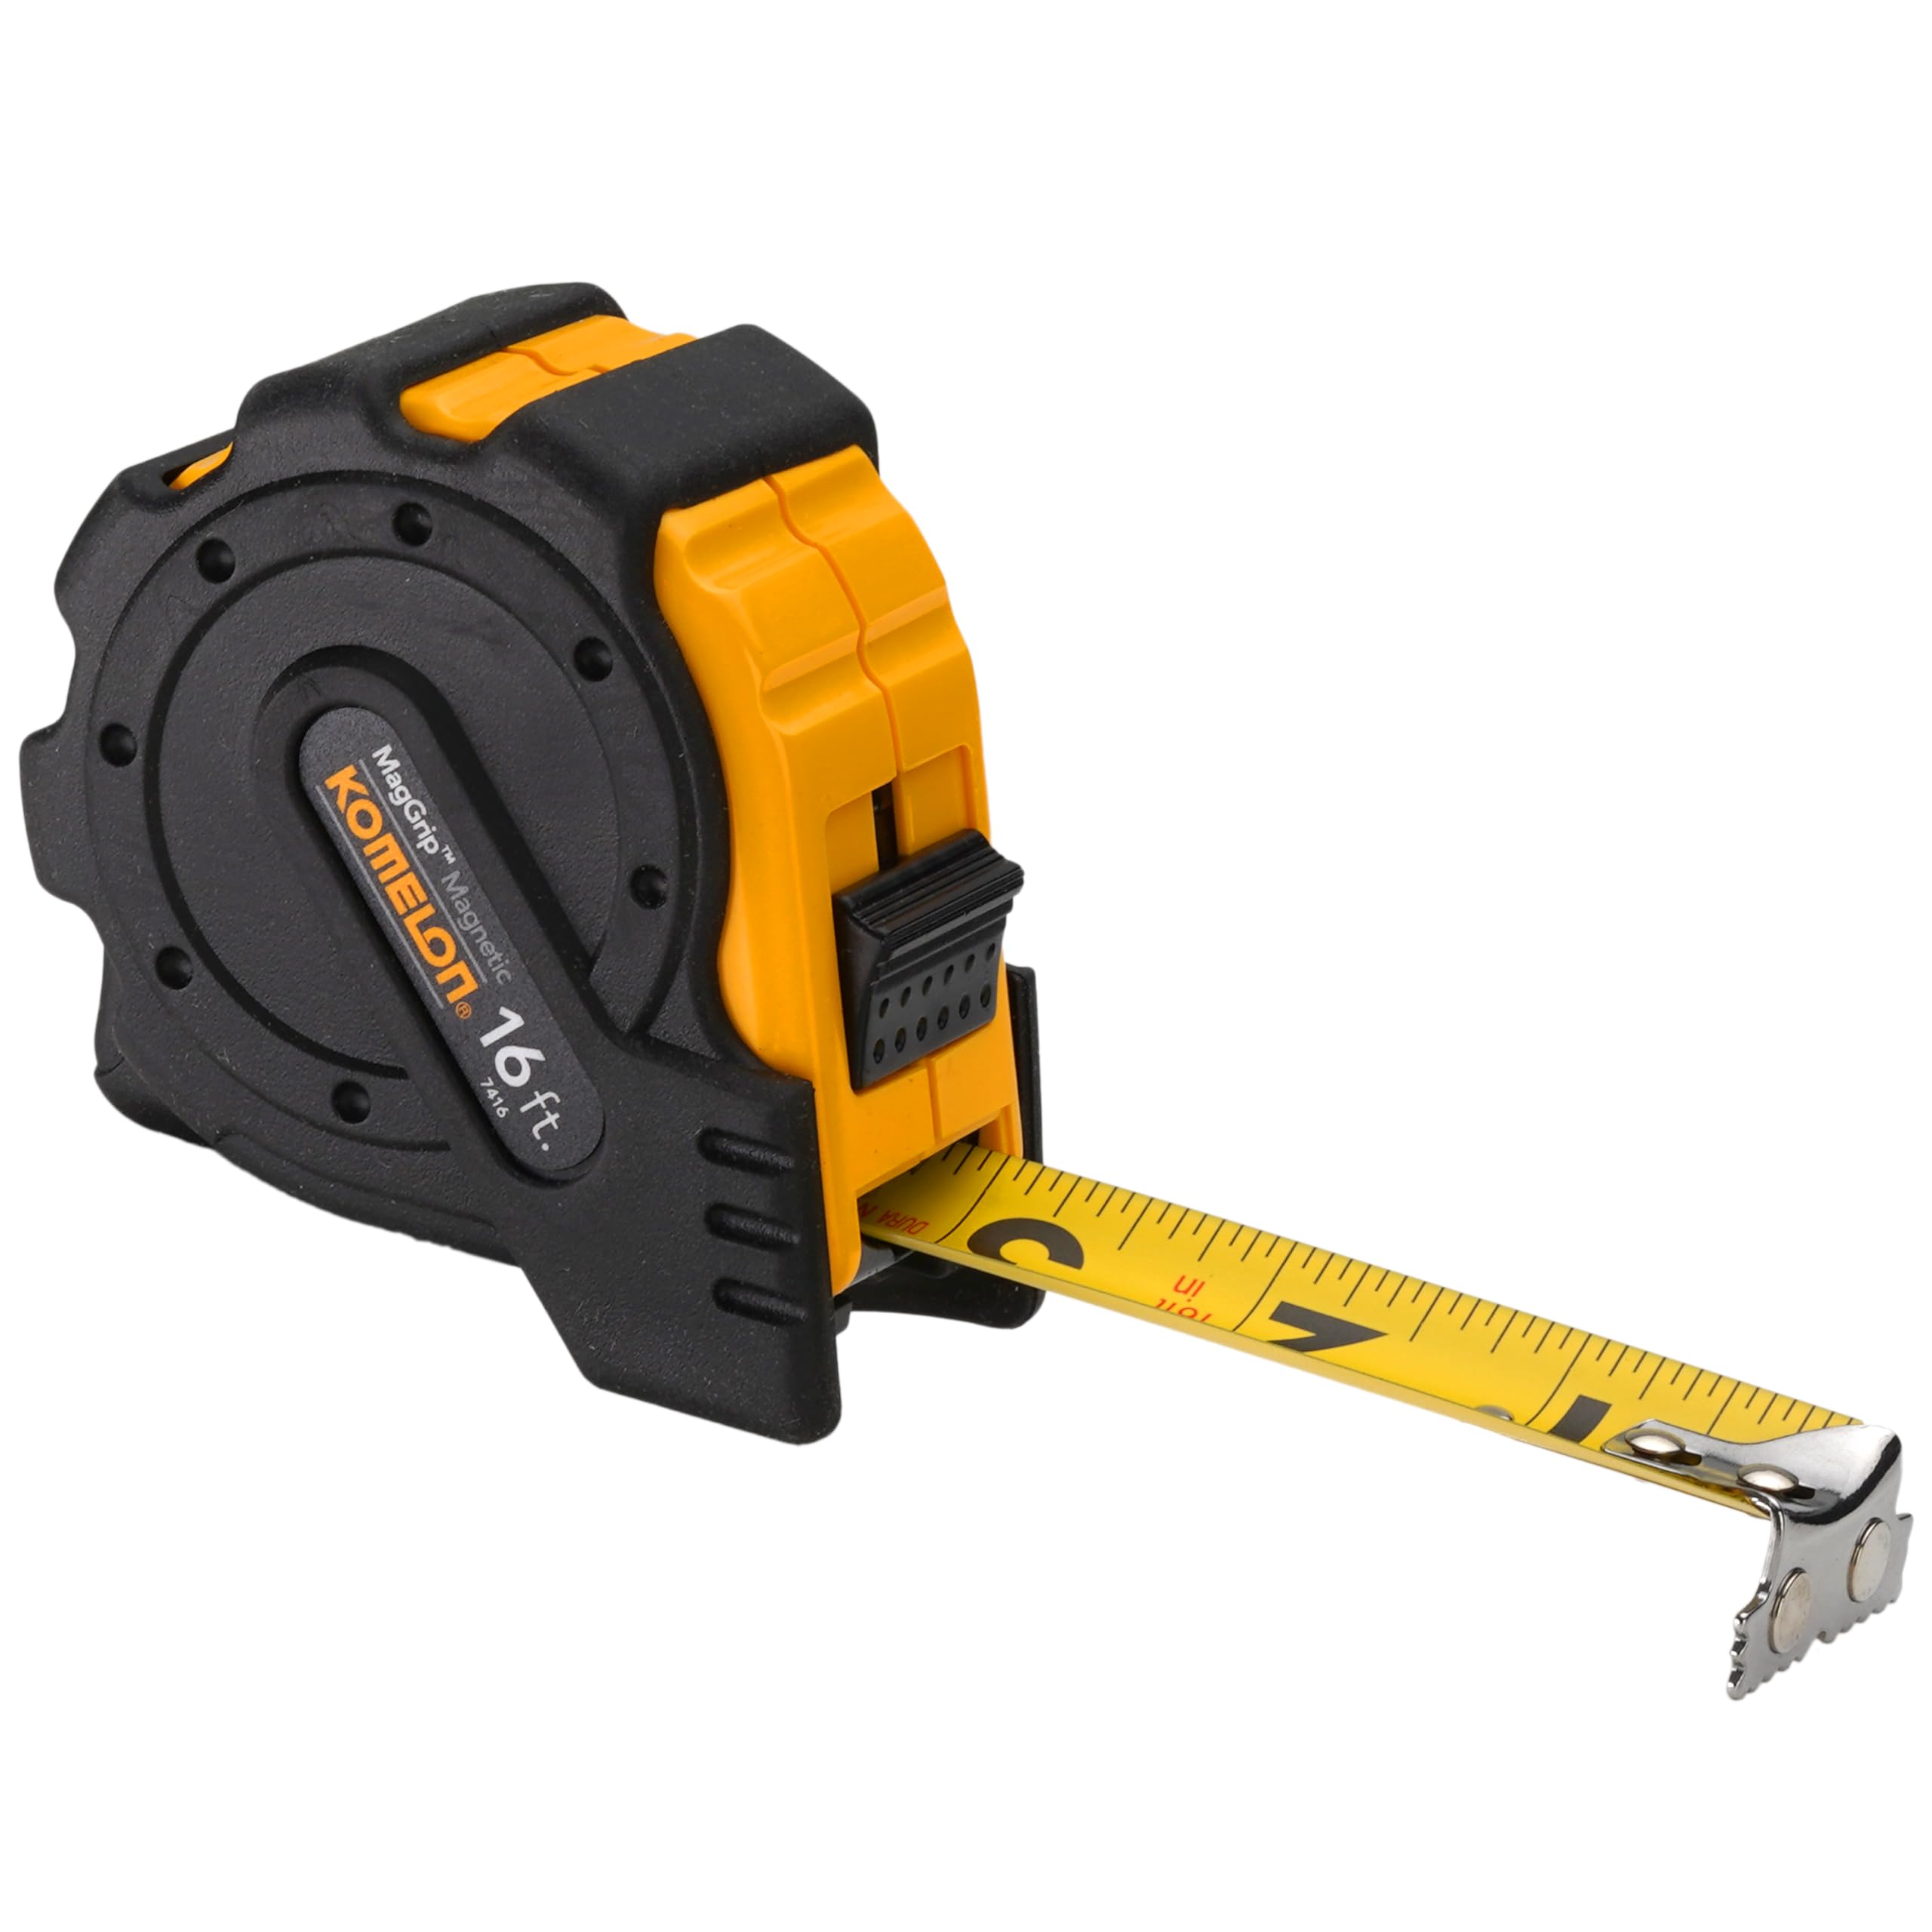
Finding the right fractional measurement on a tape measure is essential for precise work. Understanding where 11/16 on a tape measure is located helps ensure that your measurements are accurate and consistent.
Understanding Tape Measure Markings
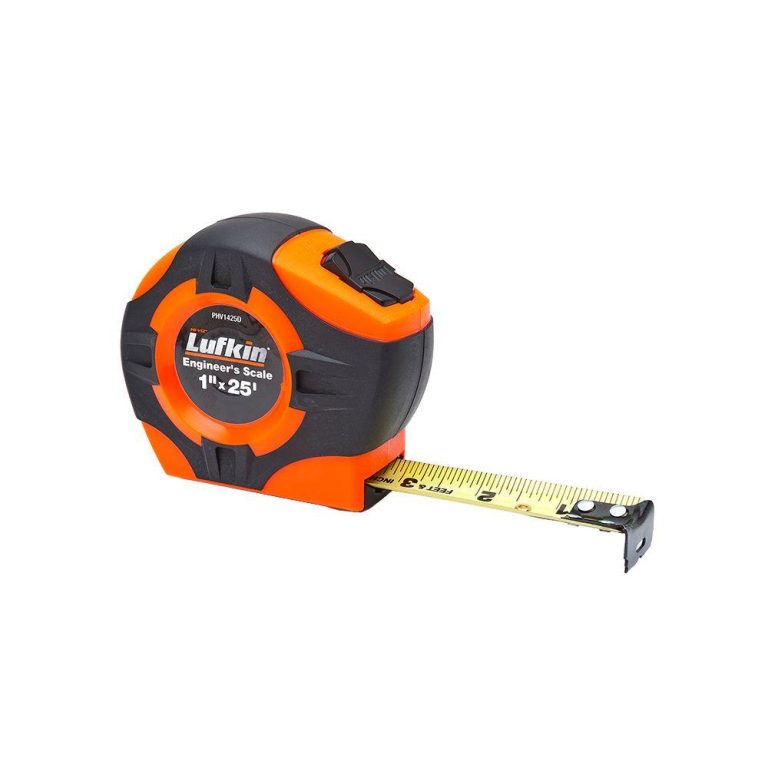
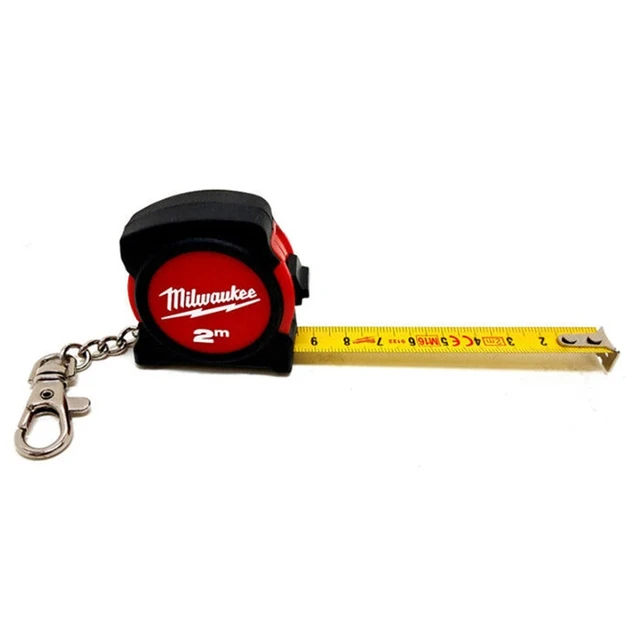
Most standard tape measures are marked with inches and their corresponding fractions. The primary inch marks are divided into smaller fractions for finer measurement:
- Half-inch (1/2)
- Quarter-inch (1/4)
- Eighth-inch (1/8)
- Sixteenth-inch (1/16)
Each inch is typically divided into 16 equal parts, making it easier to locate fractions like 11/16.
Finding 11/16 on the Tape Measure
To locate 11/16 on a tape measure, start by identifying the inch marks. Each inch is divided into 16 equal parts, with each division representing 1/16th of an inch. Count eleven of these small marks past the nearest inch mark. Alternatively, you can recognize that 11/16 is just below three-quarters (which is 12/16). This proximity to 3/4 inch makes 11/16 somewhat easier to approximate visually, especially when working in quick, repetitive measurements.
Practical Applications of a Tape Measure
Using the 11/16 on a tape measure correctly can significantly enhance the accuracy of various DIY projects. Here are some common applications where this precise measurement is invaluable.
Woodworking and Carpentry
In woodworking, precision is paramount. Cutting wood to exact lengths ensures that pieces fit together seamlessly.
Cutting Frameworks
When building frames for doors, windows, or furniture, an 11/16-inch measurement can be crucial for ensuring tight joints and proper alignment. For instance, when fitting a door frame, small discrepancies can lead to gaps or binding when the door swings.
Installing Molding and Trim
Installing crown molding or baseboards often requires precise cuts at specific angles. An 11/16-inch measurement might be necessary when dealing with non-standard moldings or when compensating for material variations.
Home Renovation
Home renovation projects, such as installing tiles or cabinets, benefit from precise measurements to ensure symmetry and functionality.
Tile Layout
When laying tiles, especially in intricate patterns, an 11/16-inch measurement can help in spacing tiles evenly and aligning grout lines accurately. This precision prevents uneven gaps and ensures a professional finish.
Cabinet Installation
Mounting cabinets at the correct height and spacing is essential for both aesthetics and usability. An 11/16-inch measurement can help in making fine adjustments to ensure that cabinets are level and properly aligned with other fixtures.
Sewing and Fabric Work
In sewing, precise measurements are essential for creating garments and other fabric-based projects that fit correctly.
Hemming and Alterations
When hemming pants or making other alterations, an 11/16-inch measurement ensures that the length is just right. This exactness is particularly important for achieving a tailored look without excess fabric.
Pattern Adjustments
Adjusting sewing patterns to fit specific body measurements may require fine-tuning with fractions like 11/16 inch. This attention to detail ensures that the final product fits comfortably and looks polished.
General DIY Projects
From building shelves to crafting custom decorations, an 11/16-inch measurement can provide the necessary precision for various DIY endeavors.
Shelving
When installing shelves, using an 11/16-inch measurement can help in securing brackets at exact heights, ensuring that the shelves are level and sturdy.
Custom Decorations
Creating custom decorations, such as picture frames or decorative panels, often requires precise cuts and placements. An 11/16-inch measurement can help achieve symmetry and balance in your designs.
 Converting on a Tape Measure to Other Units
Understanding how to convert fractional inches to other measurement units can be highly beneficial, especially when working with different tools or in various industries.
Converting Fractional Inches to Decimals
Converting fractions to decimals simplifies calculations, particularly when using tools that require decimal inputs.
- 11/16 inches = 0.6875 inches
To convert 11/16 to a decimal, divide the numerator by the denominator: 11 ÷ 16 = 0.6875.
Converting Inches to Millimeters
For projects requiring metric measurements, converting inches to millimeters is essential.
- 11/16 inches ≈ 17.4625 millimeters
Multiply the fractional inch by 25.4 (since 1 inch = 25.4 mm): 0.6875 × 25.4 ≈ 17.4625 mm.
Practical Conversion Tips
- Use Conversion Charts: Keep a conversion chart handy to quickly reference common fractions like 11/16 inches.
- Calculator Assistance: Utilize a calculator for quick and accurate conversions, especially for larger projects requiring numerous measurements.
- Digital Tools: Smartphone apps and digital tape measures often include built-in conversion features, making it easier to switch between units on the fly.
Common Mistakes When Measuring 11/16 on a Tape Measure
Precision is key, but even small errors can lead to significant issues in your projects. Here are some common mistakes to avoid when working with the 11/16 on a tape measure.
Misreading the Measurement
One of the most frequent errors is misreading the tape measure. It’s easy to confuse similar-looking fractions, especially when working in poor lighting or at awkward angles.
Tip:
Always double-check your measurement by reading it from different angles or having a second person verify it.
Not Keeping the Tape Measure Straight
Allowing the tape measure to curve or bend can result in inaccurate measurements. Ensuring that the tape is straight and taut is crucial for precise reading.
Tip:
Use a helper to hold the tape measure steady, or employ tape measure hooks that keep the tape straight against the measuring surface.
Ignoring Zero Error
Starting your measurement from the incorrect zero point can throw off the entire project. Some tape measures have a small offset that must be accounted for, especially in metric conversions.
Tip:
Always start measuring from the true zero point and verify it before taking critical measurements.
Relying Solely on Visual Estimation
Estimating the position of 11/16 inches without precise reading tools can lead to errors, especially in detailed projects.
Tip:
Use magnifying glasses or enhanced lighting to clearly see the fractional markings on your tape measure.
Advanced Techniques for Using a Tape Measure
For those looking to elevate their measuring skills, several advanced techniques can enhance the accuracy and efficiency of using the 11/16 on a tape measure.
Using a Measuring Jig
A measuring jig can help in consistently measuring and marking 11/16 inches, particularly in repetitive tasks like cutting multiple pieces to the same length.
How to Use:
Set up the jig with stops at the 11/16-inch mark and use it to guide your cuts, ensuring each piece is uniform.
Employing a Marking Gauge
A marking gauge can provide precise and consistent markings at 11/16 inches, which is especially useful in woodworking for marking lines parallel to edges.
How to Use:
Adjust the gauge to the 11/16-inch mark and run it along the wood surface to make accurate and repeatable marks.
Utilizing Laser Measurement Tools
Laser measurement tools can provide quick and highly accurate measurements, reducing the risk of human error associated with traditional tape measures.
How to Use:
Aim the laser at the desired point and read the measurement electronically, ensuring precision and ease of use.
Combining with Digital Tape Measures
Digital tape measures can simplify the process of reading and recording measurements like 11/16 inches, offering greater accuracy and ease of use.
How to Use:
Simply extend the digital tape to the required length, and the display will show the exact measurement, minimizing the risk of misreading fractions.
 The Importance of Precision in DIY Projects
Precision in measurements, particularly fractions like 11/16 inches, plays a critical role in the success of DIY projects. Here’s why maintaining accuracy is essential.
Ensuring Fit and Function
Accurate measurements ensure that components fit together seamlessly, preventing gaps, overlaps, and structural issues. This is particularly important in projects like cabinetry, furniture building, and flooring installation.
Enhancing Aesthetic Appeal
Precision contributes to the overall look of the project. Even small discrepancies can detract from the visual appeal and professionalism of the finished product.
Preventing Material Waste
Accurate measurements reduce the likelihood of errors that can lead to material wastage. By precisely measuring 11/16 inches, you ensure that you use only the necessary amount of materials, saving both time and resources.
Improving Safety
In projects where structural integrity is crucial, such as building decks or installing shelving, precision in measurements like 11/16 inches can prevent accidents and ensure the safety of the finished structure.
Real-World Examples of Using a Tape Measure
Applying the 11/16-inch measurement in real-world scenarios can highlight its practical significance and versatility.
Building a Custom Bookshelf
When constructing a custom bookshelf, precise measurements ensure that each shelf is level and evenly spaced. Using 11/16 inches can help in marking the placement of brackets and ensuring that the shelves are securely anchored.
Step-by-Step:
- Measure and mark the height for each shelf bracket at 11/16-inch intervals.
- Ensure that each mark is leveled using a spirit level.
- Install the brackets accurately to support the shelves evenly.
Installing Window Trim
Aligning window trim requires precise cuts to fit perfectly around the window frame. An 11/16-inch measurement can be critical when making mitre cuts at corners.
Step-by-Step:
- Measure the length of each trim piece, adding 11/16 inches for overlapping corners.
- Mark the 11/16-inch point carefully to guide your cuts.
- Use a mitre saw to make accurate 45-degree cuts, ensuring a seamless fit.
Sewing a Tailored Shirt
When sewing a tailored shirt, precise measurements ensure that the garment fits correctly. An 11/16-inch measurement can be used for adjusting seam allowances and adding buttons.
Step-by-Step:
- Measure the fabric and mark an 11/16-inch seam allowance along the edges.
- Use the measurement to place buttons accurately on the cuffs and placket.
- Ensure all seams are consistent, contributing to a professional finish.
Tools and Gadgets to Enhance Measurement Accuracy
Investing in the right tools can significantly improve the accuracy and ease of measuring 11/16 on a tape measure. Here are some essential tools and gadgets to consider.
High-Quality Tape Measures
A reliable tape measure is fundamental. Look for tapes with clear, durable markings and sturdy construction to withstand regular use.
Features to Look For:
- Large, easy-to-read numbers and fractions
- Reinforced hooks for accurate measurements
- Flexible blade for versatile use
Magnifying Reading Tools
For projects requiring extreme precision, magnifying tools can help you see small fractions like 11/16 inches more clearly.
How to Use:
Attach a magnifying lens to your work area or use a magnifying glass to read the tape measure more easily, preventing misreads.
Measuring Squares
Measuring squares can help maintain right angles and ensure that measurements like 11/16 inches are applied accurately across different dimensions of your project.
How to Use:
Use the measuring square to mark and guide measurements at precise angles, ensuring consistency and accuracy.
Marking Pencils and Pens
Using precise marking tools can enhance the accuracy of your measurements, ensuring that 11/16-inch marks are clear and easy to follow.
Features to Look For:
- Fine tips for sharp, accurate marks
- Waterproof and smudge-proof ink to prevent fading
- Durable bodies for ease of use during marking
Integrating 11/16 Measurements into Your Workflow
Incorporating the 11/16-inch measurement into your regular workflow can streamline your projects and enhance efficiency.
Developing a Measurement Routine
Creating a consistent routine for measuring and marking with 11/16 inches ensures accuracy and saves time in the long run.
Steps to Follow:
- Plan Your Measurements: Before starting, outline where 11/16-inch measurements will be needed.
- Use Visual Aids: Mark the 11/16-inch point on a piece of paper or a separate measuring tool to reference quickly.
- Double-Check Measurements: Always verify your measurements before making cuts or marks to prevent errors.
Documenting Measurements
Keeping a record of your measurements, including 11/16 inches, can help in maintaining consistency across similar projects.
How to Document:
- Use a notebook or digital tool to log measurements used in each project.
- Note any adjustments made based on project-specific requirements.
- Review past measurements to inform future projects and improve accuracy.
Training and Practice
Regular practice with the 11/16-inch measurement enhances your proficiency and reduces the likelihood of errors.
Practice Tips:
- Incorporate 11/16-inch measurements in small tasks to build confidence.
- Challenge yourself with precision tasks that require this specific measurement.
- Seek feedback from peers or mentors to identify areas for improvement.
 The Role of Education and Learning in Accurate Measurement
Educating yourself on measurement techniques and the importance of fractions like 11/16 on a tape measure can greatly enhance your DIY skills.
Learning Measurement Fundamentals
Understanding the basics of measurement, including fractions, decimals, and metric conversions, provides a strong foundation for accurate work.
Key Concepts:
- Conversion between different measurement units
- Importance of precision in various applications
- Techniques for reading and interpreting tape measures accurately
Attending Workshops and Courses
Participating in workshops or courses focused on woodworking, carpentry, or other DIY skills can deepen your understanding of precise measurements.
Benefits:
- Hands-on experience with tools and measurement techniques
- Guidance from experienced instructors
- Opportunities to ask questions and clarify doubts
Utilizing Online Resources
Online tutorials, videos, and articles can provide valuable insights and tips for mastering measurements like 11/16 inches.
Recommended Resources:
- YouTube channels dedicated to DIY and woodworking
- Online forums and communities for sharing tips and experiences
- Educational websites offering detailed guides and measurement techniques
Overcoming Challenges with Measuring a Tape Measure
Even with the best tools and techniques, measuring 11/16 inches accurately can present challenges. Here’s how to overcome common obstacles.
Dealing with Imperfect Tools
Sometimes, tape measures may not be perfectly accurate or could be damaged, making precise measurements difficult.
Solutions:
- Regularly calibrate and inspect your tape measure for accuracy.
- Invest in high-quality tape measures that maintain their integrity over time.
- Replace damaged or worn tape measures to ensure reliable measurements.
Working in Tight Spaces
Measuring accurately in confined or awkward spaces can be challenging, especially when trying to hold the tape measure straight.
Solutions:
- Use flexible tape measures that can bend without losing accuracy.
- Employ magnetic hooks or other accessories to secure the tape measure in place.
- Utilize laser measurement tools for more precise readings in tight areas.
Maintaining Focus and Patience
Precision requires focus and patience, which can be difficult during long or complex projects.
Solutions:
- Take regular breaks to maintain concentration and prevent fatigue.
- Develop a structured approach to your measurements, tackling one task at a time.
- Use checklists to ensure all measurements, including 11/16 inches, are accounted for accurately.
 Conclusion
In the realm of DIY projects, precision is not just a preference—it’s a necessity. Mastering the 11/16 on a tape measure empowers you to execute your projects with greater accuracy and professionalism. By understanding how to locate and utilize this specific fractional measurement, converting it to other units, avoiding common mistakes, and employing advanced techniques, you can significantly improve the quality and efficiency of your work. Whether you’re building custom furniture, renovating your home, or crafting intricate fabric pieces, the 11/16-inch mark plays a pivotal role in achieving flawless results. Embrace the knowledge and strategies outlined in this guide, and watch as your DIY endeavors reach new heights of precision and excellence. Start incorporating the 11/16 measurement into your projects today, and experience the transformative impact of accurate measuring on your creative and practical endeavors.
