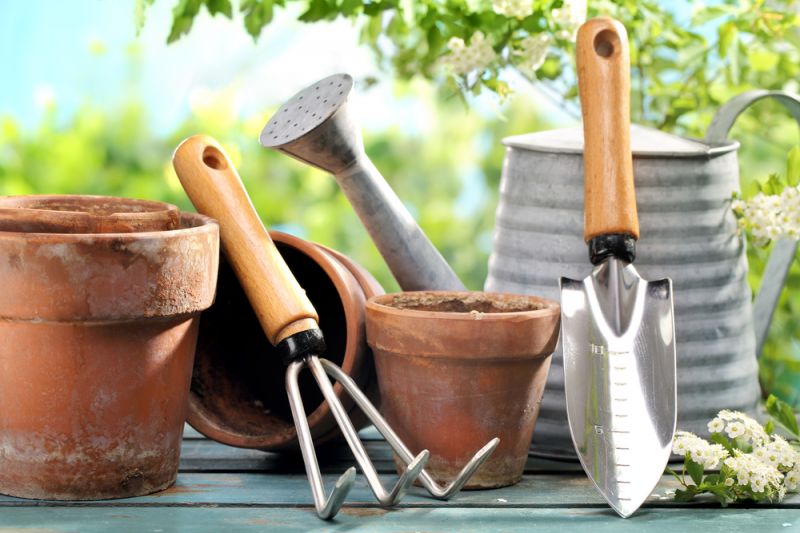
Cleaning Garden Tools
Keeping Your Garden Tools in Top Shape: A Comprehensive Guide to Cleaning
Gardening is a labor of love, a delightful dance between nurturing nature and tending to the earth’s bounty. However, as any seasoned green thumb knows, the tools of the trade are just as essential as the plants themselves. From pruners to shovels, these trusty companions accompany us through every gardening endeavor, enduring the elements and accumulating dirt, grime, and rust along the way.
Neglecting to properly clean and maintain your garden tools is a surefire way to shorten their lifespan and compromise their effectiveness.Cleaning garden tools: But fear not, for we have compiled a comprehensive guide to help you keep your tools in pristine condition, ensuring they remain reliable allies in your gardening adventures.
The Importance of Clean Tools
Before we delve into the specifics of cleaning, let’s take a moment to appreciate why this task is so crucial. Clean tools are not just a matter of aesthetic appeal; they also play a vital role in the health and well-being of your garden.
First and foremost, properly maintained tools are less likely to harbor and spread plant diseases or pests. Remnants of soil, plant matter, or even rust can provide a breeding ground for pathogens, potentially infecting your precious plants. By keeping your tools clean and sanitized, you create a safer environment for your garden to thrive.
Moreover, clean tools are simply more efficient. Rust, dirt, and grime can dull blades, clog mechanisms, and impede the smooth operation of your tools. This not only makes gardening tasks more laborious but can also lead to unnecessary strain and potential injury.
The Right Tools for the Job
Before you roll up your sleeves and dive into the cleaning process, it’s essential to gather the appropriate tools and materials. While the specifics may vary depending on the type of tool you’re cleaning, here are some essential items to have on hand:
- Stiff-bristled brushes (for scrubbing)
Steel wool (for removing stubborn rust or buildup)
Rags or old towels (for wiping and drying)
Mild dish soap or specialized tool cleaner
Rust remover (for heavily rusted tools)
Sandpaper or wire brush (for smoothing rough surfaces)
Lubricant or linseed oil (for maintaining moving parts)
Additionally, it’s always a good idea to have gloves and eye protection handy, as some cleaning products can be harsh on your skin and eyes.
Cleaning Techniques for Different Tool Types
Now that you have your arsenal of cleaning supplies assembled, it’s time to dive into the specifics of cleaning various garden tool types.
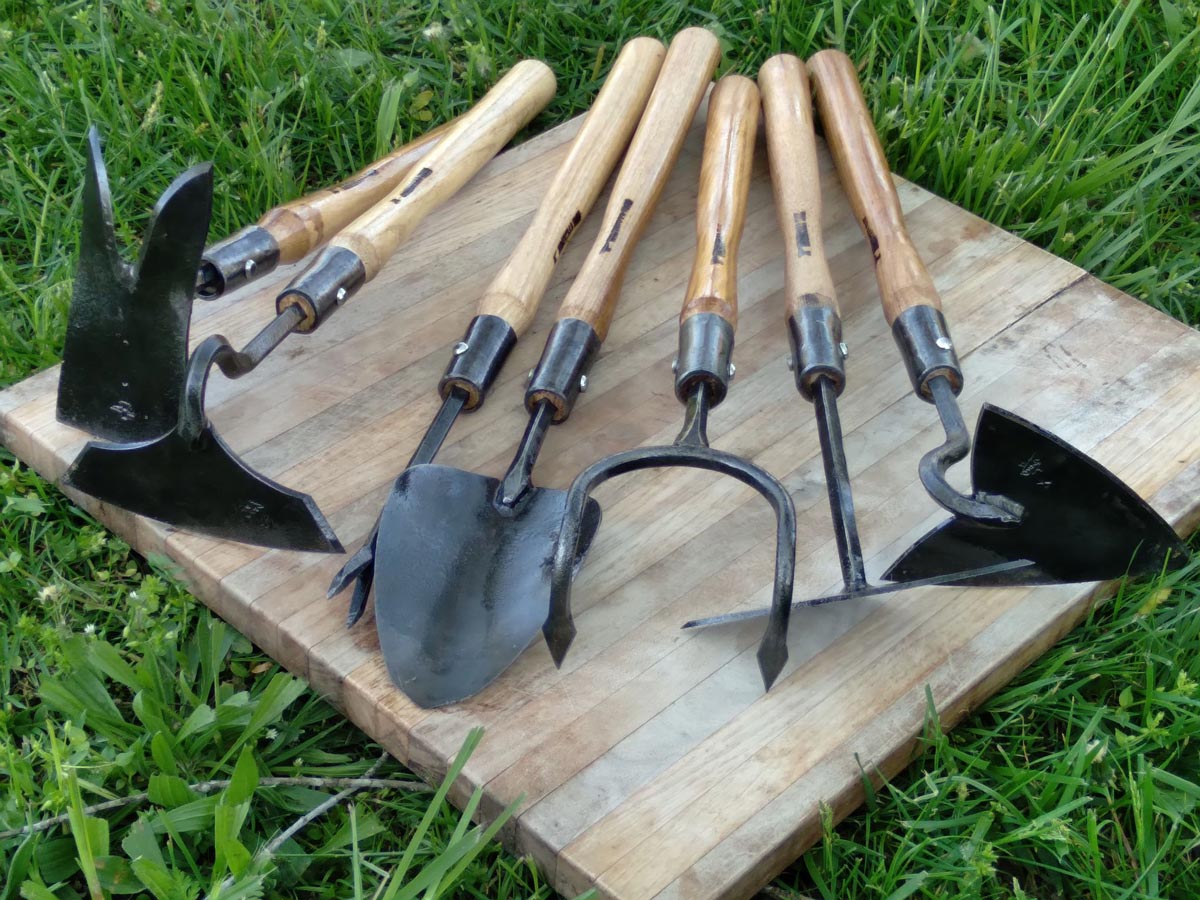
Hand Tools (pruners, loppers, shears):
1. Disassemble the tools, if possible, to access all areas.
2. Soak the blades or cutting surfaces in a solution of warm water and dish soap to loosen any dried plant matter or debris.
3. Use a stiff-bristled brush or steel wool to scrub away any remaining grime or rust.
4. Rinse thoroughly with clean water and dry completely.
5. Apply a thin layer of lubricant or linseed oil to the blades and moving parts to prevent future rust and ensure smooth operation.
Digging Tools (shovels, hoes, rakes):
1. Knock off any loose dirt or debris from the tool heads and handles.
2. Create a cleaning solution by mixing warm water and dish soap.
3. Use a stiff-bristled brush or steel wool to scrub the tool heads, removing any caked-on soil or rust.
4. For wooden handles, use a damp cloth and mild soap to wipe away any grime or residue.
5. Rinse the tools thoroughly with clean water and dry completely.
6. For metal tool heads, consider applying a thin layer of linseed oil to prevent future rust.
Power Tools (lawn mowers, trimmers, tillers):
1. Unplug or remove the battery before cleaning to prevent any accidental startups.
2. Use a stiff-bristled brush or compressed air to remove any grass clippings, debris, or built-up dirt from the machine’s exterior and hard-to-reach areas.
3. For the cutting blades or tines, follow the same steps as cleaning hand tools (soak, scrub, rinse, dry, and lubricate).
4. Check the air filter and replace it if necessary, following the manufacturer’s instructions.
5. Wipe down the machine’s exterior with a damp cloth and mild soap, being careful not to introduce water into any electrical components.
6. Allow the power tool to dry completely before reassembling and storing.
The Importance of Proper Storage
Cleaning your garden tools is only half the battle; proper storage is equally crucial for maintaining their longevity and functionality. After all, even the most meticulously cleaned tools can succumb to rust and damage if stored improperly.
Here are some tips for storing your garden tools:
1. Choose a dry, well-ventilated area, such as a shed or garage, to store your tools. Avoid damp or humid environments, as they can promote rust and mold growth.
2. For hand tools, consider investing in a tool rack or pegboard to keep them organized and easily accessible.
3. Larger tools, like shovels and rakes, can be hung on wall mounts or stored in a designated corner or tool shed.
4. Apply a thin layer of lubricant or linseed oil to metal surfaces before storing them to prevent rust during the off-season.
5. For power tools, follow the manufacturer’s instructions for proper storage, which may include removing the batteries or draining the fuel.
By following these simple steps, you’ll ensure that your garden tools are ready for action whenever the gardening bug bites.
The Seasonal Maintenance Routine
While regular cleaning is essential, it’s also important to establish a seasonal maintenance routine for your garden tools. This will not only extend their lifespan but also ensure they’re always in top condition when you need them most.
At the start of each gardening season:
1. Inspect all tools for any signs of damage, rust, or wear.
2. Sharpen or replace any dull blades or cutting surfaces.
3. Lubricate all moving parts and hinges.
4. Clean and replace any air filters on power tools.
5. Check for any missing or loose nuts, bolts, or screws, and tighten or replace as needed.
At the end of the gardening season:
1. Thoroughly clean all tools, removing any remaining soil, plant matter, or debris.
2. Apply a protective coating of linseed oil or rust-preventative spray to metal surfaces.
3. Store tools properly in a dry, well-ventilated area.
4. Perform any necessary repairs or replacements during the off-season, so your tools are ready for action when spring arrives.
By incorporating these seasonal maintenance routines into your gardening regimen, you’ll ensure that your tools are always in top condition, ready to tackle any gardening task that comes your way.
Conclusion
Maintaining clean and well-cared-for garden tools is not just a matter of aesthetics; it’s a crucial investment in the health and longevity of your gardening companions. By following the cleaning techniques outlined in this guide and establishing proper storage and maintenance routines, you’ll ensure that your tools remain reliable allies for years to come.
So, embrace the joy of gardening with tools that are as sharp, clean, and well-maintained as the plants they tend to. Your garden, and your back, will thank you for the effort. Happy gardening!