From Flicker to Full Glow: How to Repair Christmas Lights
The holiday season brings joy, music, and the warm glow of festive lights. Yet nothing disrupts the mood faster than a string of Christmas lights that won’t turn on. Instead of throwing them away, you can often fix the problem yourself. Learning how to repair christmas lights saves money and reduces waste. It also gives you control over your decorations without last-minute shopping trips.
With basic tools and some patience, most lighting issues are solvable. Whether it’s one dark bulb, a flickering section, or an entire strand gone out, there’s usually a clear cause. In this detailed guide, we’ll walk through identifying light types, diagnosing common problems, using repair tools, testing circuits, replacing bulbs, fixing wiring faults, and storing strings properly. By mastering how to repair christmas lights, you ensure your displays shine brightly year after year.
 Understanding the Different Types of Christmas Light Sets
Before starting any repair, identify what kind of lights you’re working with. This step is essential because methods vary by design. The two main categories are incandescent and LED strings. Incandescent bulbs produce light through a heated filament. They tend to burn out more often but are easier to spot when faulty.
LED (light-emitting diode) lights use semiconductors to generate illumination. They consume less power and last much longer. However, their circuitry is more complex. Some LED sets operate in series, meaning one bad component can shut down the whole string. Others use parallel wiring for better reliability.
Another key difference is voltage. Mini lights usually run on low voltage, especially when connected in long series. Older C7 or C9 bulbs may use higher wattage and require special sockets. Always check labels on the plug or packaging.
Also, determine if your set is wired in series or parallel. Series strings go dark if one bulb fails. Parallel ones keep most lights on even with a dead bulb. You can often tell by observing which sections remain lit. Knowing these details helps you apply the correct repair strategy.
Why Identifying Your Light Type Matters for Effective Repairs
Using the wrong method can make problems worse. For example, inserting a 2.5-volt bulb into a 3.5-volt socket causes overheating. Similarly, forcing a non-shunted base into a shunted fixture leads to poor contact. Therefore, matching parts exactly ensures safety and function.
Moreover, LED strings sometimes have built-in rectifiers or resistors. These small components regulate current flow. If damaged, they stop the entire strand from working. Testing them requires a multimeter and basic electronics knowledge.
Incandescent sets rely on shunt wires inside each bulb. When a filament breaks, the shunt activates and keeps the circuit closed. But if the shunt fails, the rest of the string goes dark. Finding that single faulty bulb becomes the goal.
Some modern strings come with fuses in the plug. These protect against power surges. Blown fuses are common after storms or electrical spikes. Checking them early speeds up diagnosis.
Ultimately, knowing your light type streamlines troubleshooting. It prevents wasted effort and incorrect replacements. As a result, you fix the problem faster and restore your display with confidence.
Tools and Supplies Needed to Repair Christmas Lights
Having the right tools makes how to repair christmas lights much easier. Start with a basic bulb tester. These handheld devices detect whether a bulb is functional. Simply insert the bulb, and the tester shows results with a light or sound. They work well for both incandescent and some LED models.
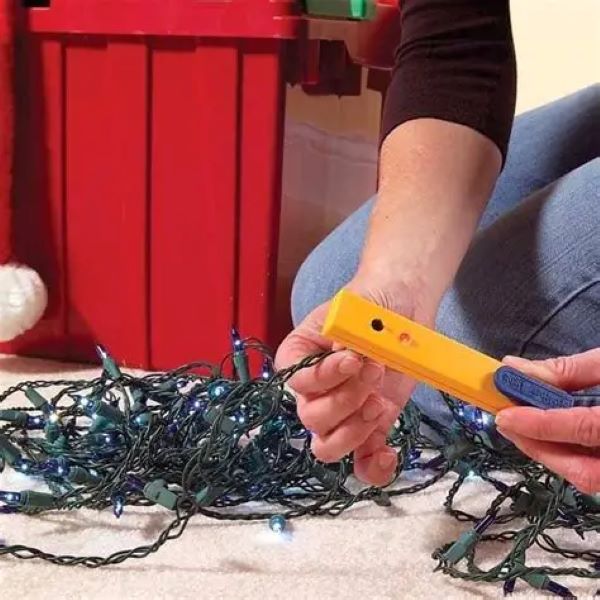
Next, get a light keeper or string repair tool. This device clamps onto the end of a strand and sends a signal through the wires. It beeps when it detects continuity. You move it along the string until the sound stops. That spot indicates where the break is located.
A digital multimeter is essential for advanced diagnostics. Set it to continuity or resistance mode. Touch the probes to metal contacts in sockets or wires. A reading confirms connection. No reading means a break exists.
Keep spare bulbs on hand. Buy exact replacements based on size, voltage, and base type. Store them in labeled containers. Also, collect small screwdrivers, wire cutters, and electrical tape. These help with opening plugs and splicing wires.
Finally, use gloves and eye protection. Broken glass and sharp edges pose minor risks. Safety gear keeps you protected during close inspection.
Where to Find Replacement Parts and Affordable Kits
Replacement bulbs and fuses are available at hardware stores, craft shops, and online retailers. Look for seasonal holiday sections in November and December. Major brands offer compatible parts that match popular light styles.
Many companies sell repair kits. These include testers, spare bulbs, fuses, and tools in one package. They save time and often cost less than buying items separately. Read reviews to find reliable brands. Check compatibility with your light type before purchasing.
For LED-specific repairs, visit electronics suppliers. Websites like Digi-Key or Mouser carry resistors and diodes used in commercial-grade strings. Hobbyist forums also share part numbers and sourcing tips.
If you can’t find exact matches, take a sample to the store. Hold it next to potential replacements. Compare base shape, wire length, and voltage rating. Never guess—mismatches can damage other bulbs or create fire hazards.
Local community groups sometimes host “fix-it” events before the holidays. Volunteers help residents troubleshoot decorations. These gatherings provide access to tools and expertise. They also promote sustainability by reducing waste.
 Step-by-Step Process for Diagnosing a Dead Light Strand
Start by plugging in the string to confirm it’s not working. Test it in a known-working outlet. Faulty sockets or tripped GFCI outlets mimic light failures. Once confirmed, unplug everything. Safety first.
Next, inspect the plug. Look for bent prongs or scorch marks. Open the fuse compartment if present. Most mini-light plugs contain two tiny fuses: one for each side of the circuit. Use a flashlight to examine them closely. A blown fuse has a visible gap or darkened metal.
Replace suspect fuses with identical ones. Reassemble the plug and test again. If the lights still don’t work, move to the next step.
Now, scan the entire strand for obvious damage. Look for cracked bulbs, melted sockets, or chewed wires. Rodents sometimes gnaw on cords stored in garages or attics. Any physical flaw interrupts the circuit.
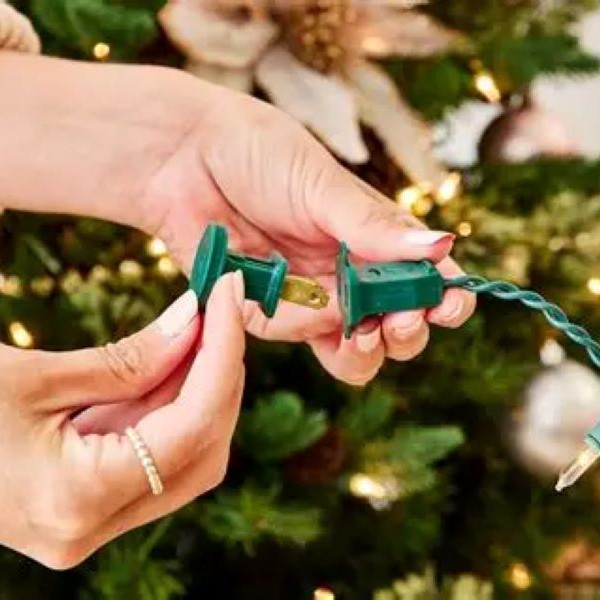
Check connections between sections. Unplug and reconnect each segment. Loose joins prevent power transfer. Wiggle connectors gently to see if lights flicker. Intermittent contact suggests worn contacts.
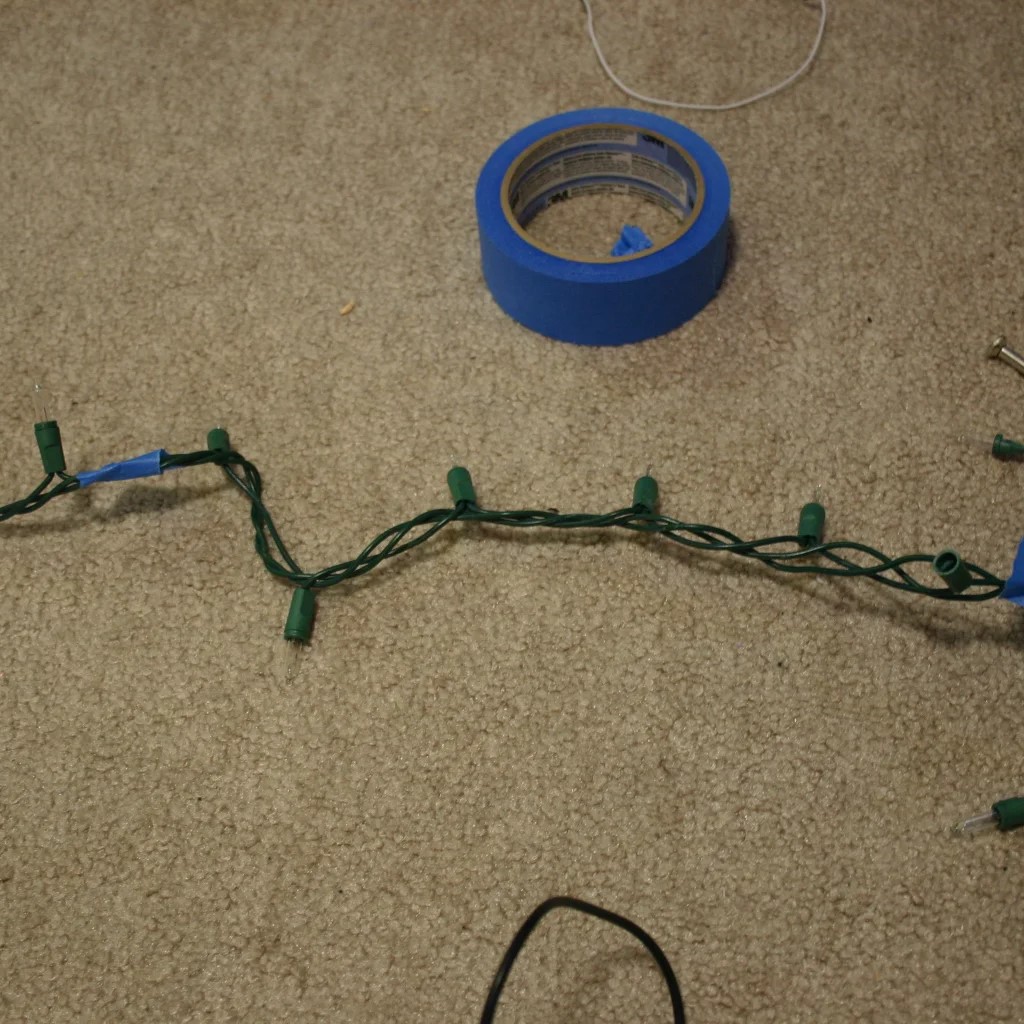
Finally, isolate the problem area. Plug in shorter lengths first. Add segments one by one. The moment the lights go out, you’ve found the faulty piece. This narrowing process saves time and focuses your efforts.
Using a Light Keeper or Multimeter to Locate Breaks
Once you’ve ruled out fuses and visible damage, use diagnostic tools. A Light Keeper Pro is user-friendly. Turn it on and clamp it over the female end of the string. Then slide it slowly along the wire.
When the device reaches the location of a broken circuit, the tone changes or stops. That spot marks where the open connection exists. Focus your search within a few inches of that point.
Alternatively, use a multimeter. Set it to continuity mode. Touch one probe to the metal tab inside the first socket. Place the other probe on the corresponding contact in the last socket. If the meter beeps, the circuit is intact. No beep means a break somewhere in between.
Divide the strand mentally into halves. Test each half separately. Keep halving until you pinpoint the gap. This binary search method is efficient and accurate.
Sometimes, the issue lies in a socket rather than a wire. Remove bulbs one by one. Insert a known-good replacement. Plug in briefly after each change. When the string lights up, you’ve found the culprit.
These tools eliminate guesswork. They guide you directly to the fault. As a result, how to repair christmas lights becomes faster and more reliable.
 Common Problems and How to Fix Them Quickly
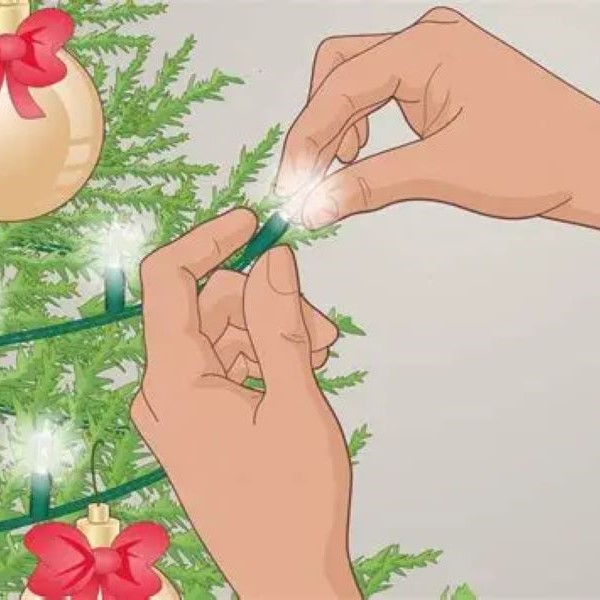
One frequent issue is a single dark bulb in an otherwise working string. This usually means the filament burned out. Replace it with an identical bulb. Make sure it’s fully seated. Sometimes, loose installation causes gaps in contact.
Flickering lights suggest loose bulbs or poor socket connections. Reseat each bulb firmly. Clean corrosion with a cotton swab dipped in rubbing alcohol. Let dry completely before reassembling.
Entire sections going dark often point to failed shunts in incandescent sets. The shunt should bypass a dead filament. If it doesn’t activate, the circuit breaks. You can try tapping the bulb gently. This sometimes frees stuck shunts. Otherwise, replace the bulb.
For LED strings, blinking patterns may indicate a faulty driver or resistor. These regulate power flow. If damaged, they cause erratic behavior. Replace internal components only if experienced. Otherwise, consider rewiring or retiring the set.
Frayed or cut wires require splicing. Cut out the damaged section. Strip insulation from both ends. Twist copper wires together. Secure with a waterproof wire nut. Wrap tightly with electrical tape. Test before final placement.
Water damage inside sockets leads to short circuits. Dry thoroughly with a hairdryer on cool setting. Apply dielectric grease to prevent future moisture buildup.
Preventing Further Damage During Repair Attempts
Rushing increases the risk of mistakes. Work slowly and methodically. Avoid pulling hard on wires. Excessive force damages internal conductors.
Never use pliers on bulb bases. They crush delicate metal casings. Instead, twist gently by hand. Wear gloves to improve grip without pressure.
When replacing fuses, never substitute with higher amperage. This removes safety protection. Only use rated fuses specified on the label.
Avoid covering repairs with flammable materials. Do not wrap tape near heat sources. Incandescent bulbs warm up during use. Overheated tape can melt or ignite.
Store repaired strings carefully. Coil loosely around a cardboard frame. Don’t knot or bend sharply. Sharp bends weaken wires over time.
Label repaired sections with tags. Note date, bulb type, and any modifications. Future inspections benefit from this record. It also reminds you which strands need extra care.
 Frequently Asked Questions About How to Repair Christmas Lights
Can I mix different colored bulbs? Yes, as long as voltage and base match. Color does not affect function.
Do LED strings have fuses? Some do, especially in the plug. Check manufacturer specs.
Why do only half my lights work? Likely a partial circuit failure. One series loop remains active while the other fails.
Can I cut and extend a light string? Not recommended. Altering length affects voltage distribution. It may burn out bulbs.
How long should Christmas lights last? Incandescents: about 1,000 hours. LEDs: up to 50,000 hours.
Is it safe to leave repaired lights outside? Only if all fixes are weatherproof. Use outdoor-rated materials.
Can pets damage stored lights? Yes. Dogs and cats chew cords. Store in sealed plastic bins off the floor.
Should I repair old lights or buy new ones? Repair if less than five years old and structurally sound. Upgrade if repeatedly failing.
Final Thoughts on Mastering How to Repair Christmas Lights
Learning how to repair christmas lights empowers you to maintain your holiday traditions efficiently. Instead of discarding broken strings, you extend their life and reduce clutter. You also gain peace of mind knowing you can handle common issues quickly.
From checking fuses to using multimeters, each skill builds confidence. Over time, you diagnose problems faster and apply fixes with precision. These abilities save time and money during the busy season.
More importantly, repairing lights supports sustainability. Fewer discarded decorations mean less landfill waste. Reusing what you own aligns with eco-conscious values.
Whether you manage a small indoor tree or a full-house display, proper maintenance ensures consistent performance. With practice, troubleshooting becomes second nature. So gather your tools, inspect your strands, and embrace the rewarding process of keeping your glow alive. Now you truly understand how to repair christmas lights—and why it matters.