Christmas Light Tool That Makes Decorating Faster and Easier
Hanging holiday lights can be exciting, but it often turns into a frustrating task. That’s where a christmas light tool makes all the difference. This simple yet powerful device helps you install string lights safely and efficiently—especially on rooftops, gutters, and high walls. Without one, many people struggle with ladders, tangled wires, or damaged shingles. With the right christmas light tool, decorating becomes faster, safer, and far less stressful.
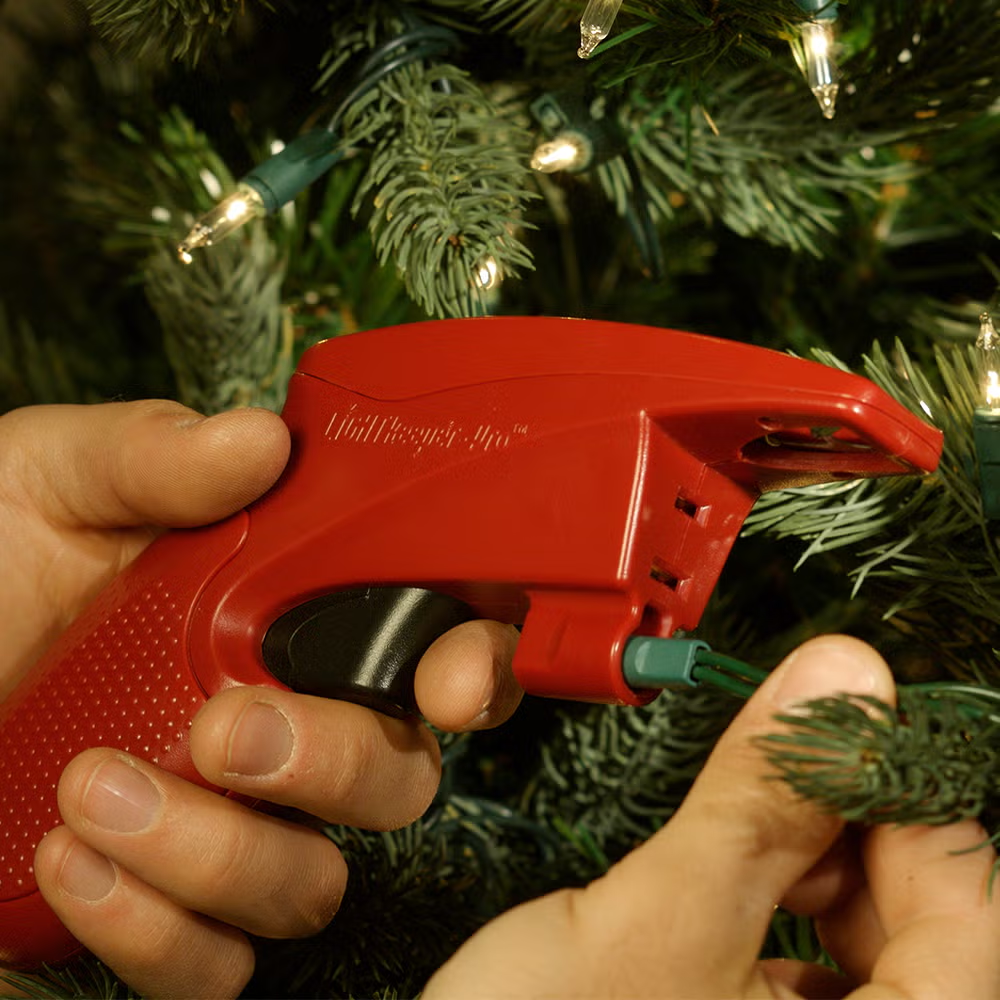
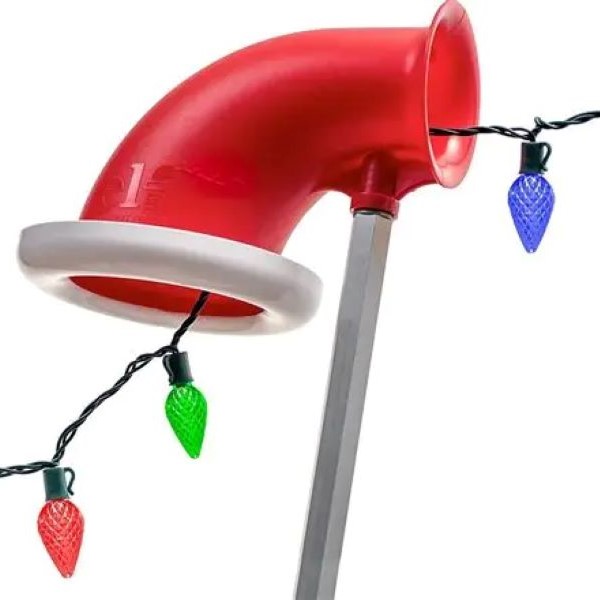
A christmas light tool is typically a long pole with a hooked end or clip mechanism. It allows you to hang lights from the ground without climbing. You simply attach the light strand to the tool, lift it into position, and hook it onto gutters, eaves, or fences. Many models are extendable, reaching heights of 10 to 20 feet. As more homeowners embrace elaborate displays, this tool has become a must-have in seasonal prep. Transitioning from risky climbs to secure installations starts with owning the right equipment.
 Why You Need a Christmas Light Tool for Your Holiday Setup
Avoiding Ladder Risks and Physical Strain
One of the biggest reasons to use a christmas light tool is safety. Every year, emergency rooms treat thousands of injuries related to ladder falls during holiday decorating. Slipping on icy steps or losing balance on uneven ground leads to broken bones and worse. A christmas light tool eliminates the need to climb in most cases. You stay grounded and stable while still placing lights precisely.
Additionally, older adults or those with mobility issues benefit greatly. They can participate in decorating without physical strain. Children can help too—under supervision—by guiding the pole or handing over strands. This inclusivity strengthens family traditions.
Time savings are another major advantage. Setting up ladders, moving them between sections, and constantly adjusting takes hours. With a christmas light tool, you move continuously along your home’s perimeter. No setup delays. No heavy lifting.
You also protect your roof. Stepping on shingles can cause damage. Granules wear off, leaks develop, and repair costs rise. A tool prevents foot traffic on fragile surfaces.
Insurance claims related to DIY decor have increased. Prevent avoidable accidents. Transitioning from danger to safety should be a top priority.
Types of Light Tools Available on the Market
Choosing the Right Design for Your Needs
Not all christmas light tools work the same way. Several types exist, each suited for different situations. The most common is the gutter hook tool. It features a curved end that grabs under rain gutters. Users slide the light clip into place from below. This works best for homes with standard aluminum or vinyl gutters.
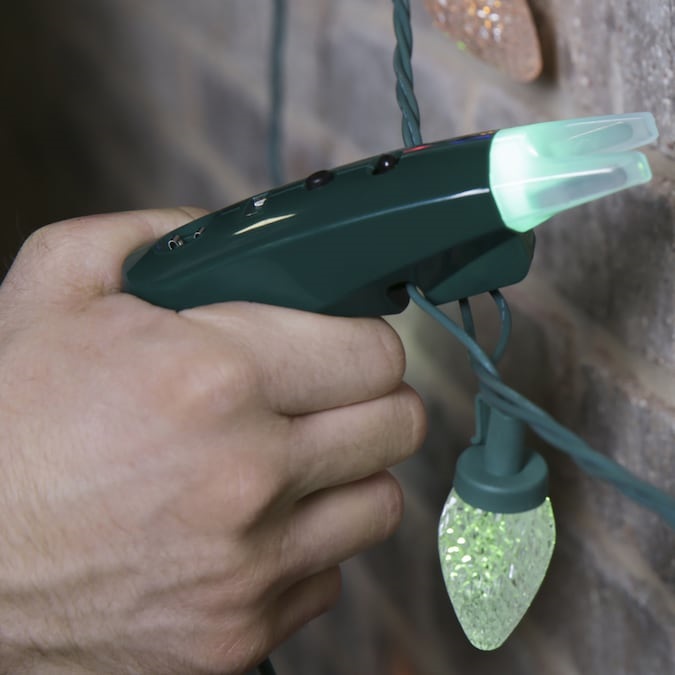
Another popular option is the universal clip-on tool. It uses an adjustable jaw to fit various surfaces. Use it on fences, wooden beams, or brick edges. Some models include rotating heads. These let you angle the tool for tricky spots like corners or sloped roofs.
Telescoping poles are highly practical. They extend from 4 feet to over 16 feet. Store them compactly when not in use. Look for lightweight materials like fiberglass or aluminum. Heavy tools tire arms quickly.
Magnetic versions suit metal roofs or siding. Attach lights using strong rare-earth magnets. The tool places them accurately without scratching.
Battery-powered smart tools are emerging. These include built-in lights or cameras. See hard-to-reach areas clearly. Some even come with app connectivity.
Multi-function models combine hooks, cutters, and storage. They handle tangles and snips as you go.
Consider your home’s structure before buying. Transitioning from general to specific choices improves success.
 How to Use a Light Tool Step by Step
Mastering Installation in Minutes
Using a christmas light tool is straightforward once you know the process. Start by assembling the tool if needed. Extend the pole to the desired length. Lock the joints securely. Check that the hook or clamp moves smoothly.
Next, attach the first light clip to the tool’s end. Most strings come with clips already attached. Slide the clip into the hook. Make sure it won’t detach mid-air. Test it at low height first.
Stand directly beneath the spot where you want to place the light. Raise the pole slowly. Align the clip with the gutter or mounting point. Gently push until it snaps or hooks into place. Apply slight pressure to ensure it holds.
After securing, lower the pole. Pull the string slightly to test stability. If it stays, proceed to the next section. Repeat the process every 12–18 inches, depending on your design.
For corners or angles, rotate the tool head if possible. Adjust your stance to maintain control. Take breaks if arms get tired.
Once finished, step back and inspect your work. Correct any loose clips manually.
With practice, each placement takes less than ten seconds. Transitioning from confusion to confidence comes quickly.
Benefits of Using a Light Tool Beyond Safety
Saving Time, Protecting Surfaces, and Improving Precision
While safety is the main draw, a christmas light tool offers several other advantages. One is speed. Traditional methods take two to three times longer. You’re constantly moving ladders, repositioning, and stretching. With a tool, you walk steadily along one path. Install lights in half the time.
Surface protection is another benefit. Stepping on roofs damages shingles. Even walking near gutters can bend them. A christmas light tool keeps your feet on the ground. It also avoids scratches on paint or siding. Hooks engage gently without force.
Precision improves too. From the ground, you see the full line of installation. This helps keep lights evenly spaced. No more crooked rows or gaps. You achieve a clean, professional look.
Storage is easier. Most tools collapse into small tubes. Store them in closets, garages, or sheds. They take up less space than ladders or bulky reels.
Many users report reduced back and shoulder pain. Reaching overhead causes strain. A tool reduces awkward postures.
It also supports solo decorators. No need to wait for help. Work at your own pace.
Holiday prep should be joyful, not exhausting. Transitioning from frustration to ease changes the entire experience.
 Top Features to Look for in a Quality Light Tool
What Makes One Tool Better Than Another
When shopping for a christmas light tool, focus on key features. First, material matters. Fiberglass and aluminum are strong but lightweight. Avoid thick steel—it fatigues arms fast.
Look for non-marring tips. Rubber or soft plastic ends prevent scratches on gutters and paint. This protects your home’s exterior.
Adjustability is essential. Choose a telescoping model. It should lock firmly at multiple lengths. Wobbly joints reduce accuracy.
Ergonomic handles improve grip. Textured or cushioned grips prevent slipping. Especially important in cold or damp weather.
Swivel heads increase flexibility. Rotate the tip to match roof angles. This helps on complex homes with multiple slopes.
Durability counts. Read reviews about rust resistance and joint strength. Cheap tools break after one season. Invest in one that lasts.
Some models include built-in storage. Hold extra clips or short strands inside the pole. Others come with carrying bags. These add convenience.
Check compatibility. Ensure the tool works with your light type. Most handle standard clips. Verify if it fits LED strips or specialty connectors.
Price varies. Good tools range from 30to70. Avoid ultra-cheap options. They fail when needed most.
Transitioning from basic to advanced tools depends on your needs.
Creative Uses for a Light Tool Beyond Holiday Lights
Year-Round Applications for Your Investment
A christmas light tool isn’t just for December. Its usefulness extends throughout the year. In spring, use it to hang patio string lights. Attach them to pergolas, fences, or trees. Create cozy outdoor spaces for evenings.
During summer parties, drape lights over decks or pool areas. Position them safely without climbing wet surfaces. The tool keeps you dry and balanced.
Fall celebrations like Halloween benefit too. Hang spider webs, paper bats, or glowing pumpkins from high eaves. Secure decorations without damaging siding.
Use it for flag installation. Mount seasonal banners or national flags on tall poles. The tool reaches peak attachment points easily.
Home inspections become simpler. Lift the pole with a phone or small camera attached. Check gutters for clogs or roof damage. Spot missing shingles early.
Clean high windows or solar panels. Attach a microfiber cloth to the end. Wipe dust from the ground. Save time and avoid ladder risks.
Install bird feeders or wind chimes in tall trees. Keep them out of pet reach. Use the tool to place them securely.
Store the tool in a visible spot. Transitioning from holiday-only to multi-use increases value.
 Comparing DIY Alternatives vs. Buying a Light Tool
Is It Worth Purchasing or Should You Make One?
Some people try to skip buying a christmas light tool by making their own. Common DIY versions include broomsticks with bent wire, PVC pipes with hooks, or tape-attached clothespins. While creative, these lack reliability. Wire bends. Tape fails. Homemade tools often drop lights or scratch surfaces.
Purchased tools are engineered for performance. They feature tested materials, smooth mechanisms, and durable joints. Most come with warranties. If something breaks, replacements are available.
Cost-wise, commercial tools pay for themselves. Renting a ladder or paying for roof repairs costs more. Medical bills from falls cost much more.
Time savings justify the price. A proper tool cuts installation time in half. Finish faster and enjoy the holidays sooner.
Durability ensures reuse. Buy once. Use for ten or more seasons. DIY versions rarely last beyond one year.
User reviews highlight satisfaction. People say they wish they bought one sooner. Regret comes from waiting, not spending.
Safety alone makes it worthwhile. Protect your body and home.
Transitioning from makeshift to professional tools brings peace of mind.
Frequently Asked Questions
Can I use a christmas light tool on a tile roof?
Yes. Just avoid pressing down. Use the hook gently from the edge.
Does it work with all light types?
Mostly yes. Standard clips fit. Check if your LED strips need special mounts.
How long does it take to learn?
Most people master it in under 30 minutes. Practice on low areas first.
Are replacement parts available?
Some brands offer spare tips or joints. Check manufacturer support.
Can children use it?
Only under close adult supervision. The pole can be heavy or unbalanced.
Is it safe in windy conditions?
No. Wait for calm days. Wind affects control and accuracy.
Can I use it indoors?
Yes. Hang lights on high shelves or gymnasium ceilings. Great for events.
What if the tool gets stuck?
Stay calm. Gently wiggle it free. Avoid yanking. Use gloves for better grip.
Final Thoughts
Hanging holiday lights doesn’t have to mean danger, delay, or discomfort. A christmas light tool transforms the process into something efficient, safe, and even enjoyable. Whether you’re decorating a small porch or a full two-story house, this device saves time, protects your home, and reduces physical risk.
More than just a gadget, it’s a smart investment in seasonal joy. It empowers solo decorators, supports aging parents, and keeps families safe. With its year-round uses, it quickly earns its place in your storage space. As holiday displays grow bigger and brighter, so should your tools. Embrace innovation and make this the easiest decorating season yet with the right christmas light tool.