From Fraction to Mark: Mastering 11/32 on a Tape Measure
When working on home improvement or carpentry projects, precision matters. One of the most common yet overlooked fractions you’ll encounter is 11/32 on a tape measure. This measurement falls between 5/16 (which equals 10/32) and 3/8 (which equals 12/32). Knowing how to locate and interpret 11/32 on a tape measure helps you make accurate cuts, align materials correctly, and avoid costly mistakes. Whether you’re building a shelf, framing a wall, or installing trim, understanding this fraction improves your results.
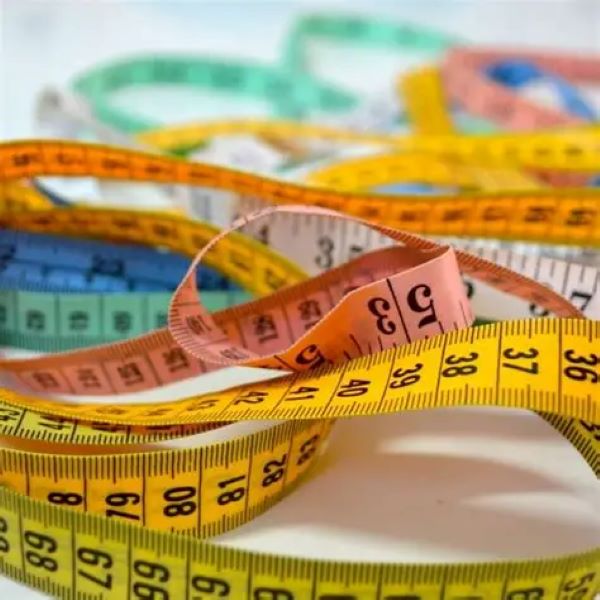
Moreover, not all tape measures label every fraction clearly. While major marks show inches, half-inches, and quarter-inches, smaller divisions like 1/32nd are often marked with shorter lines. The 11/32 on a tape measure appears as the eleventh small line in a full inch when divided into 32 segments. Since it’s not labeled with numbers, users must count carefully. Therefore, learning to read these fine increments ensures consistency and professionalism in any project.
Contents
hide
 Basics of Reading a Tape Measure
Understanding the basics of a tape measure is essential for accurate measurements. A tape measure is a versatile tool widely used in construction, DIY projects, and crafts. To get precise readings, you need to know its key components and how to interpret the fractional markings.
Key Components of a Tape Measure
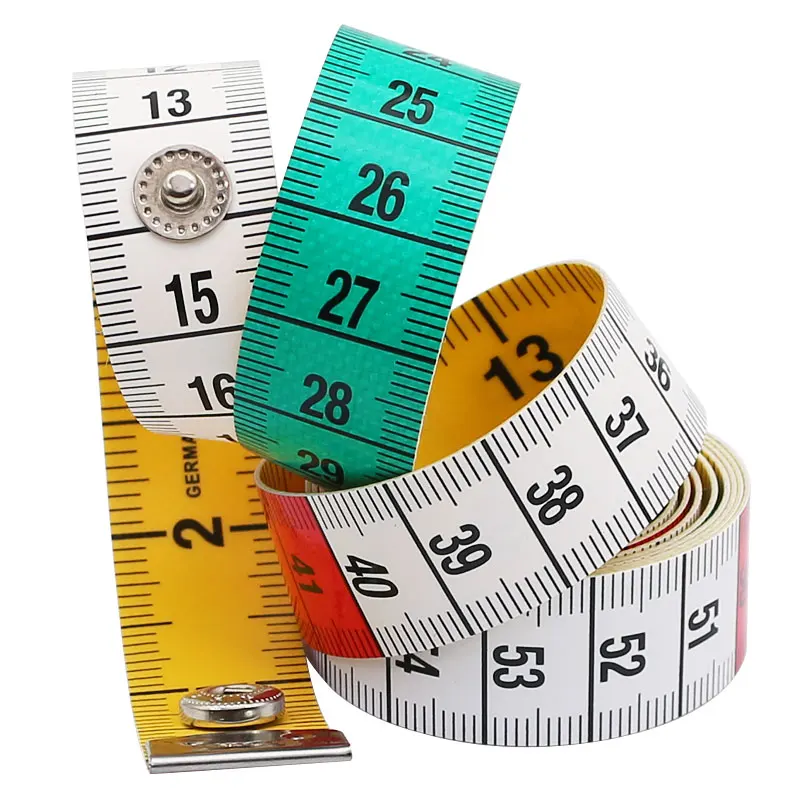
- Blade: The blade is the retractable metal strip that displays measurements. It usually has numbered markings for inches, feet, and fractions.
- Hook: The metal end hook allows measurements to start from the edge of any object.
- Lock Mechanism: This keeps the blade in place for consistent readings.
- Housing: The casing protects the blade and often includes a belt clip for portability.
Each component plays a role in ensuring accurate and efficient operation. Familiarizing yourself with these parts will make measuring tasks easier.
Common Fractions and Their Importance
Most tape measures show fractions ranging from 1/16 to 1 inch. These fractions divide each inch into smaller segments, helping measure details precisely.
- 1/2, 1/4, and 1/8: These are the most common fractions, often represented with longer, bold markings.
- Smaller Fractions (e.g., 1/16, 1/32): These are used for finer measurements, and the markings are shorter.
Recognizing these fractions is essential. They help you quickly identify precise values, such as 11/32, and apply them accurately to your project. By mastering these basics, navigating your tape measure becomes much simpler.
What Does 11/32 Represent?
Understanding what 11/32 means on a tape measure is crucial for precise measurements. This fraction plays a key role in detailing smaller dimensions accurately. Let’s break it down to understand its significance and usability.
Breaking Down Fractions on a Tape Measure
Tape measures display fractions to divide each inch into smaller segments. These fractions help achieve detailed measurements.
- 11/32 Explained: It represents the specific point that is 11 parts out of 32 within one inch.
- Understanding Fraction Usage: This fraction is often used in tasks requiring high precision, such as woodworking or metal fabrication.
Identifying and understanding smaller fractions like 11/32 ensures better accuracy and efficiency during your projects.
Conversion to Decimal and Metric Equivalents
Sometimes, measuring tasks require conversion to decimals or metric units for easier application.
- Decimal Equivalent: Convert 11/32 into a decimal by dividing 11 by 32. The result is 0.34375.
- Metric Equivalent: Multiply the decimal value by 25.4 (conversion factor for inches to millimeters). This equals approximately 8.73 millimeters.
Converting measurements into different formats helps when working with diverse tools or materials. These conversions make aligning and interpreting measurements seamless across various systems.
How to Locate 11/32 on a Tape Measure
Understanding how to locate 11/32 on a tape measure ensures precise measurements for your project. By following simple steps and utilizing key techniques, you can avoid errors and achieve accurate results.
Step-by-Step Guide to Finding 11/32
- Identify the Inch Mark: Locate the nearest inch marking on the tape measure.
- Understand Fraction Positions: Observe markings between the inch for fractional segments like 1/2 and smaller divisions.
- Locate 32nd Segments: Count the 32 small segments within the inch section.
- Count to 11/32: Carefully count 11 markings from the beginning of the inch line. This will be 11/32.
- Verify Measurement: Double-check the position to ensure you’ve correctly counted the fractional markings.
Following this step-by-step method helps you accurately pinpoint 11/32 and avoid errors during your measurement work.
Tips for Accurate Measurement
- Ensure Proper Lighting: Good lighting minimizes misreading fractional markings.
- Use a Magnifier: A magnifying glass helps view small markings more clearly.
- Steady Your Tape Measure: Hold the tape measure steady to avoid shifting lines.
- Recheck Measurements: Double-check markings to ensure precision before documenting.
- Practice Fraction Recognition: Familiarity with common fractions can improve measurement speed and accuracy.
Applying these tips enhances efficiency and precision when locating 11/32 on a tape measure. Mastering this skill is essential for accurate project execution.
Why Precision Matters in Measurements
Precision in measurements directly impacts the quality and accuracy of any project. Whether it’s construction or DIY tasks, accurate measurements ensure everything fits and functions as intended. Missteps in measurement can lead to costly errors and wasted time.
Impact on Construction and DIY Projects
- Perfect Fitting and Alignment: Precise measurements guarantee materials properly fit and align in construction work.
- Improved Safety: Accurate dimensions minimize risks caused by uneven builds or unstable structures.
- Enhanced Efficiency: Properly measured parts reduce unnecessary adjustments and save time during assembly.
- Professional Results: Fine measurements lead to higher-quality outcomes in DIY projects.
- Cost Savings: Avoid material wastage caused by incorrect cuts or placements due to poor measurements.
When you understand the importance of precision, the project execution improves significantly. Precise measurements turn ideas into clean, functional designs.
Avoiding Errors with Fractional Measurements
- Correct Tool Usage: Use well-calibrated tape measures to reduce chances of error during reading fractions.
- Focus on Markings: Always count fractional segments carefully to ensure the correct reading of 11/32.
- Practice and Review: Regularly practice identifying fractions like 11/32 to strengthen accuracy.
- Double-Check Measurements: Always verify results before making cuts or adjustments.
- Stay Organized: Keeping notes of measured values can avoid confusion during tasks.
By avoiding errors with fractional measurements, you gain confidence and reduce potential mistakes. Precision remains the cornerstone of efficient workmanship.
 Tools and Techniques to Enhance Tape Measure Accuracy
Accurate measurements are vital for project quality and efficiency. Utilizing proper tools and techniques improves precision.
Using a Digital Tape Measure as an Alternative
Digital tape measures offer more accuracy compared to traditional models. They come with advanced features like digital displays and error-free readings.
- Improved Precision: Digital tape measures automatically calculate fractions such as 11/32 without manual counting.
- Ease of Use: The digital display clearly shows measurements, minimizing the chance of misreading.
- Versatility: Useful for projects requiring millimeter-precise results or frequent metric conversion.
- Multiple Functions: Many digital models include additional features like area calculation or memory storage.
Professionals in fields like carpentry or engineering benefit from digital tape measures. They reduce errors and save time in demanding tasks.
Practices for Consistent Results
Following effective practices ensures consistent and precise measurements for any project.
- Keep Tape Straight: Always keep the tape measure straight and steady while measuring.
- Double-Check Readings: Verify measurements to ensure accuracy before cutting or assembling materials.
- Use Proper Lighting: Good lighting helps read fractional markings like 11/32 correctly.
- Avoid Device Shaking: Hold the tape measure firmly to avoid shifting during reading.
- Regular Calibration: Maintain and check the accuracy of digital or manual tape measures often.
By adopting these measures, you can enhance the reliability of your tape measure and ensure better results in every task.
Common Challenges When Reading 11/32
Accurately reading 11/32 on a tape measure can sometimes be tricky. Understanding common challenges helps improve measurement accuracy and prevents errors during your work.
Misreading the Markings
- Small Fraction Size: The 11/32 marking is small and easy to overlook on the tape measure.
- Cluttered Markings: A tape measure often has multiple lines packed closely, causing confusion.
- Inconsistent Tape Designs: Different tape measures may represent fractions like 11/32 differently.
- Low Visibility: Poor lighting can make it difficult to see markings clearly.
- Inexperience: Beginners may find it hard to identify smaller fractions like 11/32.
To avoid these pitfalls, focus closely on fractional markings and familiarize yourself with their positions.
Overcoming Visual and Measurement Errors
- Use Magnifying Tools: A magnifying glass aids in viewing fine details like 11/32 accurately.
- Improve Lighting Conditions: Work in well-lit areas to enhance visibility of fractional markings.
- Choose High-Quality Tape Measures: Premium tools often have clearer, more precise markings.
- Practice Fraction Identification: Regularly identify fractions on tape measures to build confidence and skill.
- Double-Check Measurements: Reconfirm the position of 11/32 to ensure error-free readings.
By addressing these challenges, you can boost precision and avoid errors while using your tape measure.
Practical Applications of 11/32 Measurements
Understanding the practical uses of 11/32 measurements can improve precision in various tasks. This fraction is vital in projects requiring detailed and accurate measurements. Let’s explore where 11/32 is applied and how professionals utilize it.
Real-World Scenarios Requiring 11/32
- Woodworking: Many woodworking projects rely on smaller fractions like 11/32 for precise cuts.
- Metal Fabrication: Metal pieces often need high accuracy, and 11/32 offers the detail craftsmen require.
- Furniture Making: Perfectly aligned joints and fittings frequently involve measurements like 11/32.
- Plumbing: Pipe fittings sometimes demand the exact spacing that 11/32 helps achieve.
- Mechanical Repairs: Engine components and other machinery often need parts measured using fine fractions.
Measurements as specific as 11/32 ensure components fit securely and function correctly in these fields.
How Professionals Utilize Precise Fractions
- Blueprint Reading: Architects and engineers use 11/32 when designing detailed drawings and layouts.
- Carpentry: Carpenters measure 11/32 to fit trims, molding, and decorative pieces precisely.
- Toolmaking: Precision tools, gauges, and templates often feature measurements like 11/32 for accuracy.
- Construction Planning: Contractors rely on smaller fractions to ensure even spacing for structural elements.
- Craft Projects: Artists and crafters use 11/32 for detailed work, such as designing intricate patterns.
Precision matters in every profession. Using exact measurements like 11/32 reduces errors and enhances results. Professionals trust this fraction for its ability to create flawless, functional designs.
 Common Mistakes
Avoid Errors in Starting Points and Misaligned Hooks
One frequent mistake is ignoring the hook end of the tape. The metal tab moves slightly to compensate for its own thickness. When measuring externally, it adds length. Internally, it subtracts. Failing to account for this causes errors—even at 1/32-inch levels.
Another issue is starting from the wrong edge. Some users begin at the outside of the hook instead of the inside. Always confirm whether you’re measuring from the front or back of the tab.
Misalignment skews readings. Bending the tape creates false measurements. Keep it taut but not overstretched. Sagging introduces slack, making 11/32 appear farther than it is.
Parallax remains a silent problem. Viewing the tape from above or below shifts perception. Always look straight down at the mark.
Relying solely on memory leads to slips. Assuming 11/32 is “about halfway” between 5/16 and 3/8 isn’t enough. Precision demands exactness.
Lastly, worn tapes lose accuracy. Frayed ends or faded lines make 11/32 on a tape measure hard to see. Replace damaged tools regularly. Therefore, vigilance prevents small errors from becoming big failures.
Converting 11/32 to Decimals and Millimeters
Bridge Imperial and Metric Systems Easily
Although 11/32 on a tape measure is an imperial unit, many modern tools use decimals or metric units. Conversion helps when using digital calipers or CAD software.
To convert, divide 11 by 32.
11 ÷ 32 = 0.34375 inches.
This decimal form appears in engineering drawings and CNC machines. Rounding to 0.344” is acceptable for non-critical tasks. However, high-precision work keeps all five digits.
For metric conversion:
0.34375 × 25.4 = 8.73125 mm.
Most users round this to 8.73 mm.
Some rulers and digital gauges display both systems side-by-side. When comparing, remember that 8.73 mm aligns closely with 11/32.
Knowing these values allows seamless switching between tools. Builders working internationally benefit greatly. Machinists frequently switch formats depending on machine settings. Hence, fluency in conversions enhances versatility.
 Frequently Asked Questions
Is 11/32 Close to 1/3 Inch?
No, 1/3 inch is about 0.333”, while 11/32 is 0.34375”. They differ by over 1/100 of an inch. Not interchangeable in precise work.
Can I Find 11/32 on All Tape Measures?
Not all tapes show 1/32-inch marks. Basic models stop at 1/16. Upgrade to a high-resolution tape for finer readings.
Does 11/32 Appear on Fraction Charts?
Rarely. Most charts list 5/16, 3/8, and 11/32 falls in between. You must calculate or count manually.
What If My Tape Lacks 1/32 Marks?
Estimate halfway between 5/16 and 3/8. Use a ruler with finer gradations for better accuracy.
How Do I Mark 11/32 Accurately?
Use a sharp pencil or scribe. Align the tape carefully. Make a thin, clear line. Double-check before cutting.
Final Thoughts
Build Confidence Through Practice and Attention
Learning to identify 11/32 on a tape measure is a small skill with large benefits. It reflects attention to detail and commitment to quality. Whether you’re a beginner or seasoned pro, mastering this fraction improves your craftsmanship.
By understanding its position, converting it to decimals, and avoiding common pitfalls, you ensure consistent results. Over time, recognition becomes automatic. Projects finish faster and with fewer errors.
Ultimately, success in construction and DIY relies on accuracy. And accuracy starts with knowing every mark—including 11/32 on a tape measure. With practice, patience, and the right tools, you’ll handle it with confidence.