Guide on How to Measure Flange Size with Measuring Tape
Introduction: How to Measure Flange Size with Measuring Tape
Knowing how to measure flange size with measuring tape is essential for engineers, plumbers, and DIY enthusiasts. Flanges connect pipes, valves, and fittings in many systems. Getting the right size ensures a secure, leak-free connection.
Without accurate measurements, installations fail or require costly rework. Whether you’re working on a home project or industrial system, precision matters. Learning how to measure flange size with measuring tape helps avoid mistakes and improves efficiency.
What is a Flange and Why is Measuring it Important?
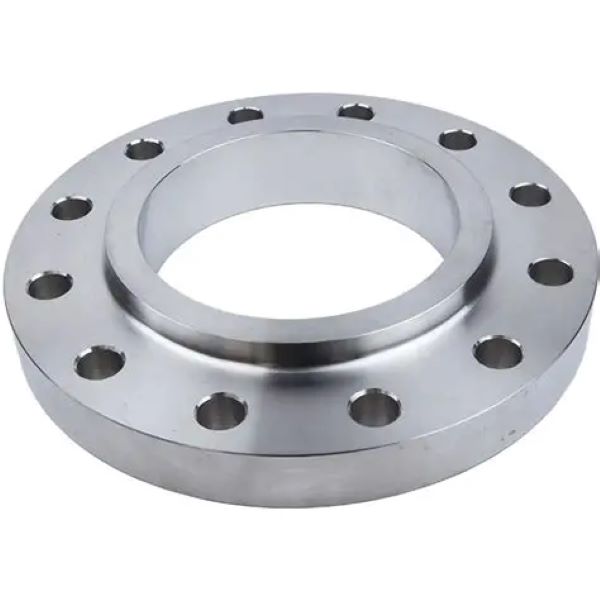
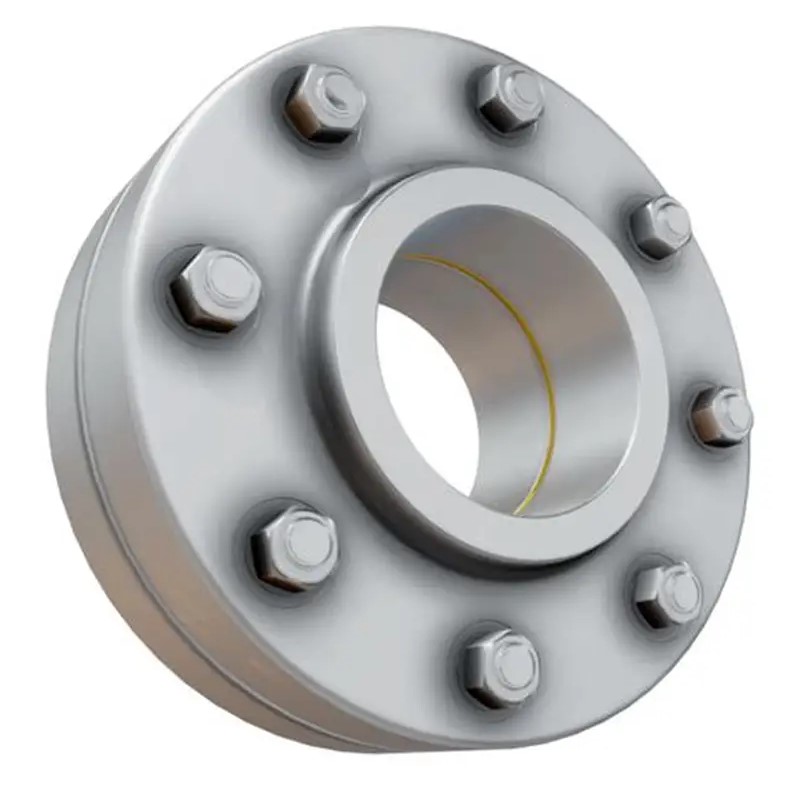
A flange is a device used to connect pipes, valves, pumps, or other equipment. They provide support and make it easier to assemble or disassemble parts. Flanges are used in industries like oil, gas, water, and power systems.
Measuring a flange accurately is crucial for many reasons:
- Ensures Proper Fit: Correct measurements help components fit seamlessly, preventing leaks or alignment issues.
- Prevents Downtime: A wrong-sized flange can delay projects and increase repair costs.
- Guarantees Safety: Properly fitted flanges reduce the risk of failures and improve system safety.
- Assists in Replacement: Accurate dimensions make ordering replacements easy and efficient.
Flange dimensions like diameter, thickness, and bolt circle diameter must be precise. Using tools like a measuring tape ensures that these measurements are accurate for reliable system performance.
 Tools You Need to Measure a Flange
How to measure flange size with measuring tape? Measuring flange size precisely requires specific tools. Each tool plays an important role in accuracy.
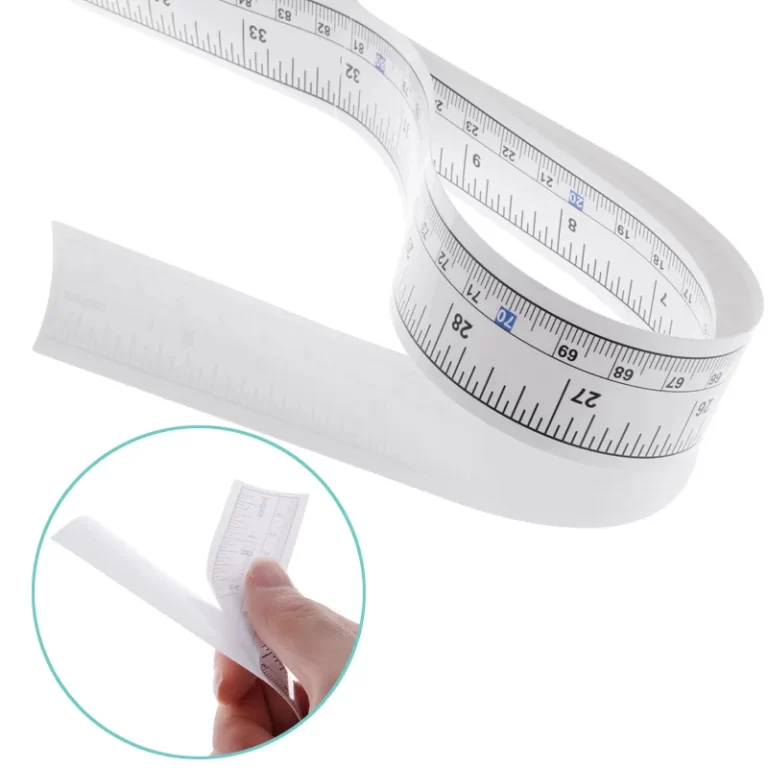
- Measuring Tape: A sturdy measuring tape is essential to measure the flange dimensions precisely. Choose one with clear markings in both inches and millimeters for accurate results.
- Caliper: A caliper helps measure smaller dimensions like flange thickness and individual bolt sizes. Digital calipers provide quick and precise readings.
- Protractor or Angle Finder: For flanges that require angle measurements, a protractor or angle finder works best. Ensure it is easy to read and accurate.
- Straight Edge or Ruler: A straight edge ensures accurate alignment when measuring the outer diameter or bolt circle diameter.
- Notebook or Device for Recording Measurements: Always document your measurements to avoid errors. Use a notebook or digital device for this purpose.
- Marker or Chalk: Use these to label key points on the flange, especially the bolt holes, for reference.
These tools ensure precision and make the measuring process smooth. Having the right equipment minimizes mistakes, saving time and effort. Accurate measurements ensure the right fit for replacements and installations.
Preparing Your Measuring Tape for Accurate Results
Before measuring flange size, prepare your measuring tape for accurate results. Proper preparation ensures reliable measurements, avoiding costly mistakes.
Steps to Prepare Your Measuring Tape
- Check Your Measuring Tape Quality: Inspect your measuring tape for any damage or wear. Ensure it is sturdy, with clear, readable markings.
- Clean the Tape and Flange Surface: Remove oil, dirt, or debris from the measuring tape and flange. Dirt can affect measurement accuracy.
- Calibrate the Tape: Verify the tape’s accuracy against a known standard, like a ruler. Ensure measurements align perfectly.
- Choose the Right Units: Use the units required for your project: inches, millimeters, or both. Some flanges may need precise metric measurements.
- Practice Proper Handling: Hold the tape firmly but avoid stretching it. Accurate handling prevents misread measurements.
- Prepare a Notebook or Device: Use a notebook or electronic device to record measurements. Double-check notes for correctness.
Proper preparation of your measuring tape ensures accuracy when determining flange dimensions, such as diameter or thickness.
 Step-by-Step Process to Measure Flange Diameter
Measuring flange diameter accurately is essential for proper fittings and system reliability. Follow these simple steps:
- Place the Flange on a Flat Surface: Ensure the flange is positioned flat to avoid errors.
- Prepare Your Measuring Tape: Make sure the tape markings are clear and choose the correct unit for measurements.
- Find the Outer Diameter: Extend the tape across the flange from one edge to the opposite edge.
- Hold the Tape Firmly: Ensure the tape stays straight and aligned while measuring.
- Record the Measurement: Write down the exact reading in a notebook or digital device for accuracy.
- Double-Check the Dimensions: Repeat the measurement for consistency and confirm the final value matches both attempts.
Performing these steps ensures you measure flange diameter precisely and avoid costly mistakes during installation or replacements.
Measuring Bolt Circle Diameter (BCD) of a Flange
Measuring the bolt circle diameter (BCD) of a flange is crucial for proper fitting. The BCD is the diameter of the circle that passes through the centers of all bolt holes. Accurate BCD measurements ensure that bolts align perfectly during installation or replacement.
Steps to Measure Bolt Circle Diameter
- Clean the Flange Surface: Remove any dirt or debris from the flange before measuring.
- Identify Bolt Hole Centers: Locate and mark the center point of each bolt hole using a marker.
- Choose the Measuring Tool: Use a measuring tape or caliper for this step.
- Measure Across the Bolt Circle: Place the tool across the flange, passing through bolt hole centers. Ensure alignment is precise.
- Record the Measurement: Write the exact diameter down in your notebook or device.
- Double-Check Accuracy: Repeat measurement to confirm consistent results.
Measuring the BCD accurately avoids alignment issues and ensures system compatibility.
How to Measure Flange Thickness and Other Dimensions
Measuring flange thickness and other dimensions is key to achieving a precise fit during installations. Each dimension should be measured accurately to ensure compatibility and safety.
Steps to Measure Flange Thickness
- Select an Appropriate Tool: Use a caliper or a measuring tape for flange thickness. A digital caliper is best for small and precise measurements.
- Clean the Flange Surface: Dirt or oil on the flange could affect accuracy. Wipe it clean before measurement.
- Position the Tool Correctly: Place the caliper or measuring tape at the flange’s edge. Ensure it aligns firmly.
- Take the Measurement: Read the thickness at the edges or specific required points of the flange.
- Record and Verify: Document the result and remeasure to confirm accuracy.
Measuring Bolt Hole Dimensions
- Identify the Bolt Hole: Inspect and locate the bolt holes you need to measure.
- Use a Caliper: Insert the caliper into the bolt hole and measure its diameter.
- Record the Results: Write down the exact dimension carefully for reference.
Additional Dimensions to Measure
- Inner Diameter: Measure the circle’s diameter inside the flange.
- Outer Diameter: Extend a measuring tape from one edge to the opposite edge.
- Hub Height (If Applicable): For raised-face flanges, check the height of the hub using a caliper or ruler.
Double-Check All Measurements
To ensure compatibility, check each measured dimension twice. Repeat the process for consistent outcomes.
Measuring flange thickness and other dimensions accurately is essential for smooth system functioning. Use reliable tools and follow a structured approach for best results.
Common Errors to Avoid When Measuring Flange Size
Accurate flange measurements are vital for proper fitting and system reliability. Avoiding common mistakes ensures successful results.
- Using a Damaged Measuring Tape: A broken or worn tape will give incorrect dimensions.
- Not Cleaning the Flange Surface: Dirt and debris interfere with precise measurements.
- Misaligning the Tape: Ensure the tape is straight and flat to avoid incorrect readings.
- Choosing the Wrong Measurement Units: Using the wrong units leads to confusion and errors.
- Skipping Double-Checks: Always verify your measurements to ensure accuracy and consistency.
- Measuring Bolt Circle Diameter Carelessly: Misplacing the tape can result in faulty bolt alignment.
- Not Using Proper Tools: A lack of correct measuring tools reduces the reliability of your results.
- Ignoring Calibration: Always check tool calibration to ensure accurate measurements.
Avoiding these common errors helps achieve successful flange measurements without costly mistakes.
Tips for Ensuring Accurate Flange Measurements
Accurate flange measurements are vital for proper installations and system functionality. Use the tips below to achieve precise results.
- Choose High-Quality Tools: Use reliable measuring tools, like a durable tape or digital calipers. Ensure they are accurate and easy to read.
- Clean Surfaces Before Measuring: Always clean the flange and tools to remove dust, oil, or debris. This ensures no interference in readings.
- Double-Check Measurements: Measure each dimension twice to confirm accuracy and consistency. Record both values to compare.
- Use Correct Units: Verify whether the flange dimensions require inches, millimeters, or both. Be consistent throughout.
- Mark Bolt Hole Centers: Use a marker to pinpoint the exact center of each bolt hole for reliable readings.
- Keep the Measuring Tape Straight: Align the tape perfectly along edges or bolt centers to avoid skewed results.
- Calibrate Your Tools Regularly: Check and adjust measuring tools against a standard reference for optimal accuracy.
- Follow a Structured Approach: Measure one flange dimension at a time, and document results in an organized manner.
- Practice Proper Handling: Do not overstretch the measuring tape. Hold it steadily and apply even pressure.
- Measure Under Good Lighting: Bright lighting helps you see markings and readings clearly, reducing errors.
By following these tips, you can measure flange dimensions precisely and avoid costly mistakes.
 Measuring Different Types of Flanges
There are several flange types, each requiring careful attention. Slip-on flanges slide over the pipe. Their inner diameter must match the pipe exactly.
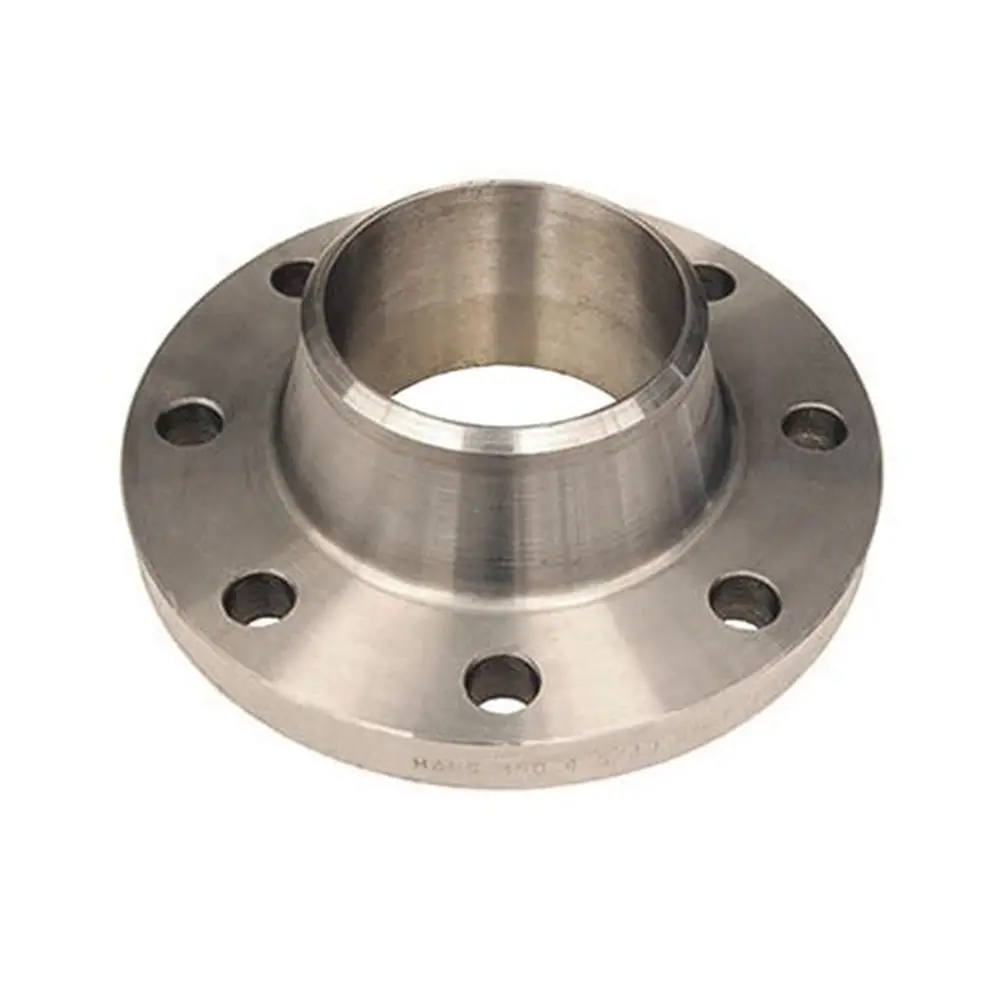
Weld neck flanges have a long tapered hub. Measure the hub length and base thickness. These affect weld prep.
Blind flanges cover pipe ends. They lack a center hole. Measure outer diameter and bolt pattern only.
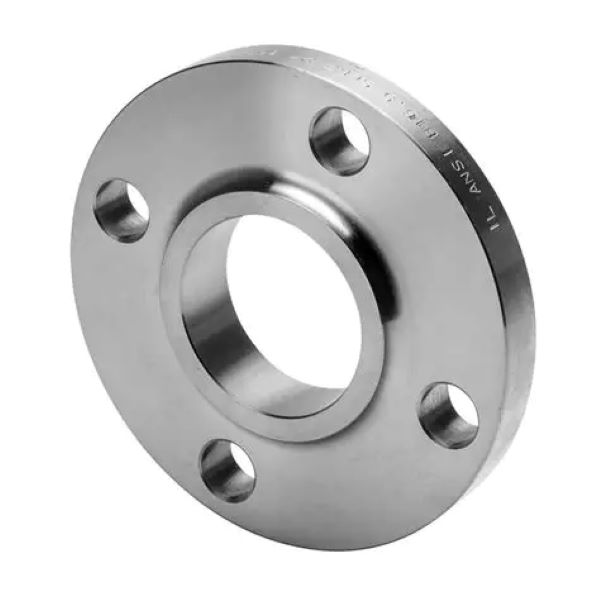
Lap joint flanges pair with stub ends. They rotate freely. Focus on the outer dimensions and bolt circle.
Socket weld flanges fit over pipe ends. Measure the socket depth and internal bore.
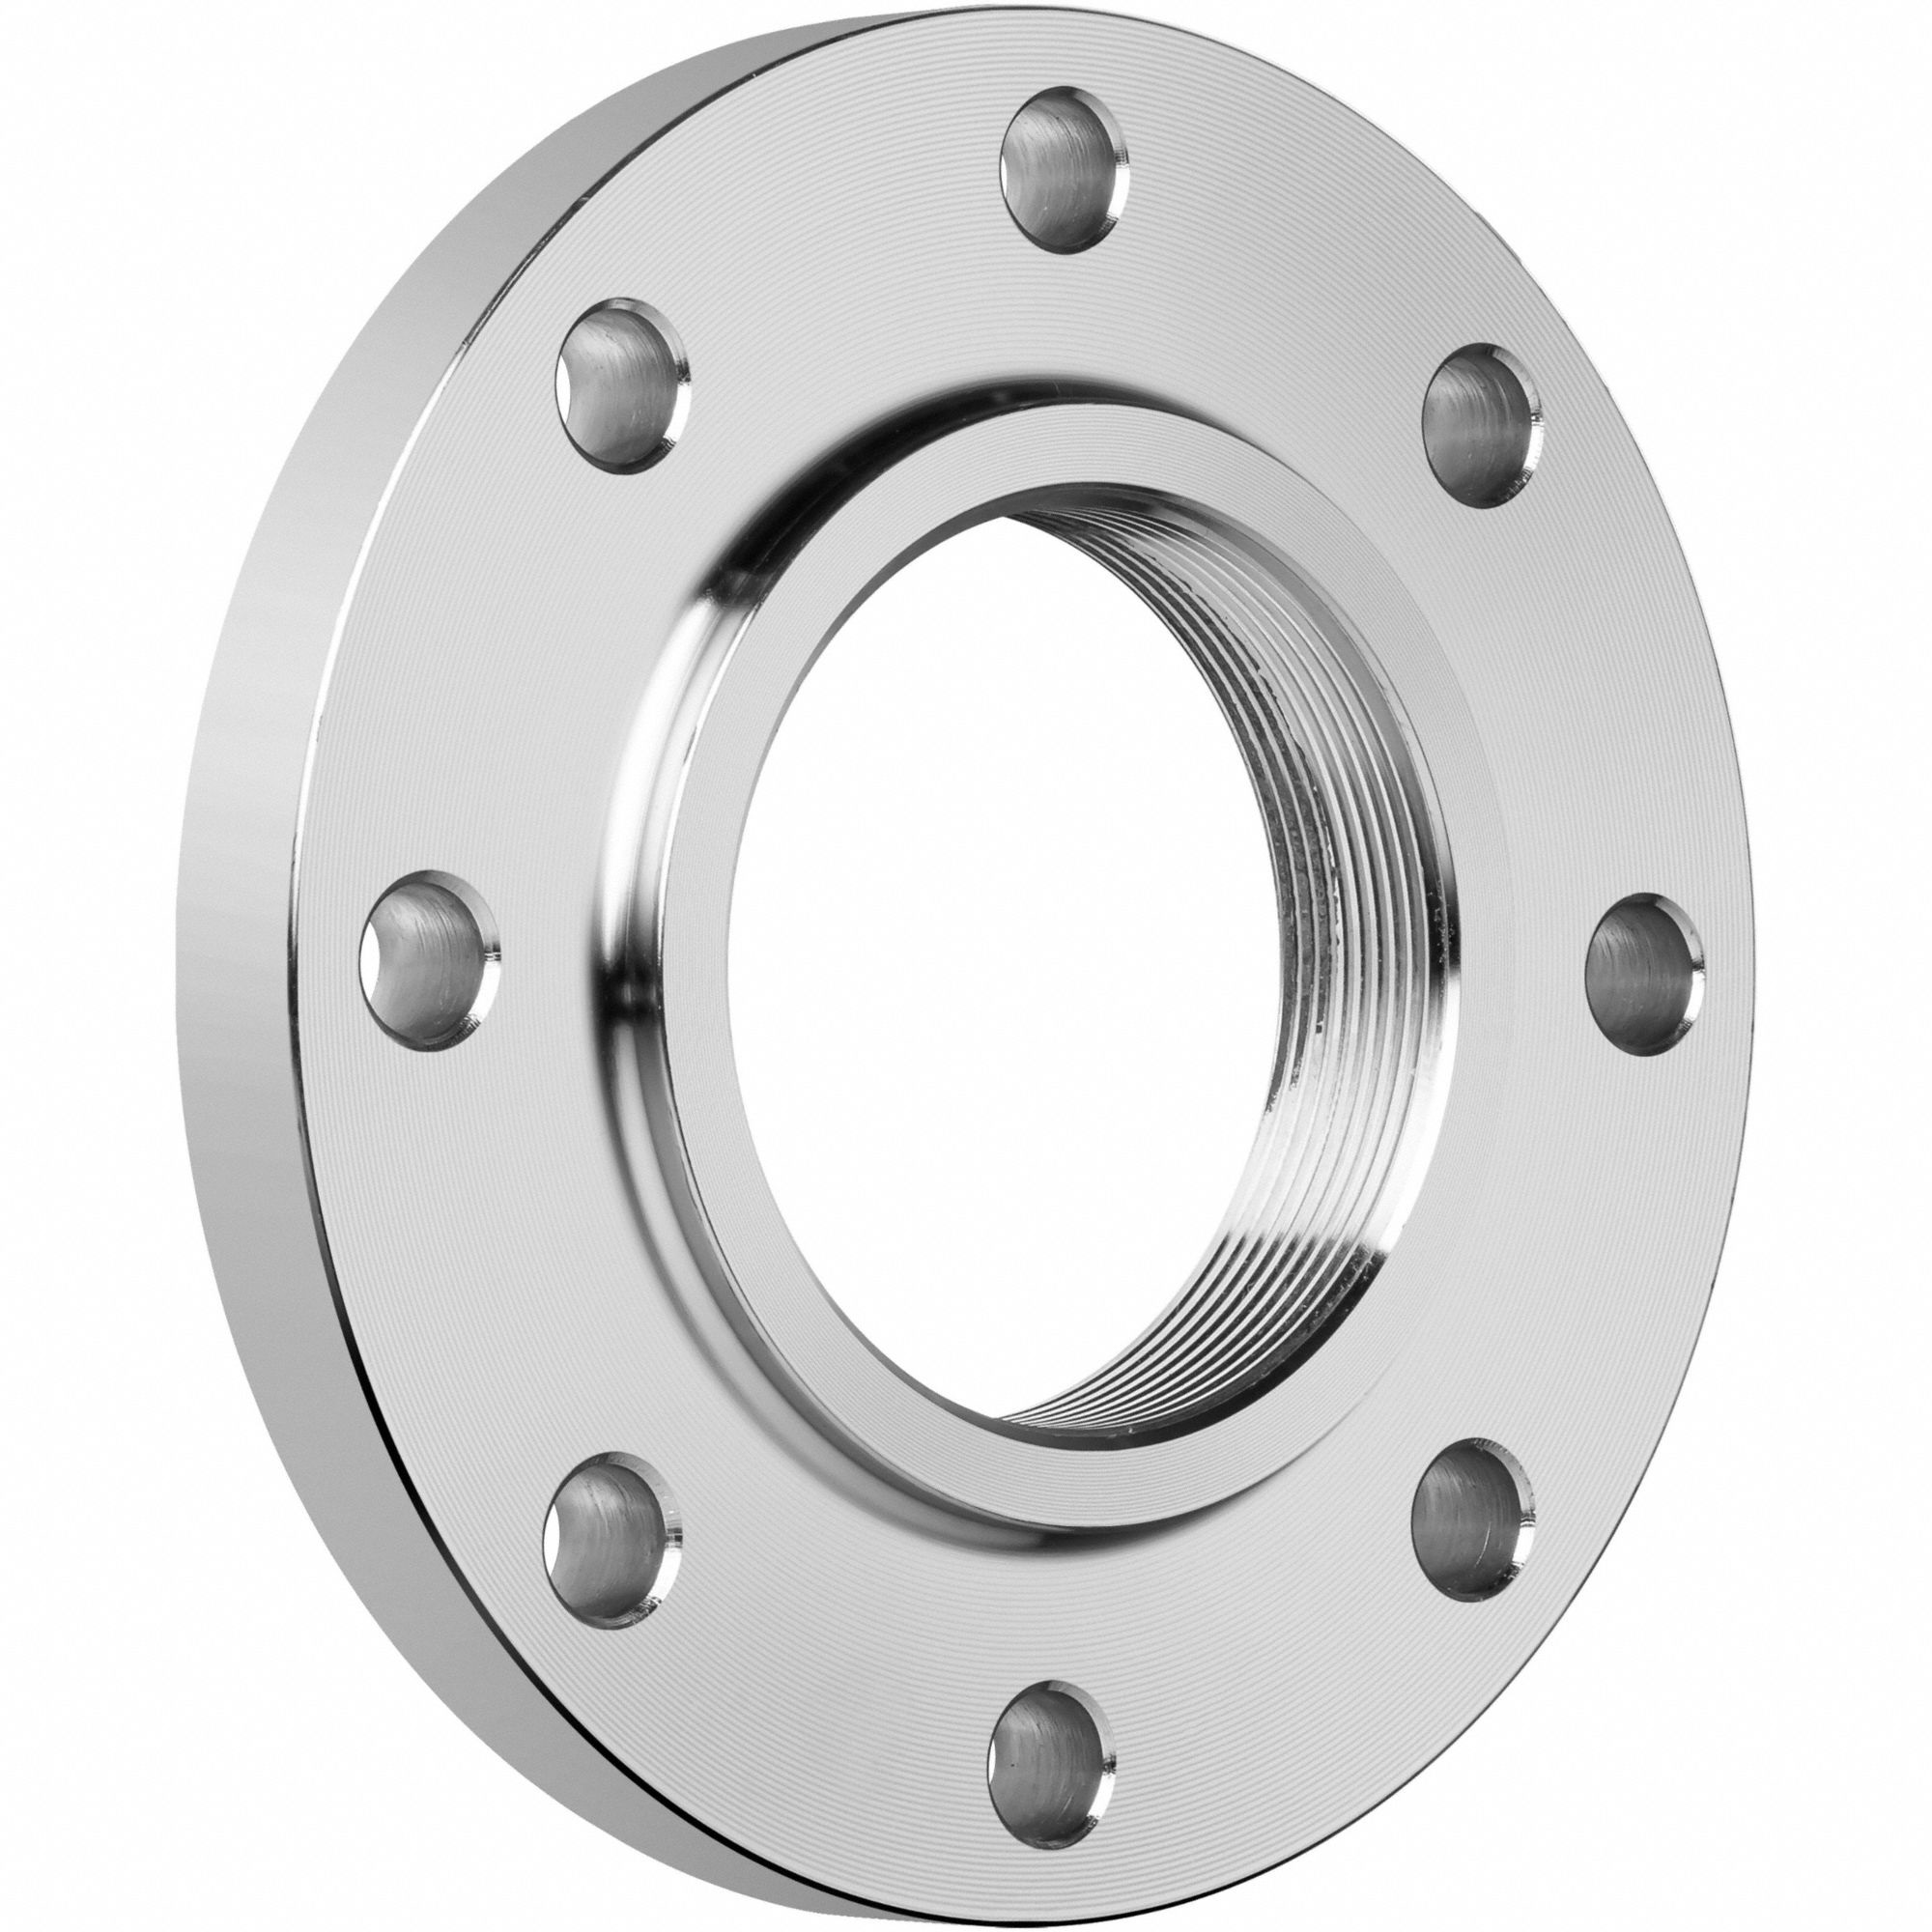
Threaded flanges screw onto pipes. Avoid damaging threads during measurement.
Ring-type joint (RTJ) flanges have groove faces. Measure groove width and depth with a caliper.
Each type has unique features. Adjust your method accordingly.
Always identify the flange style before recording numbers.
Tips for Measuring Flanges in Tight or Hard-to-Reach Spaces
Measuring flanges in cramped areas requires creativity. First, use a flexible ruler or narrow tape. These fit into gaps behind equipment.
If you can’t stretch the tape across, take partial measurements. Add them together later. For example, measure from edge to midpoint, then double it.
Use a mirror to view hidden sides. Shine a light at an angle to read markings.
Take photos with a smartphone. Zoom in later to estimate sizes. Overlay a known object for scale.
Have a helper hold one end. Communication ensures alignment.
Use string if the tape won’t stay in place. Wrap it around, mark the overlap, then measure the string.
Avoid forcing movement. Disturbing pipes can cause leaks.
Work slowly and document everything. Clear notes save time later.
 Frequently Asked Questions About How to Measure Flange Size with Measuring Tape
Can I use a cloth measuring tape?
No. Cloth stretches and wears out. Use a steel tape for accuracy.
What if the flange is dirty?
Clean it first. Debris adds thickness and hides edges.
How do I know if my flange is ASME or metric?
Compare measurements to standard charts. Bolt count and spacing reveal the type.
Should I measure the raised face or full outer edge?
Always measure the full outer diameter. Include the raised portion.
Can I reuse old gasket measurements?
Not reliably. Gaskets compress. Measure the flange directly.
Is it safe to measure live systems?
No. Turn off pressure and drain lines before measuring.
Do all 4-inch flanges have the same size?
No. Classes and standards vary. Always measure manually.
Can digital apps replace physical measuring?
They help, but physical tapes remain the most trusted tool.
Final Thoughts on Mastering How to Measure Flange Size with Measuring Tape
Learning how to measure flange size with measuring tape is a valuable skill. It supports safe, efficient, and compliant work in plumbing, HVAC, and industrial settings.
Accuracy protects systems and people. It saves money on returns and repairs.
With the right tools and steps, anyone can do it correctly. Practice improves confidence and speed.
Always refer to official standards. Cross-check your numbers before ordering parts.
Whether you’re a beginner or pro, precise measurement builds trust in your work. In the end, knowing how to measure flange size with measuring tape ensures success in any piping project.