How to Read Tape Measure in Inches Accurately Every Time
Learning how to read tape measure in inches is a fundamental skill for DIYers, carpenters, and homeowners. Whether you’re building a shelf, hanging a picture, or measuring a room, accurate readings ensure success. The inch-based system is widely used in the United States and remains essential in construction and crafting. At first glance, the markings on a tape measure may seem confusing. Small lines, numbers, and fractions appear crowded along the metal strip. However, once you understand the pattern, reading becomes quick and intuitive.
Moreover, knowing how to read tape measure in inches helps avoid costly mistakes. Incorrect cuts or misaligned fixtures often stem from misreading measurements. By mastering this tool, you gain confidence and precision in every project. This guide breaks down each part of the tape measure. It explains inch marks, fractions, and common symbols. As a result, even beginners can start measuring like pros.
 Understanding the Basics of a Standard Tape Measure
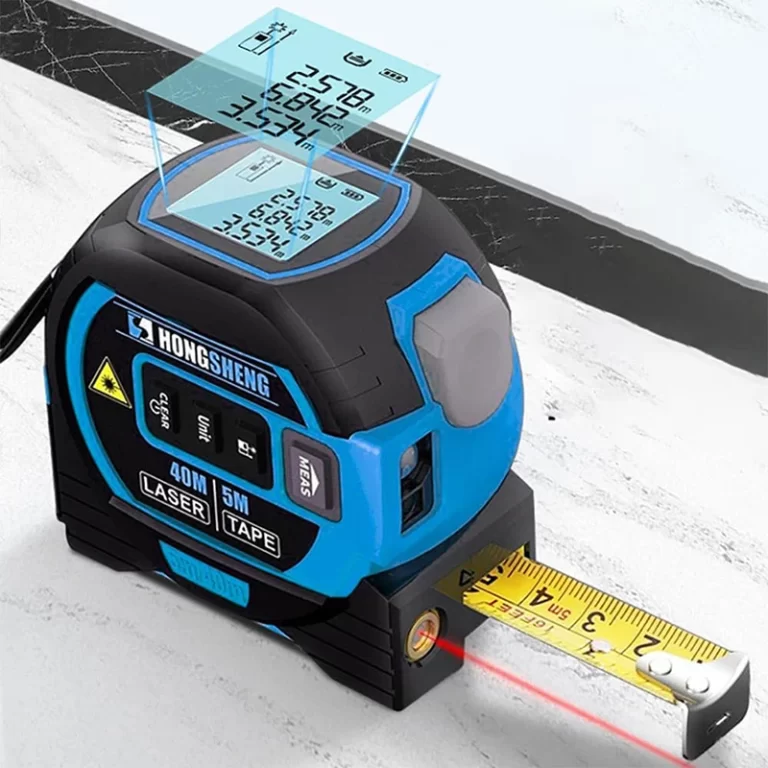
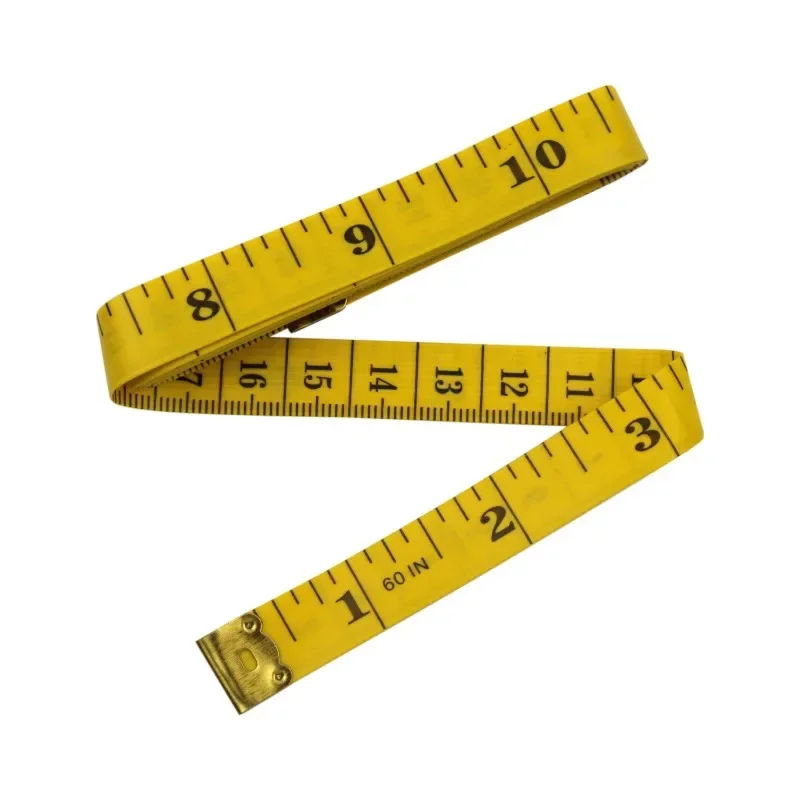
A typical tape measure has a long, flexible metal blade housed in a plastic or metal case. The blade extends and retracts with ease. Most tapes are marked in inches on one side and centimeters on the other. For this guide, we focus on the inch side. Numbers represent whole inches. They appear at regular intervals along the length. Between them, shorter lines indicate fractions of an inch.
The longest line between two numbers marks the halfway point. This is 1/2 inch. Shorter lines show 1/4, 1/8, and 1/16 of an inch. These decrease in length as the fraction gets smaller. This visual hierarchy makes it easier to identify values quickly.
Tape measures also include a sliding metal hook at the end. This hook moves slightly to account for its own thickness. As a result, it gives accurate readings whether measuring from the inside or outside of an object. Therefore, understanding these basic parts is the first step in learning how to read tape measure in inches.
Identifying Whole Inches and Major Markings
Whole inches are the easiest to spot on a tape measure. Each full inch is labeled with a large number. These numbers increase sequentially from the end of the tape. For example, after “6” comes “7”, then “8”, and so on. The line next to each number is the longest mark on the ruler.
Between each inch, you’ll see several smaller lines. The second-longest line sits exactly in the middle. This represents 1/2 inch. So, halfway between 3 and 4 is 3 1/2 inches. This marker stands out clearly among the others.
Some tapes use red or black numbers every 12 inches. These mark feet. For instance, 12 inches equals 1 foot, 24 inches equals 2 feet, etc. This helps users track longer distances without counting every inch.
By focusing on these major markers, you build a strong foundation. You can then move on to more detailed fractional readings. Hence, recognizing whole inches and half-inches simplifies the entire process of how to read tape measure in inches.
 How to Read Fractions Between Inches
After mastering whole and half-inch marks, the next step is reading smaller fractions. Between 0 and 1 inch, you’ll find lines of varying lengths. The third-longest lines represent 1/4 inch. There are four of them per inch. They fall at 1/4, 1/2, 3/4, and 1 inch.
Even shorter lines show 1/8 inch increments. There are eight such segments in one inch. These help when high precision is needed. For finer work, the smallest lines indicate 1/16 of an inch. Sixteen of these fit into a single inch.
To read a measurement, locate the nearest whole inch. Then count the small lines beyond it. For example, if the tape ends at the fifth short line after 5 inches, and those are 1/16-inch marks, the total is 5 and 5/16 inches.
Practice improves speed and accuracy. Over time, you’ll recognize common fractions by sight. Therefore, understanding how to read fractions is vital for precise results when learning how to read tape measure in inches.
Common Fractional Measurements and Their Uses
Certain fractions appear more often than others in real-world projects. 1/2, 1/4, and 1/8 inch are frequently used in woodworking and home repairs. Materials like plywood or drywall often come in sizes based on these units. For example, standard drywall is 1/2 inch thick.
Carpenters commonly work with 1/16-inch precision when fitting joints or installing trim. Cabinet makers rely on exact 1/32-inch adjustments, though most tapes don’t show that level. Instead, they estimate between 1/16-inch lines.
In framing, studs are spaced 16 or 24 inches apart. Knowing how to find these points quickly saves time. Tapes often have black diamonds every 19.2 inches for advanced spacing, but that’s optional knowledge.
When cutting lumber or tile, always double-check your reading. Misreading 3/8 as 5/8 can ruin a piece of material. Use a pencil to mark the exact line before cutting. Thus, familiarity with common fractions prevents waste and errors.
 Using the Hook End Correctly for Accurate Results
The metal hook at the end of the tape measure plays a critical role. It slides back and forth slightly. This movement compensates for the thickness of the hook itself. When measuring from the outside of an object, the hook extends. When measuring from the inside, it pulls in.
This design ensures consistent accuracy in both scenarios. For example, if you hook the end over a board’s edge, the measurement starts just after the hook’s inner face. If you press the tape against a wall, the same starting point applies.
Always keep the tape straight during measurement. Angling the tape creates false readings. Pull it taut but not overly tight, which could bend thin materials.
Also, check that the hook isn’t bent or damaged. A warped hook leads to incorrect results. Replace the tape if necessary. Therefore, using the hook properly is essential when learning how to read tape measure in inches.
Measuring Inside vs. Outside Dimensions
Different tasks require different measuring methods. For outside dimensions, place the hook over the edge of the object. Extend the tape across the full width or length. Read the number where the tape aligns with the far end.
For inside measurements—like the width of a window frame—press the end of the tape against one side. Push the housing firmly against the opposite side. The tape will compress slightly due to the hook’s play. This accounts for internal space.
Some tapes include a small ruler on the top edge of the housing. You can use this to add the case’s length to your reading. For example, if the case is 3 inches long, and your tape reads 18 inches from inside, the total span is 21 inches.
Always verify inside measurements by checking twice. Slight shifts in angle affect results. Hence, attention to method improves reliability when figuring out how to read tape measure in inches.
Reading Special Marks and Symbols on the Tape
Beyond numbers and lines, tape measures include helpful symbols. One common mark is a red diamond every 19.2 inches. These aid in spacing floor joists or wall studs in commercial buildings. While less common in homes, they speed up professional layouts.
Another symbol is the black truss mark. Found every 16 inches, it indicates standard stud spacing in residential walls. Framers use this to align supports quickly.
You may also see small triangles or arrows above certain inch marks. These denote center points between studs. Some tapes print fractions in red after 1/2 inch (e.g., 1/2, 3/2, 5/2). This helps identify half-foot increments.
Metric conversions appear on the opposite side. But for inch-based users, ignore them unless dual-unit reading is needed. Recognizing these extra features adds efficiency. Therefore, understanding symbols enhances your ability to read the tape correctly.
Tips for Avoiding Common Measuring Mistakes
Even experienced users make errors when reading a tape measure. One frequent mistake is misreading 5/8 as 3/4. Both sit close together visually. To avoid this, count the lines from the nearest inch.
Another error is forgetting to lock the tape. An unlocked blade retracts mid-measurement. This disrupts accuracy. Always engage the locking mechanism before extending.
Parallax error occurs when viewing the tape from an angle. This distorts alignment. Always look straight down at the mark. Bend your knees if needed to get eye level.
Never assume the end of the tape is zero. Damage or wear can shift the starting point. Test it against a known measurement first.
Lastly, write down your measurement immediately. Relying on memory leads to confusion. Use a notepad or voice memo. These tips help refine your technique in how to read tape measure in inches.
 Frequently Asked Questions About Reading a Tape Measure
What does the sliding hook do? It adjusts for its own thickness during inside and outside measurements.
How do I read 1/16-inch marks? Count the smallest lines past the last inch. Sixteen lines equal one inch.
Is the first inch marked differently? No, but some tapes highlight every 12th inch for feet.
Can I trust a bent tape measure? No, damage affects accuracy. Replace it if the blade is warped.
Why are some numbers red? Red marks often show 16-inch stud spacing or feet increments.
Do all tapes show 1/32 inch? Most do not. Standard tapes stop at 1/16 inch.
Should I measure twice? Yes, always double-check before cutting or drilling.
 Final Thoughts on Learning How to Read Tape Measure in Inches
Mastering how to read tape measure in inches opens the door to countless DIY and professional projects. It builds confidence, reduces waste, and ensures clean, precise results. From basic inch marks to complex fractions, each element serves a purpose. With practice, reading becomes second nature.
Whether you’re a beginner or refreshing your skills, this guide covers every essential detail. Understanding the hook, fractions, symbols, and common errors prepares you for real-world use. Accuracy starts with awareness and ends with action. So, grab your tape, take your time, and apply what you’ve learned. In the end, knowing how to read tape measure in inches is more than a skill—it’s a tool for success.
