Master Your Measurements: How to Read the Tape Measure
Understanding how to read the tape measure is essential for various tasks, from simple home projects to complex construction work. Whether you’re a DIY enthusiast, a professional contractor, or someone who just wants to ensure accurate measurements for personal projects, mastering the tape measure is crucial. This comprehensive guide will walk you through the basics of using a tape measure, including its components, measurement systems, and practical tips to enhance your accuracy and efficiency.
Contents
hide
 Introduction to Tape Measures
Tape measures are versatile tools that help measure lengths and distances. They are essential in many tasks, such as construction, crafting, and home improvement projects. Knowing the basics of tape measures is crucial for accurate and efficient measurements.
What is a Tape Measure?
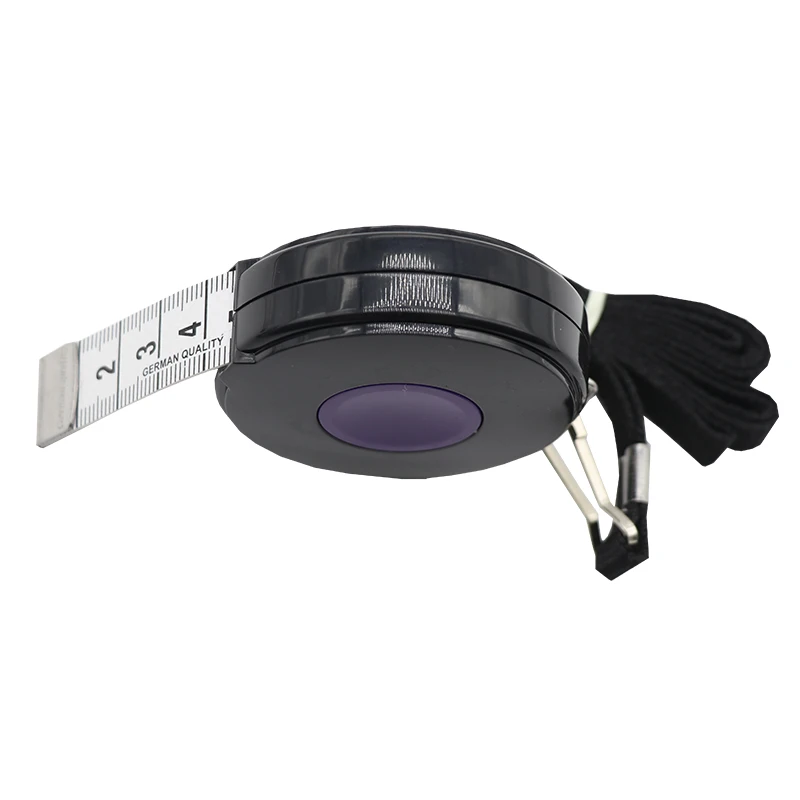
A tape measure is a flexible ruler made from metal, plastic, or fabric. It often comes enclosed in a compact case for easy portability. The tool is designed to extend and retract, making it convenient for one-handed use. A tape measure is marked with units like inches, centimeters, or feet. It is commonly used by professionals and DIY enthusiasts for various measurement needs.
Types of Tape Measures and Their Uses
There are several types of tape measures:
- Retractable Tape Measures: The most common type, used in construction and general measuring tasks.
- Fabric Tape Measures: Ideal for sewing and tailoring projects.
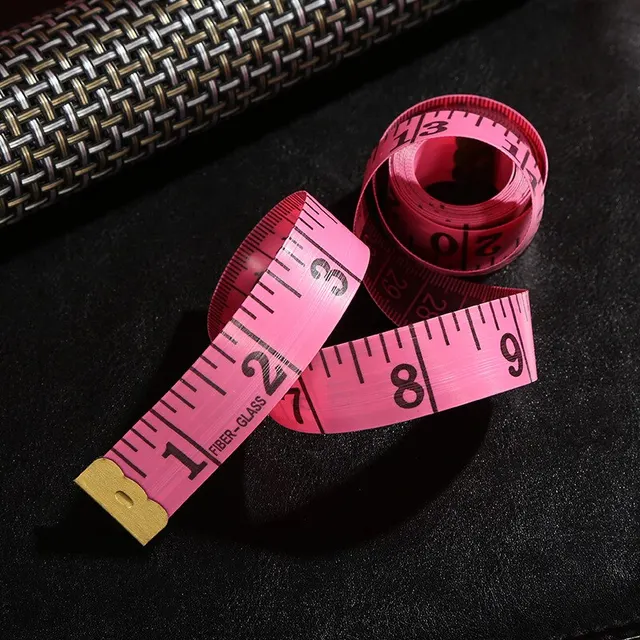
- Digital Tape Measures: Equipped with electronic displays for accurate readings and added features.
- Surveyor’s Tape Measures: Longer tapes designed for large distances, often used in outdoor projects.
- Pocket Tape Measures: Compact and lightweight, perfect for quick measurements on the go.
Each type serves specific purposes. For example, metal retractable tape measures are great for carpentry and woodworking, while fabric tape measures suit clothing alterations. Choosing the right tape measure depends on the project requirements and material you are working with.
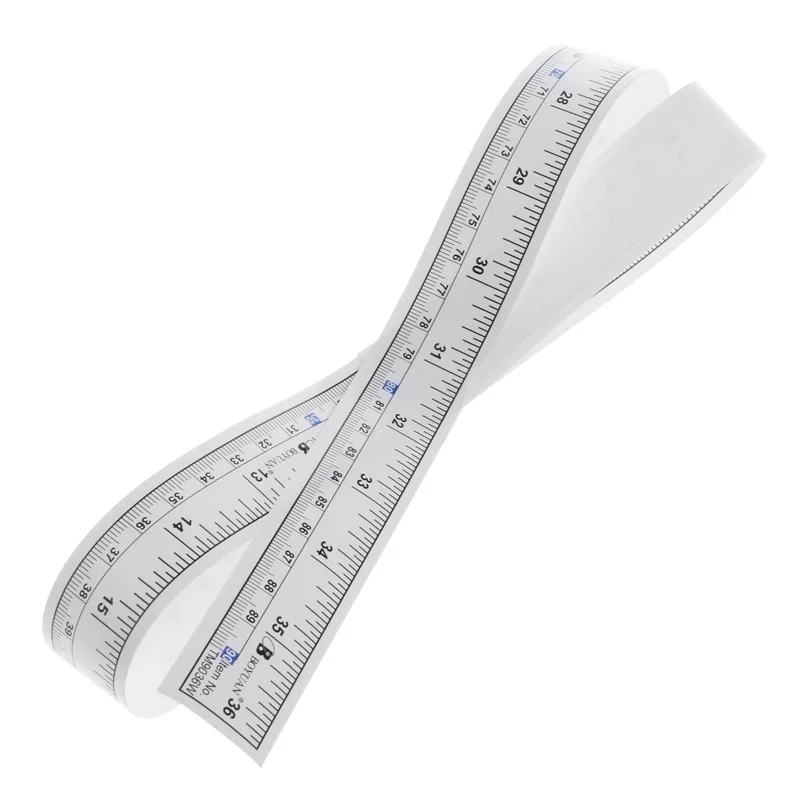
Understanding Tape Measure Markings
Tape measures feature various markings. Knowing these markings improves accuracy and simplifies measurements.
Decimal vs. Fractional Markings
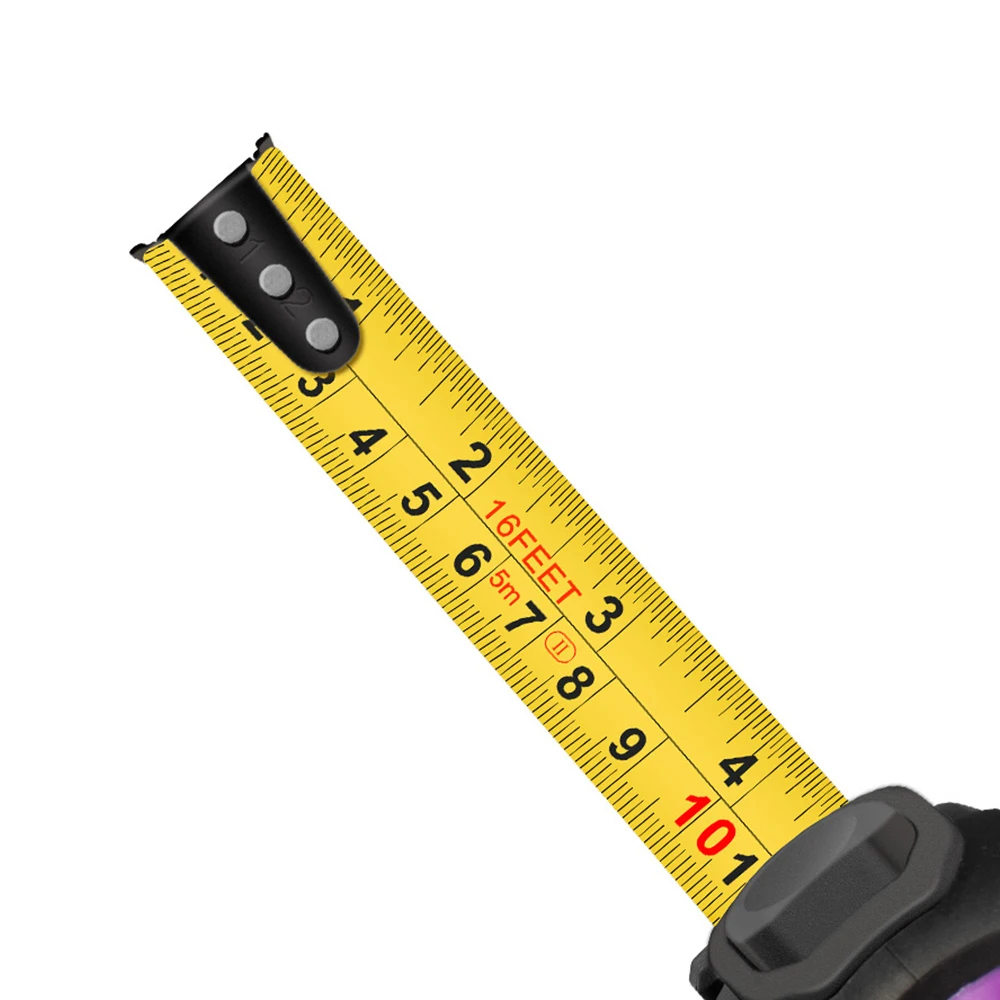
Tape measures display measurements in decimal or fractional formats. Fractional markings show divisions like 1/2, 1/4, and 1/8 inches. They help with detailed and precise measurements. On the other hand, decimal markings use a decimal system for easier calculations. Common in engineering and design projects, they often accompany inch or millimeter values.
Understanding when to use fractional or decimal readings can prevent errors. Fractional markings are useful for woodworking and construction. Decimal markings are better for scientific or mathematical applications.
Inch, Feet, and Metric Systems Explained
Tape measures come in imperial and metric systems. The imperial system uses inches and feet, often segmented into smaller fractions. For example, one foot equals 12 inches. This system is common in the U.S. and construction tasks.
The metric system uses centimeters and millimeters. Each centimeter equals 10 millimeters. Metric tape measures are preferred for scientific projects and global use.
Some tape measures combine both systems. Dual markings offer versatility for diverse projects. Knowing the difference ensures accurate conversions and avoids measurement confusion.
 Step-by-Step Guide to Read a Tape Measure
Learning how to read the tape measure is essential for precise measurements. Below are detailed steps for understanding fractions, decimals, whole units, and tips for improving accuracy.
Reading Fractions and Decimals
- Understand fractional markings: Look for fractions like 1/2, 1/4, or 1/8 inches. These represent smaller divisions for precise measurements.
- Locate decimal markings: On some tape measures, measurements might appear as decimals, such as 0.5 or 0.25. This system simplifies calculations.
- Practice conversions: Learn how to convert between decimals and fractions. For example, 0.5 corresponds to 1/2 inch.
- Practice reading: Compare fractional and decimal markings to identify the exact measurement accurately. Revisit examples for better learning.
Identifying Whole Inches and Feet
- Check for larger markings: Bold, numbered marks indicate whole inches on most tape measures.
- Locate foot designations: On some tape measures, every 12 inches has a separate mark indicating one foot.
- Identify combined systems: Tape measures might include both inches and feet markings. Learn how to switch effectively.
- Use visual guides: Many tape measures include color-coded or contrasting lines to assist identification of whole units.
Tips for Accurate Measurements
- Align tape measure properly: Ensure the tape starts at the correct edge of the object being measured.
- Keep tape straight: Avoid bending or twisting the tape. This ensures precise readings.
- Hold the tape firmly: Prevent movement or slipping during measurement. Use the lock feature if available.
- Double-check results: Repeat measurements to confirm accuracy. Consistency prevents errors in readings.
Reading a tape measure correctly helps improve project outcomes and saves time. With practice, making precise measurements becomes second nature.
Common Mistakes and How to Avoid Them
Even professionals can make mistakes when using a tape measure. Identifying common errors reduces inaccurate results. Here are two common mistakes and tips to avoid them.
Misreading Fractional Markings
Fractional markings represent precise divisions on a tape measure. Misreading them is a frequent issue.
- Mixing up fractions: Confusion between 1/8 and 1/16 is common. Always double-check the size carefully.
- Skipping tiny markings: Smaller fractions can be easily overlooked. Pay attention to every subdivision.
- Using mismatched scales: Stick to one system—either fractional or decimal—for accuracy.
- Solution: Practice reading fractions repeatedly. Familiarity minimizes errors during measurements.
Accurate reading ensures precise cuts and adjustments, especially in woodworking or fabrication tasks.
Handle Tape Slippage Correctly
Tape slippage leads to wrong measurements, causing project setbacks. Prevent slippage by following these tips:
- Secure the tape: Use the tape’s metal hook to anchor it against the surface edge.
- Lock the tape: Engage the locking mechanism to stabilize the extended tape.
- Avoid tension loss: Keep even tension on the tape to prevent sagging or shifting.
- Solution: Double-check tape alignment after placement. Re-measure if necessary.
Proper handling of the tape reduces errors and improves the efficiency of your work. Fewer mistakes lead to smoother project completion.
 Practical Applications of Using a Tape Measure
Tape measures are versatile tools with various practical applications. They make measurements precise and tasks easier. From home improvement to professional projects, these tools are indispensable. Let’s explore their common uses in different fields.
DIY Home Projects
Tape measures are essential for home improvement projects. They help in achieving accurate results.
- Hanging pictures or frames: Ensure equal spacing and alignment on walls.
- Measuring furniture dimensions: Check dimensions to fit furniture properly in a space.
- Installing shelves: Measure wall space for proper shelf alignment and placement.
- Gardening projects: Measure garden plots or spaces for layout planning.
DIY enthusiasts rely on tape measures for precise measurements. These tools ensure consistent and professional-looking outcomes.
Carpentry and Woodworking
In carpentry and woodworking, measurements play a vital role. A tape measure ensures accurate cuts and assemblies.
- Cutting wood pieces: Measure wood accurately to avoid excess material waste.
- Building furniture: Achieve precise dimensions for tables, chairs, or shelves.
- Marking layouts: Mark positions for joints, nails, or screws.
- Creating designs: Use measurements to shape designs with symmetry and precision.
Carpenters and woodworkers depend on tape measures to maintain craftsmanship. This avoids costly errors in their projects.
Sewing and Tailoring
Sewing and tailoring work need exact measurements for clothing to fit well.
- Measuring fabric: Ensure accurate lengths for cutting fabric pieces.
- Tailoring outfits: Measure body dimensions for well-fitted clothes.
- Crafting patterns: Mark specific measurements for pattern creation.
- Altering clothes: Check existing dimensions for adjustments and repairs.
Fabric tape measures, soft and flexible, suit tailoring needs perfectly. They are irreplaceable for any sewing project.
Maintenance and Proper Care for a Tape Measure
Proper maintenance ensures your tape measure lasts longer and works accurately. Follow these care tips to keep it in good shape.
Storage Tips
- Keep in a Dry Place: Store your tape measure in a dry area to prevent rust.
- Avoid Direct Sunlight: Prolonged sunlight exposure may damage plastic parts or warp the tape.
- Use the Belt Clip: Attach it to your belt or toolbag to avoid dropping or misplacing it.
- Retract Slowly: Do not let the tape snap back quickly to prevent internal damage.
Proper storage reduces wear and tear, extending the tool’s lifespan.
Cleaning the Tape
- Wipe After Each Use: Use a dry cloth to remove dust and debris.
- Use Mild Cleaner: For stubborn dirt, clean with a damp cloth and mild soap solution.
- Dry Thoroughly: Ensure the tape is completely dry before retracting it into the case.
- Lubricate the Blade: Apply a small amount of lubricant to keep the blade moving smoothly.
Regular cleaning keeps the tape measure functional and prevents residue build-up.
Extending the Lifespan of Your Tool
- Inspect for Damage: Check frequently for cracks, bends, or worn markings.
- Avoid Overextension: Do not pull the tape beyond its limit, as it can cause permanent damage.
- Repair or Replace Springs: Replace or fix the recoil spring if it weakens.
- Protect the Markings: Avoid scraping or using sharp objects on the tape’s surface.
Taking these steps ensures longevity and consistent performance of your tape measure.
 Advanced Measuring Techniques
Mastering advanced tape measure techniques enhances accuracy for complex tasks and diverse projects. Below are details of specific methods to help you:
Using the Hook Effectively
The metal hook at a tape measure’s end is an essential feature for precision.
- Anchor securely: Clip the hook firmly over the object’s edge to hold the tape steady.
- Avoid hook gaps: Ensure the hook is flat against the surface to reduce measurement errors.
- Compensate for thickness: Many hooks adjust slightly to account for internal or external measurements.
- Check calibration: Test the hook for flexibility and alignment regularly.
Using the hook properly minimizes slippage and ensures consistent measurements, especially on slippery or curved surfaces.
Measuring Heights and Circumference
For unique tasks, such as measuring vertical heights or circular objects, specific methods help.
- Measure heights: Extend the tape to the desired height, using a ladder or assistant for stability.
- Stabilize for ceilings: Apply adhesive or fix the tape temporarily to measure taller surfaces.
- Wrap around objects: For circumference, wrap the tape snugly around circular objects like pipes or trees.
- Mark reference points: Make marks at the start and end of curved measurements for easy reading.
These techniques are ideal for projects in construction or designing round objects.
Combining Tape Measure with Other Tools
Using a tape measure with other tools can elevate your measurement accuracy.
- Use with levels: Combine with a spirit level for aligned vertical or horizontal measurements.
- Match with lasers: Use laser measures to double-check long distances for better accuracy.
- Pair with squares: A carpenter’s square ensures perfectly angled measurements.
- Use marking tools: Highlight measurement points with pencils for quick reference.
When combined with other tools, tape measures become even more versatile. These strategies ensure professional-grade results across different projects.
Frequently Asked Questions (FAQ)
How do I read the tape measure for both metric and imperial systems?
Most tape measures feature both metric and imperial markings side by side. To read the tape measure, simply focus on the preferred system. For inches, look at the larger numbers, and for centimeters, refer to the smaller numbers typically located below the inches.
Can I measure curved or irregular objects with a tape measure?
Yes, you can measure curved or irregular objects by carefully following the contour with the tape measure. Ensure the tape stays close to the surface and avoid stretching it to maintain accuracy.
What is the best way to store a tape measure to keep it in good condition?
Store your tape measure in a dry, cool place away from direct sunlight to prevent rusting and fading of markings. Keep it coiled properly in its casing and avoid dropping it to maintain its integrity.
How do I accurately measure small increments on a tape measure?
To measure small increments like fractions of an inch or millimeters, use the fine markings between the larger numbers. Practice reading these small increments to improve your precision over time.
Is it necessary to use both hands when measuring?
Using both hands can provide better control and accuracy when measuring. One hand can stabilize the tape measure while the other reads and records the measurement, reducing the chance of slipping or bending.
Conclusion
Understanding how to read the tape measure is a fundamental skill that enhances your ability to execute projects with precision and confidence. From home improvement and construction to tailoring and crafting, the ability to take accurate measurements is invaluable. By familiarizing yourself with the tape measure’s components, mastering both imperial and metric systems, and applying practical tips for accuracy, you can ensure your measurements are always spot-on. Additionally, avoiding common mistakes and troubleshooting issues will further refine your measuring skills, making the tape measure an indispensable tool in your toolkit.
Moreover, the importance of knowing how to read the tape measure extends beyond professional tasks. It empowers you to tackle everyday projects, from hanging pictures to assembling furniture, with ease and accuracy. Embrace the versatility and precision of the tape measure, and let it become your go-to tool for all your measurement needs. With practice and attention to detail, mastering how to read the tape measure will not only improve your projects but also boost your confidence in handling a wide range of tasks efficiently.