Unlocking Secrets: How to Unscrew a Screw Without a Screwdriver
Encountering a stuck screw without a screwdriver can be frustrating, especially when you need to complete a task quickly. Whether you’re in the middle of a DIY project, fixing furniture, or dealing with an unexpected situation, knowing how to unscrew a screw without a screwdriver is an invaluable skill. This guide explores various methods and tools you can use to remove screws efficiently, ensuring you’re never stuck without a solution.
 Understanding the Challenge: Why Screws Get Stuck
Common Reasons Screws Become Difficult to Remove
How to unscrew a screw without a screwdriver? Screws can become hard to remove for several reasons. Over time, screws may rust or corrode, especially if exposed to moisture. Additionally, applying too much force during installation can strip the screw head, making it challenging to turn. Wood expansion and contraction can also cause screws to bind tightly in their holes. Recognizing these factors helps in choosing the right method to unscrew a screw without a screwdriver.
Identifying the Type of Screw
Before attempting to remove a screw without a screwdriver, identify the screw type. Common types include flathead, Phillips, and hex screws. Each type has a specific head shape, which can influence the removal method you choose. Understanding the screw type ensures you select the most effective technique for the task at hand.
Tools and Household Items to Unscrew Screws Without a Screwdriver
Using a Coin for Flathead Screws
A simple coin, such as a penny or a dime, can work well for flathead screws. Place the coin in the screw slot and turn it counterclockwise. Apply steady pressure while twisting the coin to prevent it from slipping. This method is particularly useful for small screws found in electronics or light fixtures.
- Select the Right Coin: Choose a coin that fits snugly into the screw slot.
- Position the Coin: Insert the coin into the flathead screw.
- Turn Counterclockwise: Apply pressure and twist to loosen the screw.
Utilizing a Butter Knife for Philips Screws
A butter knife can serve as a makeshift Phillips screwdriver. Insert the knife into the cross-shaped screw head and turn it carefully. Ensure the knife fits well to avoid stripping the screw.
- Choose a Sturdy Knife: A butter knife with a sturdy blade works best.
- Align the Knife: Place the knife into the Phillips screw head.
- Apply Gentle Force: Twist the knife counterclockwise to remove the screw.
Employing Pliers for Screws with Exposed Heads
If the screw head is partially protruding, pliers can provide the necessary grip to turn it. This method is effective for screws stuck in wood or metal surfaces.
- Grip the Screw Head: Use pliers to firmly hold the exposed part of the screw.
- Turn Slowly: Twist the pliers counterclockwise to unscrew.
- Maintain Steady Pressure: Ensure the pliers don’t slip to avoid damaging the screw head.
 Innovative Methods to Remove Screws Without Traditional Tools
Using a Rubber Band for Stripped Screws
How to unscrew a screw without a screwdriver? A rubber band can fill gaps in a stripped screw head, providing extra grip. Place the rubber band over the screw and press a flat tool into it to turn the screw.
- Select a Rubber Band: Choose a thick rubber band for better grip.
- Place Over Screw: Cover the stripped screw head with the rubber band.
- Apply Pressure with a Tool: Use a flat tool, pressing down firmly while turning.
Leveraging a Flathead Tool for Phillips Screws
A flathead tool, like a small metal spatula, can fit into the Phillips head by applying pressure at an angle. This method requires patience and steady hands.
- Find a Flat Tool: Use a small metal spatula or similar tool.
- Insert at an Angle: Place the tool into the Phillips head.
- Twist Gently: Turn the tool counterclockwise while maintaining pressure.
Creating a Screw Extractor with Makeshift Materials
For stubborn screws, a screw extractor can be fashioned using a piece of metal with a jagged edge. Carefully create a notch in the screw and twist the extractor.
- Craft the Extractor: Use a metal file to create a jagged edge on a small metal piece.
- Create a Notch: Lightly file a notch into the screw head.
- Insert and Turn: Place the extractor into the notch and twist counterclockwise.
Preventive Measures: Avoiding the Need to Unscrew Without a Screwdriver
Regular Maintenance of Screws
Regularly check and maintain screws to prevent them from becoming stuck. Tighten screws periodically and apply anti-seize lubricant to reduce the risk of rust and corrosion.
- Inspect Screws Frequently: Look for signs of wear or rust.
- Apply Lubricant: Use anti-seize spray to keep screws turning smoothly.
- Tighten as Needed: Ensure screws are not overly tight or loose.
Choosing the Right Screws for Your Projects
Selecting the appropriate type and size of screws for your project can minimize future complications. Use screws that match the materials you’re working with to ensure a secure fit without excessive force.
- Match Screw Type to Material: Use wood screws for wood, metal screws for metal, etc.
- Select Correct Size: Ensure the screw length and diameter are suitable for the application.
- Use Quality Screws: Invest in high-quality screws to reduce the risk of stripping and damage.
Proper Installation Techniques
Installing screws correctly from the start can prevent them from becoming difficult to remove later. Pre-drilling pilot holes and using the right torque can help maintain screw integrity.
- Pre-Drill Pilot Holes: Prevents the material from splitting and ensures easier removal.
- Control Torque: Apply steady, moderate force when driving screws.
- Use Appropriate Tools: Ensure tools are the correct size and type for the screws.
 Alternative Tools to Remove Screws Without a Screwdriver
Using a Power Drill as a Screwdriver Substitute
A power drill with adjustable torque settings can effectively replace a screwdriver. Attach a suitable bit, set the drill to reverse, and carefully unscrew.
- Select the Right Bit: Choose a bit that matches the screw head.
- Set to Reverse: Switch the drill to the reverse setting for unscrewing.
- Apply Controlled Pressure: Turn the drill slowly to avoid stripping the screw.
Employing a Hammer and Nail for Damaged Screws
For severely damaged screws, a hammer and nail can be used to create a new slot. Carefully carve a straight line into the screw head, then use a flat tool to turn it.
- Position the Nail: Place the nail at the top of the screw head.
- Tap Gently: Lightly hammer to create a guide slot.
- Use a Flat Tool: Insert a flat tool into the new slot and twist to remove.
Utilizing Duct Tape for Extra Grip
Duct tape can provide additional traction for turning screws without a screwdriver. Place a piece of duct tape over the screw head and press a flat tool into it.
- Cover the Screw: Apply duct tape over the screw head.
- Insert a Tool: Press a flat tool into the tape-covered screw.
- Twist Firmly: Turn the tool counterclockwise to loosen the screw.
Tips for Successfully Removing Screws Without a Screwdriver
Applying the Right Amount of Pressure
Applying steady, even pressure is crucial when attempting to unscrew without a screwdriver. Too much force can strip the screw, while too little may not provide enough grip.
- Gradually Increase Pressure: Start with gentle pressure and increase as needed.
- Maintain Alignment: Ensure the tool remains straight to prevent slipping.
- Use Controlled Movements: Avoid sudden jerks to maintain control.
Avoiding Screw Damage
To ensure screws remain usable, avoid stripping or damaging the screw head. Use tools that fit well and apply appropriate pressure without over-torquing.
- Choose the Right Tool: Ensure the makeshift tool fits the screw head snugly.
- Turn Slowly: Proceed at a slow pace to maintain control.
- Check for Stripping: Stop if you notice the tool slipping or the screw head worsening.
Ensuring Safety During the Process
Safety should always be a priority when working without proper tools. Wear protective gloves and eyewear to prevent injuries from slipping tools or broken screw parts.
- Wear Gloves: Protect your hands from sharp tools and debris.
- Use Safety Glasses: Shield your eyes from accidental splinters or fragments.
- Maintain a Stable Position: Work in a well-lit area with good footing to avoid accidents.
 When to Seek Professional Help
Assessing the Situation
How to unscrew a screw without a screwdriver? Sometimes, removing a screw without a screwdriver might be too challenging or risk causing more damage. Assess the difficulty and decide if professional help is necessary.
- Evaluate Screw Condition: If the screw is severely stripped or rusted, consider professional assistance.
- Consider the Material: Delicate materials may require specialized tools to prevent damage.
- Determine Time and Effort: If time is limited or the task is too strenuous, seek expert help.
Finding a Professional
When DIY methods fail, a professional can provide the right tools and expertise to remove stubborn screws safely.
- Contact a Handyman: Experienced handymen have the tools to handle difficult screws.
- Visit a Hardware Store: Staff can recommend tools or services for screw removal.
- Hire a Specialist: For specialized tasks, consider hiring a professional with specific expertise.
Preventing Future Issues with Screws
Using Screw Locking Compounds
Applying locking compounds can prevent screws from loosening over time, reducing the likelihood of encountering stuck screws in the future.
- Select the Right Compound: Choose a locking compound suitable for your screw type and material.
- Apply Evenly: Spread a small amount on the screw threads before installation.
- Allow to Set: Let the compound dry as per the manufacturer’s instructions to ensure effectiveness.
Opting for Quality Screws
Investing in high-quality screws can minimize problems with stripping and rusting. Higher-grade screws offer better durability and performance.
- Choose Stainless Steel: Resistant to rust and corrosion, suitable for outdoor use.
- Select Hardened Screws: More robust and less likely to strip.
- Match Screw to Task: Use screws designed for the specific application to ensure optimal performance.
Properly Storing and Handling Screws
Proper storage and handling can prevent screws from being damaged before use, making removal easier when needed.
- Organize Screws by Type and Size: Keep screws sorted to easily find the right one for each task.
- Store in a Dry Environment: Prevent rust by keeping screws in a moisture-free area.
- Handle with Care: Avoid dropping or mishandling screws to maintain their integrity.
Real-World Scenarios: Applying Your Skills
Fixing Furniture Without a Screwdriver
Imagine assembling or repairing furniture and finding a stuck screw. Use a butter knife or a coin to tackle flathead screws. For Phillips screws, try a sturdy credit card or a flat metal object.
- Start with Simple Tools: Use readily available household items like coins or knives.
- Apply Steady Pressure: Turn gently to avoid stripping the screw.
- Transition to Other Methods if Needed: If initial attempts fail, try pliers or rubber bands.
Handling Electronics Repairs
Electronics often require delicate screw removal. Use a precision tool, such as metal picks or small flat tools, to avoid damaging sensitive components.
- Use Small Tools: Employ tools that fit the screw head without slipping.
- Work in a Clean Area: Prevent debris from entering electronic devices.
- Be Patient and Gentle: Avoid applying excessive force that could damage the device.
Outdoor and Camping Situations
During outdoor activities, you might need to repair gear quickly. Use natural items like sticks or rocks to turn screws in a pinch.
- Find a Suitable Tool: Use a sturdy stick or flat stone that fits the screw head.
- Ensure a Firm Grip: Hold the tool securely to prevent slipping.
- Apply Controlled Force: Turn the tool steadily to unscrew without stripping.
Enhancing Your Skillset: Learning from Experience
Practicing with Different Screws
Gain confidence by practicing removing various types of screws using different methods. This hands-on experience will prepare you for real-life situations where traditional tools are unavailable.
- Start with Easy Screws: Begin with screws that are easier to remove to build your skills.
- Experiment with Tools: Try different household items to find what works best for each screw type.
- Learn from Mistakes: Understand what causes stripping or slipping and adjust your techniques accordingly.
Expanding Your Tool Collection
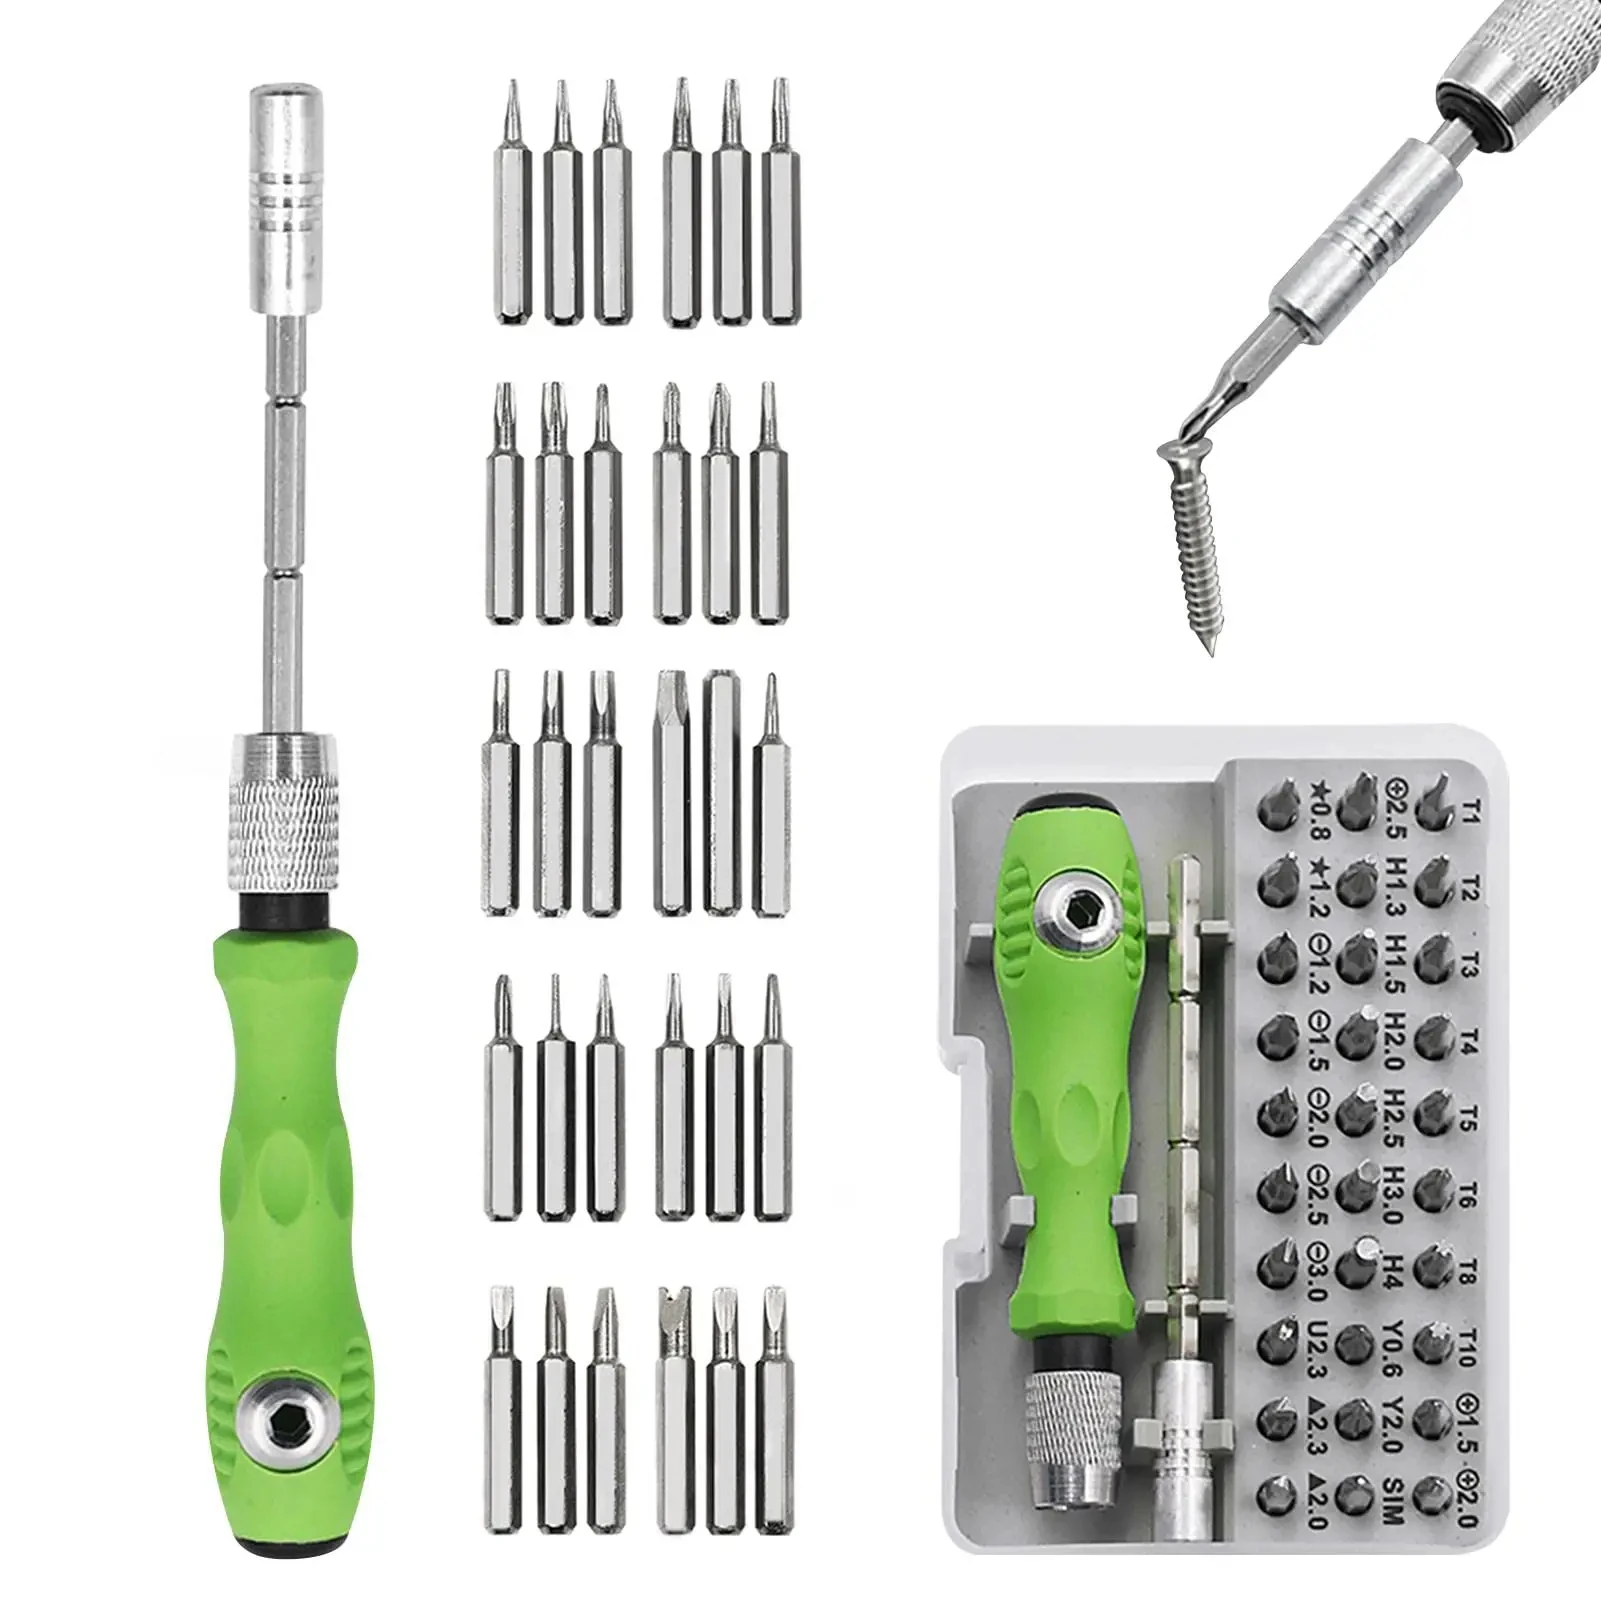
While learning how to unscrew a screw without a screwdriver, consider gradually expanding your tool collection for easier future tasks. Investing in basic tools like multipurpose pliers or a mini toolkit can save time and frustration.
- Acquire a Multi-tool: A good multi-tool can provide various functions, including screw removal.
- Invest in a Precision Kit: Specialized kits offer tools for small and delicate screws.
- Maintain Your Tools: Keep your tools clean and in good condition to ensure they work effectively when needed.
 Conclusion: Mastering the Art of Unscrewing Without a Screwdriver
In conclusion, knowing how to unscrew a screw without a screwdriver empowers you to tackle unexpected challenges confidently. Whether you rely on household items like coins and pliers or innovate with makeshift tools, these methods can help you remove screws efficiently. By understanding different techniques and practicing regularly, you can develop a versatile skillset that proves invaluable in various situations. Remember to prioritize safety, apply the right amount of pressure, and maintain your screws and tools to prevent future frustrations. With these strategies, you’ll be well-equipped to handle any screw-related obstacle without always needing a traditional screwdriver.
