The Ultimate Guide to Tap Wrench: Everything You Need to Know
What is a Tap Wrench?
Definition and Purpose
A tap wrench is a hand tool designed for threading tasks. It holds taps for cutting internal threads in screw holes. The wrench provides precision and control, ensuring straight and accurate threading. It helps users apply the required pressure while turning the tap.
Tap wrenches are essential in manufacturing, repair, and DIY projects. They assist in creating accurate threads in various materials like metal, wood, or plastic. With a tap wrench, users can maintain consistency and reduce damage during threading operations.
Common Types of Tap Wrenches
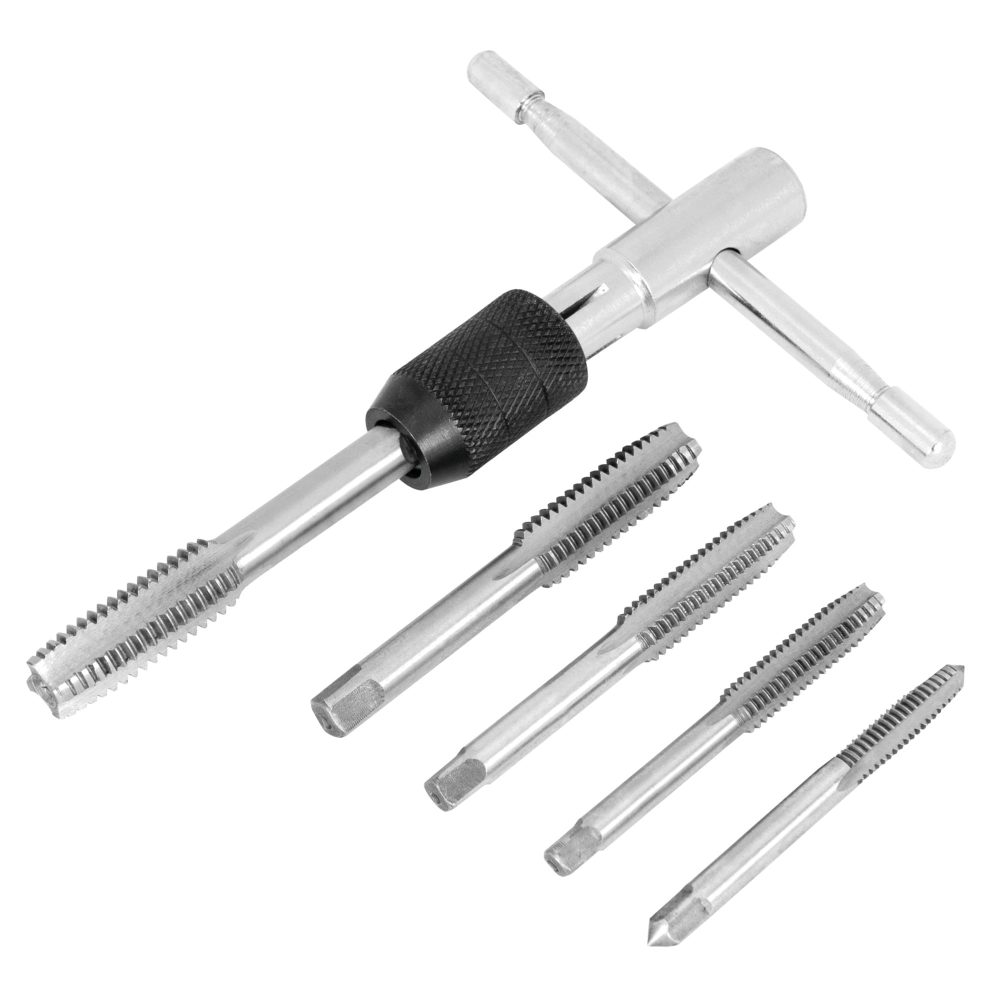
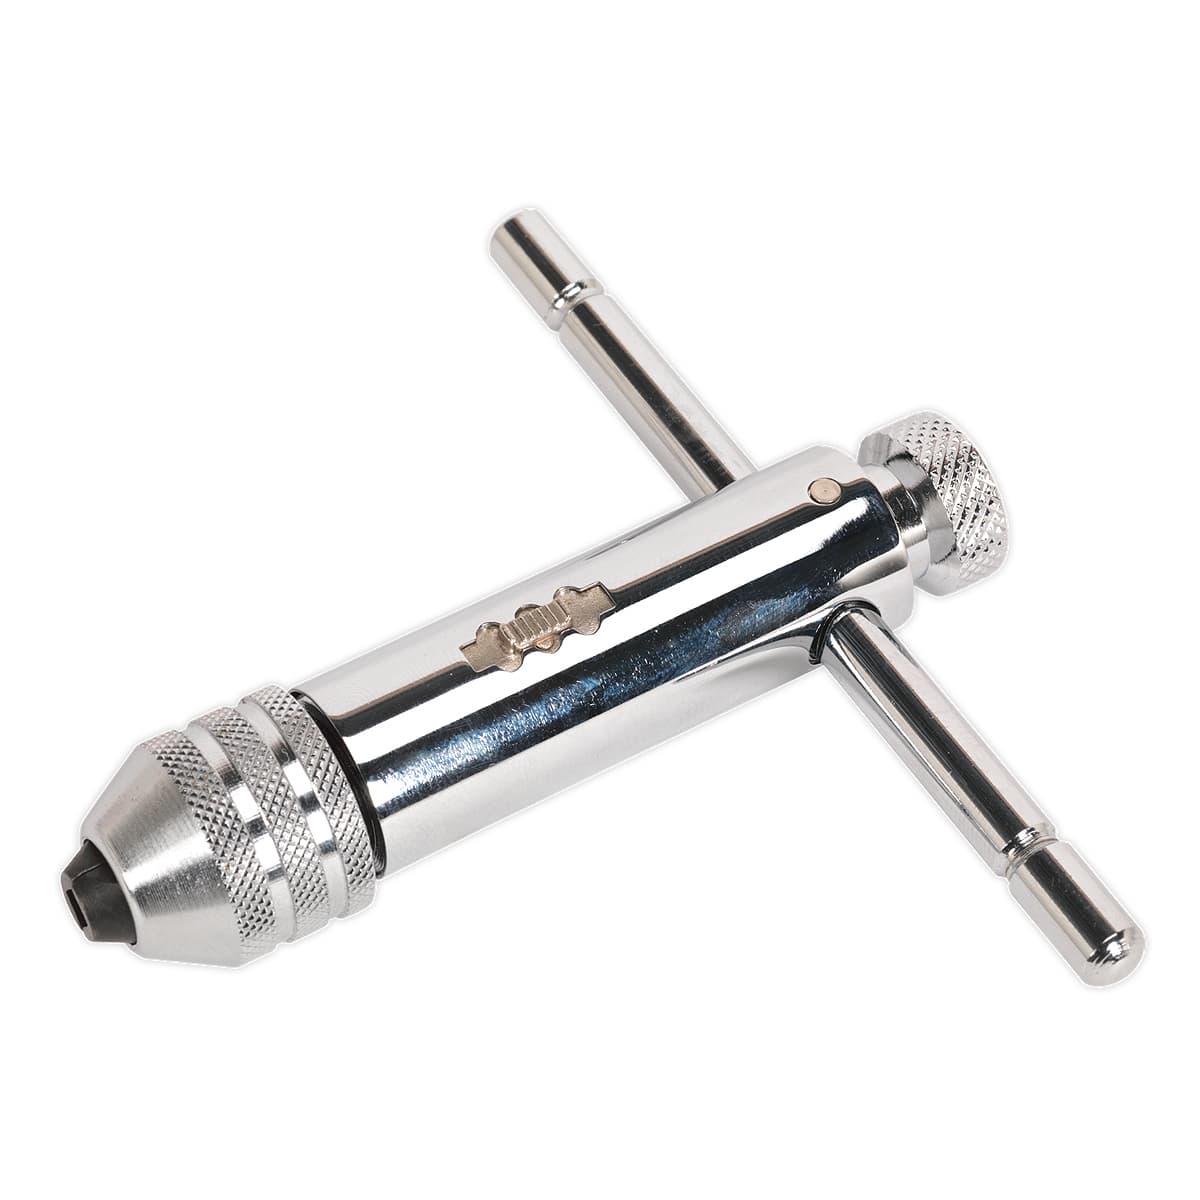
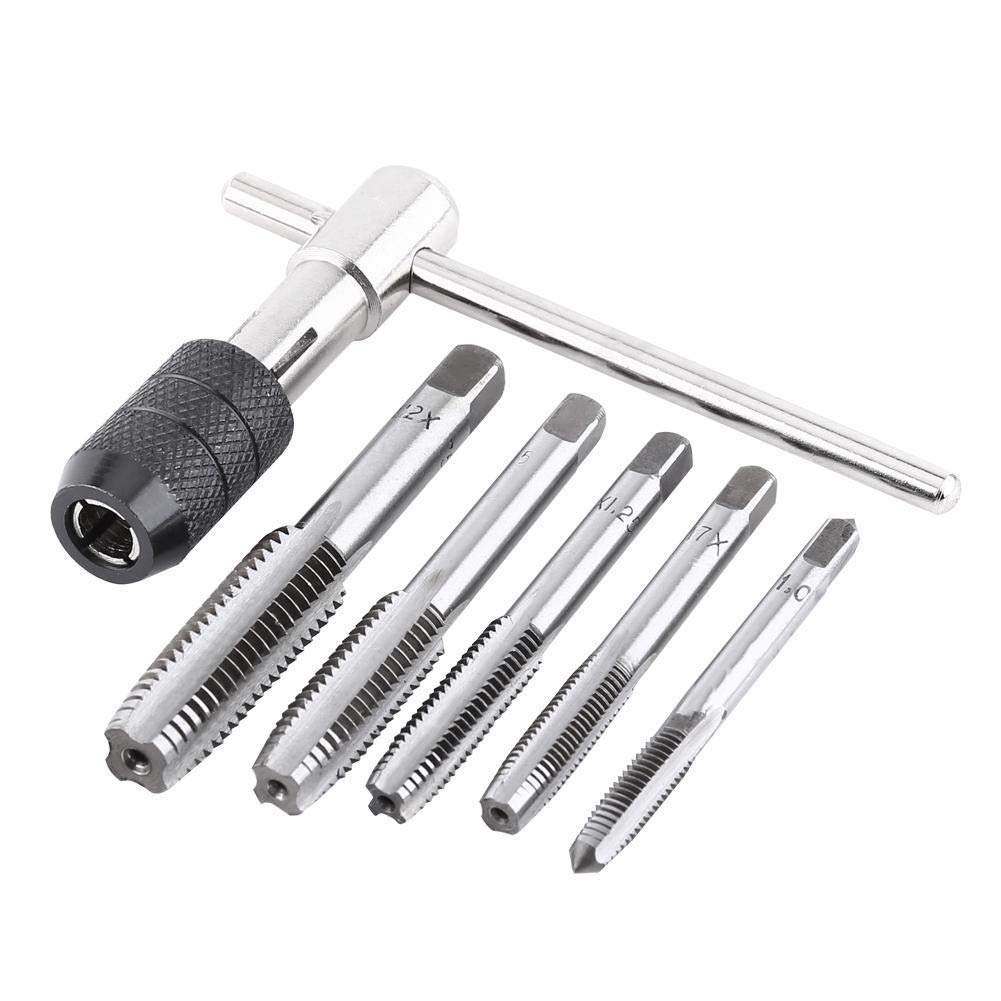
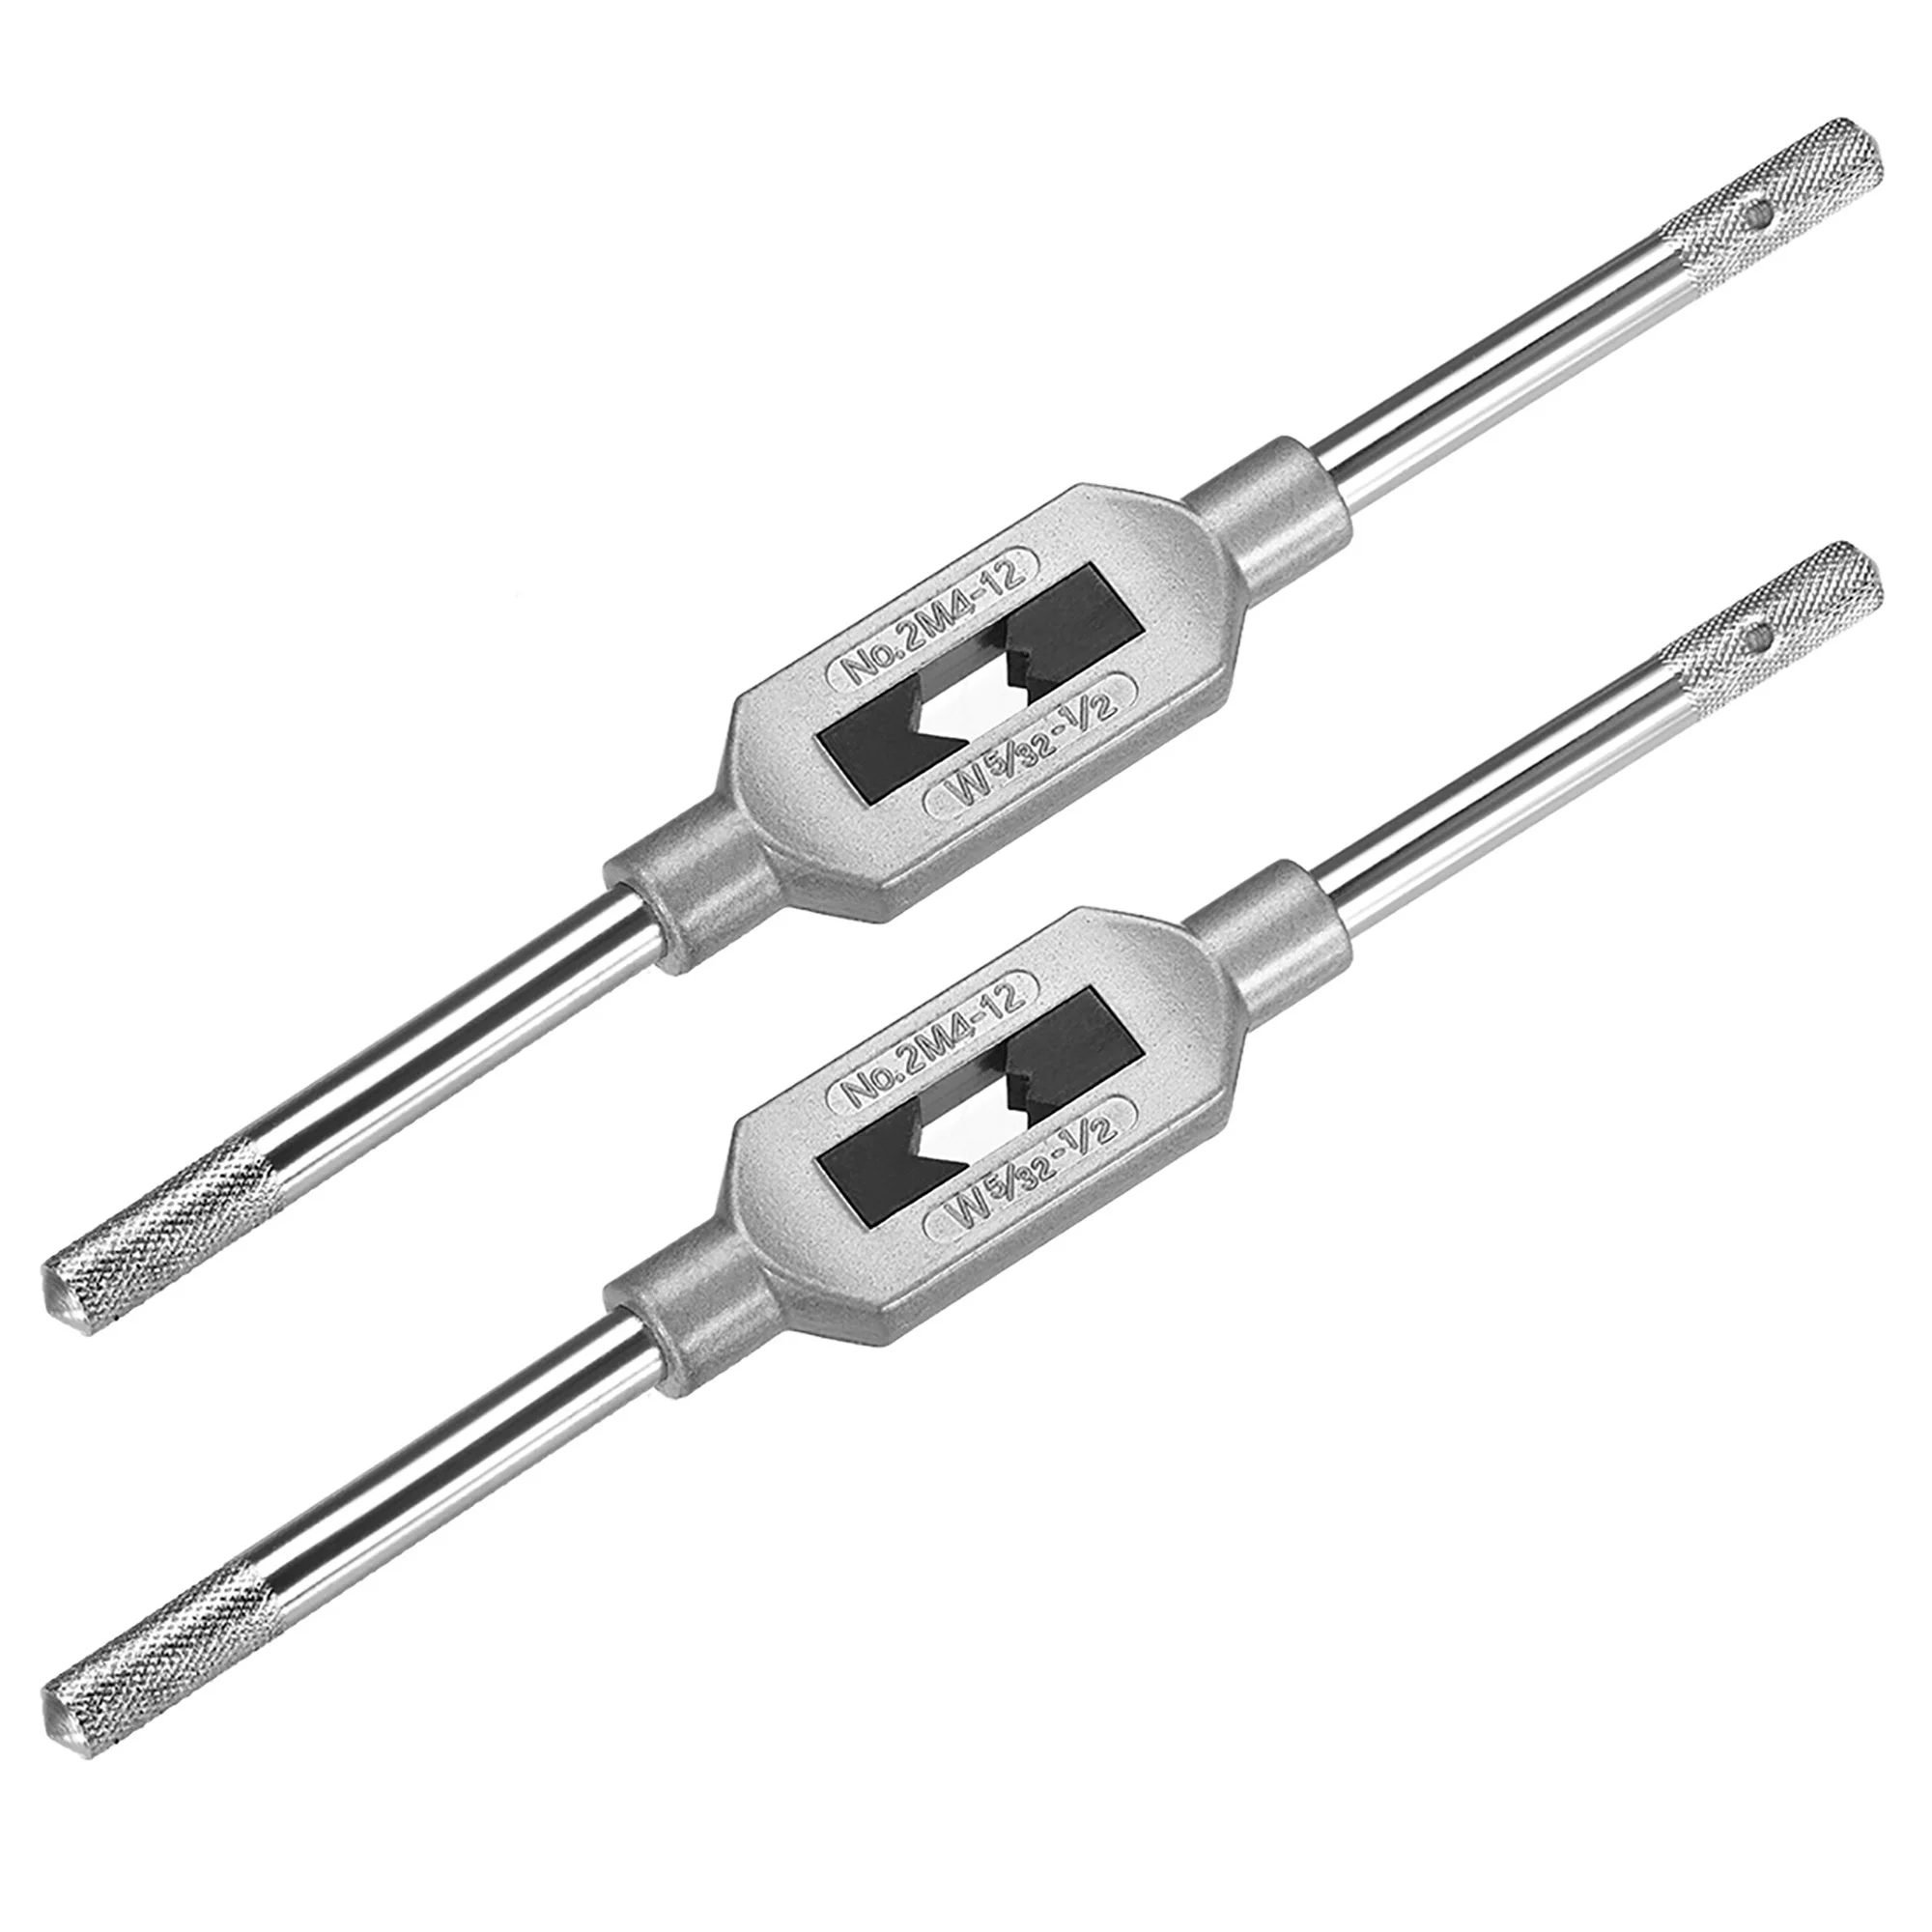
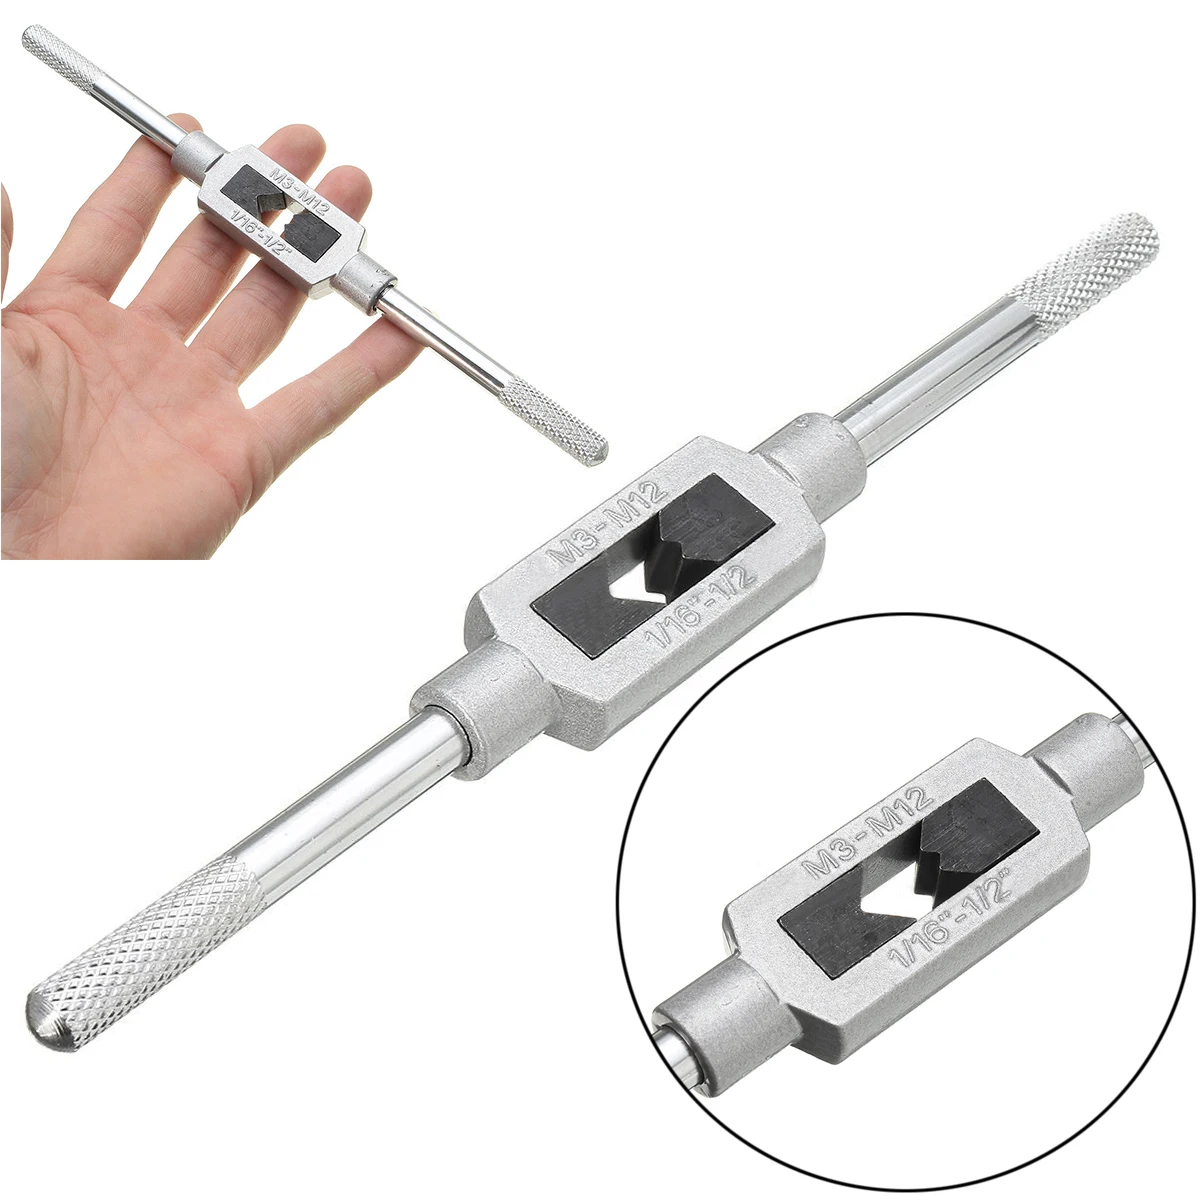
Tap wrenches come in two main types: T-handle and bar-type wrenches.
T-handle tap wrench: This type is often preferred for smaller taps and confined spaces. Its ergonomic design allows for easy rotational movement and provides greater control.
Bar-type tap wrench: This tap wrench is ideal for larger taps and heavy-duty threading tasks. It consists of a straight handle that offers more leverage during operations.
Both tap wrench types vary in size to fit different tap diameters. Selecting the right type ensures smoother and more efficient threading. Understanding the application for each type helps users choose the correct wrench for their projects.
 Essential Tools and Materials Needed
To use a tap wrench effectively, you need certain tools and materials. These items ensure smooth threading and consistent results. Proper selection is important to avoid mistakes and reduce wear on tools.
Taps and Dies
Taps and dies are fundamental tools for threading operations. A tap cuts internal threads in holes, while a die creates external threads for screws or bolts.
- Taps: Available in various sizes and thread types, they are the main tool in threading. Match the tap size to the hole diameter for accurate threading.
- Dies: Useful for external threads, dies come in adjustable or fixed types. Ensure the thread type matches your tap for compatibility.
Selecting the correct taps and dies ensures efficient and precise threading. Always check sizes and threading standards before starting.
Choosing the Right Tap Wrench
Selecting the right tap wrench depends on the tap size and threading task. The wrench grips the tap firmly and provides control during use.
- T-handle tap wrench: Best for tight spaces and smaller taps. Its compact design allows precision movements.
- Bar-type tap wrench: Suitable for larger taps and heavy-duty threading tasks. The straight handle provides added leverage.
Choose a tap wrench that fits your tap size securely. An appropriate wrench prevents slips, reduces thread damage, and improves overall efficiency. Pairing the right wrench with your taps and dies guarantees successful threading results.
Preparing the Workpiece
Proper workpiece preparation ensures successful threading with a tap wrench. Follow these steps carefully.
Marking and Drilling the Hole
- Measure accurately: Use a ruler or caliper to determine the exact location for the hole.
- Mark the spot: Use a center punch to make a guide mark on the workpiece.
- Choose the right drill bit: Match the bit size to your tap size for a proper fit.
- Secure the workpiece: Use clamps or a vise to hold the material firmly in place.
- Drill carefully: Drill straight and slowly to avoid uneven or angled holes. Ensure the hole depth matches your threading requirements.
Cleaning and Lubricating the Area
- Remove debris: Clean the drilled hole using compressed air or a brush. Eliminate chips and dust.
- Apply lubricant: Use cutting fluid or oil to lower friction during threading.
- Avoid overuse: Use just enough lubricant to coat the hole and surrounding area.
- Inspect the hole: Check for smoothness and clean edges before proceeding with threading.
 Step-by-Step Guide to Using a Tap Wrench
Using a tap wrench correctly involves a series of precise steps. Follow this guide to ensure successful threading. Each step enhances control and prevents errors during the process.
Securing the Tap in the Wrench
- Match the tap and wrench size: Ensure the tap fits securely into the wrench’s jaws.
- Insert the tap properly: Place the square end of the tap in the wrench.
- Tighten the jaws: Turn the wrench handle or knob to firmly grip the tap.
- Check for grip strength: Ensure the tap does not slip under pressure.
Aligning the Tap with the Hole
- Position correctly: Place the tap over the center of the prepared hole.
- Ensure perpendicular alignment: Hold the wrench so the tap is at a 90-degree angle to the surface.
- Stabilize the wrench: Use both hands to hold the wrench firmly in place.
- Double-check the alignment: This prevents crooked threads that can affect performance.
Cutting Threads: Technique and Tips
- Begin gently: Turn the wrench clockwise to start cutting threads into the hole.
- Use steady pressure: Apply consistent and light pressure while turning the wrench.
- Avoid forcing the tap: Let the cutting edges do the work to prevent breakage.
- Reverse periodically: Turn the wrench counterclockwise occasionally to clear chips.
- Monitor depth: Check the tap’s progress to avoid over-threading.
- Lubricate continuously: Apply cutting fluid to reduce friction and extend tool life.
By following these steps, you can achieve clean and precise threads with a t handle wrench. Take your time to ensure accuracy and prevent damage to your tools or workpiece.
Tips for Achieving Precision and Avoiding Damage
Using a tap wrench correctly ensures quality threads and prevents tool or workpiece damage. Follow these tips to achieve precision and reduce errors during threading tasks.
Maintaining Proper Alignment
- Start with centered holes: Ensure the drilled hole is straight and properly aligned.
- Hold the wrench correctly: Keep the tap perpendicular to the workpiece’s surface during threading.
- Check alignment often: Reassess the tap’s position regularly to avoid crooked threads.
- Use guides if needed: A threading guide can help maintain straight threads in challenging situations.
Proper alignment ensures threads fit securely and evenly. It reduces risks of uneven threading or tap breakage.
Applying Adequate Pressure
- Apply consistent force: Use steady pressure while turning the t handle wrench to cut threads smoothly.
- Avoid excessive force: Forcing the tap can damage threads or break the tap.
- Let the tool work: Allow the cutting edges of the tap to handle the threading.
- Reverse periodically: Turn the wrench counterclockwise to clear chips and reduce buildup.
- Lubricate effectively: Use cutting fluid to minimize friction and ease pressure during tapping.
By applying balanced pressure, you maintain tool integrity and create precise, clean threads. Focus on controlled movements to achieve consistent results.
Safety Precautions
Using a t handle wrench safely is critical to prevent accidents and tool damage. Proper precautions help ensure a smooth and hazard-free threading process. Below are key safety practices to follow.
Protecting Your Hands
- Wear gloves: Use protective gloves to shield your hands from sharp taps and debris.
- Avoid over-gripping: Keep your grip firm but comfortable to reduce hand strain.
- Use a steady motion: Turn the wrench smoothly to minimize slips or sudden movements.
- Secure the workpiece: Clamp or hold the material firmly to reduce the risk of slipping.
- Stay alert: Focus on the task to avoid injuries caused by distractions.
Consistently protecting your hands ensures a safe and efficient threading experience.
Avoiding Tool Breakage
- Use the right tap wrench: Match the wrench to the tap size to prevent stress on tools.
- Avoid excessive force: Apply steady pressure and let the tap cut threads naturally.
- Inspect the tools: Check the tap and wrench for wear or cracks before use.
- Clear debris regularly: Reverse the wrench occasionally to remove chips and prevent jams.
- Lubricate often: Use cutting fluid to reduce friction and tool wear.
Following these steps helps keep your tools in good shape and prevents unexpected breakages.
 Common Mistakes and Troubleshooting
Understanding common mistakes during threading can help avoid errors and damage. Proper troubleshooting ensures success.
Overwhelming the Tap with Force
Applying too much force can cause taps to bend or break. Taps are designed to cut threads gradually.
- Use steady pressure: Apply consistent and gentle pressure when threading. Let the tap do the work.
- Turn evenly: Rotate the wrench smoothly to avoid stressing the tap.
- Lubricate adequately: Cutting fluid reduces friction and minimizes the risk of damage.
- Reverse frequently: Back out the tap occasionally to clear chips and lessen resistance.
Avoiding excess force ensures your workpiece and tools remain intact.
Dealing with a Broken Tap
Broken taps happen but can be remedied with care. Follow these steps to recover and continue.
- Stop immediately: Avoid further damage by halting work when a tap breaks.
- Use extraction tools: Utilize tap extractors designed to grip and remove broken taps.
- Drill out carefully: If necessary, drill around the tap with precision to remove it.
- Inspect the hole: Check for damage before continuing with a new tap.
- Prevent recurrence: Review the causes, like excessive force or hard material, to avoid future issues.
These steps help fix problems while protecting your workpiece and tools.
Maintenance and Care
Proper maintenance ensures your t handle wrench performs reliably and lasts longer. Regular care prevents tool wear and damage.
Cleaning the Wrench After Use
- Remove debris: Clean the wrench thoroughly to eliminate chips and dust after use.
- Use a brush: Utilize a soft brush to clean hard-to-reach areas of the wrench.
- Wipe with cloth: Use a clean, dry cloth to remove dirt and oils from the surface.
- Apply lubricant: Coat moving parts with oil to reduce friction and rust formation.
- Inspect condition: Check for damage like cracks or loose handles before storing the wrench.
Cleaning regularly keeps the tool functional and ready for accurate threading tasks.
Proper Storage to Prolong Lifespan
- Choose dry environment: Store the wrench in a cool, dry place to prevent rust.
- Use tool organizer: Opt for a tool box or cabinet to protect the wrench.
- Separate sharp parts: Store taps and dies separately to avoid damaging the wrench.
- Avoid pressure: Ensure the wrench is not under heavy objects to prevent bending.
- Label and organize: Keep tap wrenches and threading tools well-sorted for easy access.
Storing correctly safeguards your wrench from wear and ensures it’s always ready for use.
Comparing Tap Wrench with Other Threading Tools
Understanding how a t handle wrench compares to other threading tools helps you choose the right tool for your needs. Here’s a comparison:
Tap Wrench vs. Tapping Machine
While a tap wrench is a manual tool offering flexibility and precision for small projects, a tapping machine automates the threading process for high-volume tasks. Tapping machines provide speed and consistency but lack the hands-on control of a tap wrench.
Tap Wrench vs. Adjustable Wrench
An adjustable wrench offers general-purpose utility for various fastening tasks. However, it lacks the specialized holding and alignment features of a t handle wrench, making the t handle wrench superior for precise threading.
Tap Wrench vs. Bench Vise
A bench vise holds the workpiece stationary, providing stability during threading. Combined with a t handle wrench, it enhances accuracy. On its own, a bench vise doesn’t facilitate threading, highlighting the complementary nature of both tools.
Tap Wrench vs. Finger Wrench
A finger wrench allows for manual threading without additional tools. However, a t handle wrench offers greater control and torque, making it more effective for tougher threading tasks and ensuring cleaner threads.
 Frequently Asked Questions
What Is the Primary Function of a Tap Wrench?
The primary function of a t handle wrench is to hold and turn a tap, allowing you to create or repair threads in holes accurately and efficiently.
Can I Use a Tap Wrench on Any Type of Tap?
Yes, tap wrenches are designed to be compatible with various types of taps, including taper, plug, and bottoming taps. Ensure the wrench is adjustable to fit different tap sizes and styles.
How Do I Choose the Correct Tap Wrench Size?
Select a tap wrench that can accommodate the size of the taps you commonly use. Adjustable tap wrenches offer versatility, while fixed-size wrenches are suitable for specific tap sizes.
Is a Tap Wrench Necessary for Threading?
While not absolutely necessary, a tap wrench greatly enhances the precision and control of the threading process, reducing the risk of tap breakage and ensuring high-quality threads.
How Do I Prevent the Tap from Breaking?
To prevent tap breakage, ensure proper alignment, apply consistent pressure, use adequate lubrication, and avoid over-torquing. Regularly inspect your taps for signs of wear and replace them as needed.
Can I Use a Tap Wrench for Other Purposes?
While primarily designed for threading, a t handle wrench can be repurposed for tasks such as tightening loose bolts, creating custom tools, and performing precision assembly in various projects.
What Maintenance Does a Tap Wrench Require?
Regularly clean your t handle wrench, inspect it for wear and damage, lubricate moving parts, and store it properly. Replace any worn or damaged components to maintain optimal performance.
How Do I Properly Store My Tap Wrench?
Store your t handle wrench in a dry, clean place away from moisture and contaminants. Use a tool chest or protective case to keep it organized and prevent damage.
Can Beginners Use a Tap Wrench?
Yes, beginners can use a t handle wrench with proper instruction and practice. Start with smaller projects, follow safety guidelines, and gradually build your threading skills.
What Are the Common Problems When Using a Tap Wrench?
Common problems include misalignment, tap breakage, uneven threads, and tool slippage. Avoid these issues by ensuring proper alignment, using the right amount of force, and maintaining your tools regularly.
Conclusion
A tap wrench is more than just a tool; it’s an essential component for precise and reliable threading in various applications. Whether you’re repairing automotive parts, assembling machinery, or embarking on DIY projects, the tap wrench empowers you to achieve professional-quality results with ease. By understanding the different types of tap wrenches, mastering their use, maintaining them properly, and avoiding common mistakes, you can enhance your craftsmanship and efficiency. Invest in a high-quality tap wrench today and experience the difference it makes in your work, ensuring your projects are executed with precision and confidence.