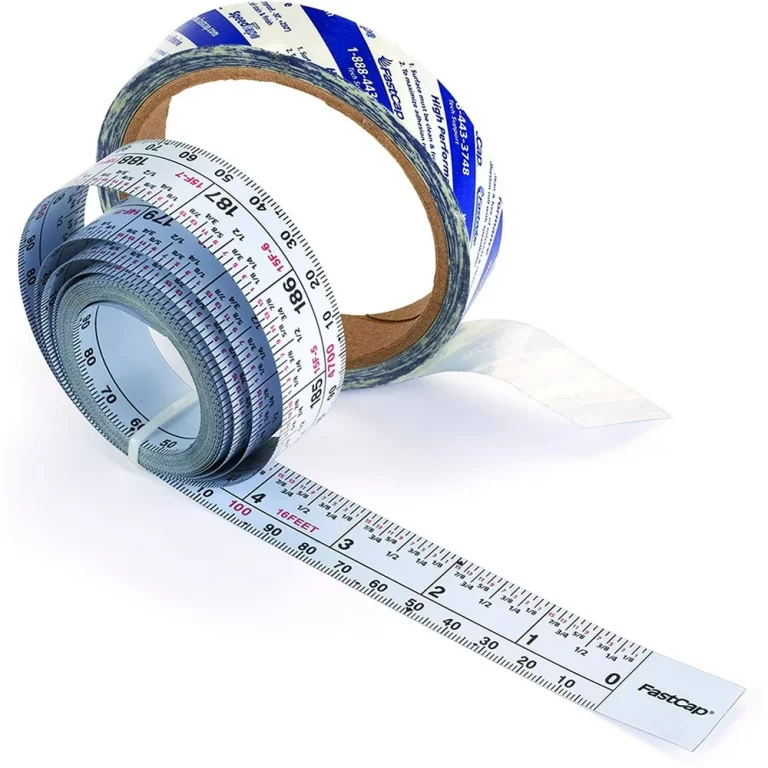
How to Use a Tape Measure Markings Chart: Tips and Techniques
A tape measure markings chart is an indispensable tool for anyone involved in construction, DIY projects, or crafting. Understanding this chart enables you to take accurate measurements, avoid costly mistakes, and work with confidence. In this article, we’ll delve deep into the intricacies of the tape measure markings chart, uncovering tips and tricks that even seasoned professionals sometimes overlook. Whether you’re a beginner or a veteran, mastering these markings will enhance your precision and efficiency in any project.
Contents
hide
 The Fraction Code on Your Tape Measure That Even Pros Misread
Even experienced professionals can occasionally misinterpret the fraction codes on a tape measure. These small fractional marks are crucial for achieving the exact measurements needed for high-precision work.
Understanding Fractional Marks
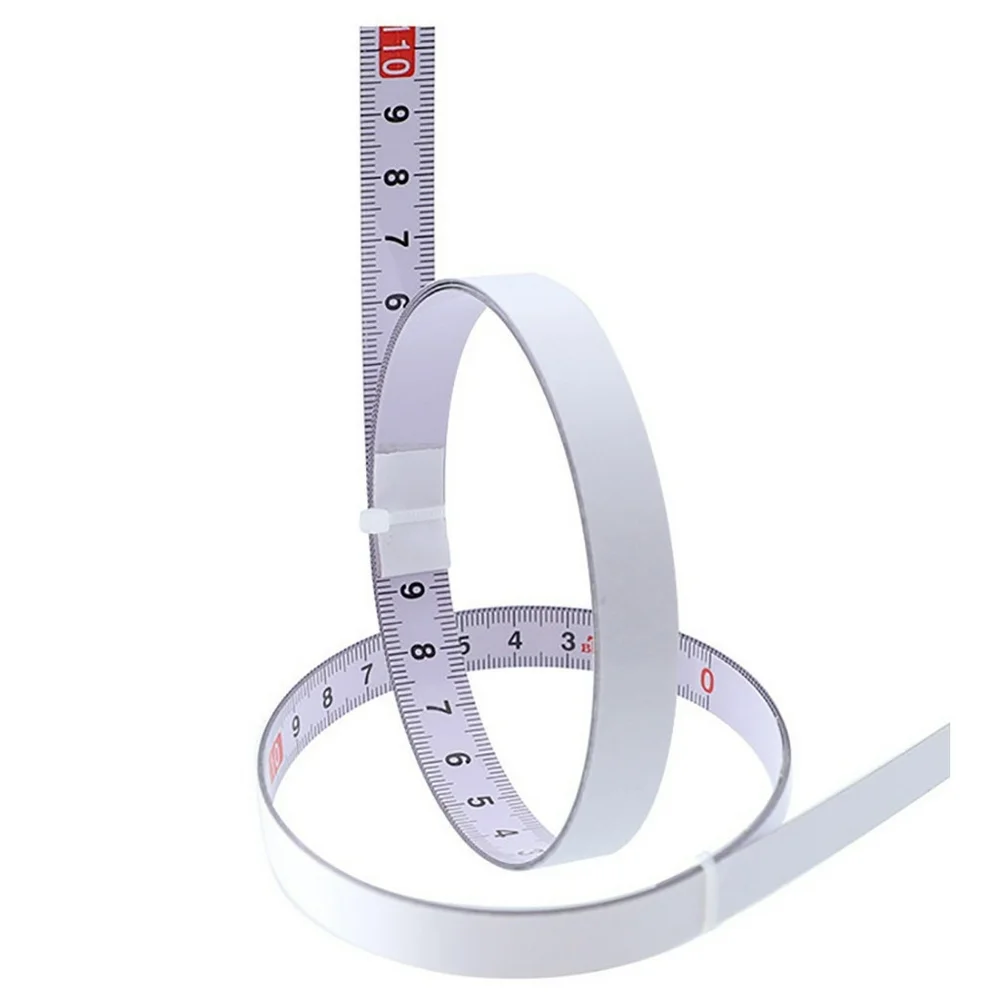
A standard tape measure typically divides each inch into smaller fractions, such as 1/2, 1/4, 1/8, and 1/16 of an inch. Each fractional division serves a specific purpose:
- 1/2 Inch: The longest line between two inch marks, making it easy to identify the halfway point.
- 1/4 Inch and 3/4 Inch: These marks are slightly shorter, helping to divide the inch into quarters.
- 1/8 Inch and 3/8 Inch: Even smaller, these marks provide finer measurement increments.
- 1/16 Inch: The smallest marks offer the highest level of precision.
Common Misreads and How to Avoid Them
Pros might sometimes glance too quickly and misinterpret these small marks. To prevent errors:
- Take Your Time: Slowly count each mark to ensure accuracy.
- Use a Marker: Highlight key fractions to make them stand out.
- Practice Regularly: The more you work with these fractions, the more familiar they become, reducing the chances of misreading.
Why the ‘Longest Line’ on a Tape Measure Isn’t Always the 1-Inch Mark
At first glance, the longest line on a tape measure might seem like it’s always marking each inch. However, this isn’t always the case, and understanding the true significance of these lines can improve your measurement accuracy.
Identifying Key Markings
The longest lines on a tape measure typically denote whole inches. However, some high-precision tape measures might use this space differently. Always refer to the tape measure’s specific markings chart to confirm:
- Whole Inches: Usually marked by the longest lines and numbered for easy reference.
- Half Inches: The next longest lines, indicating the 1/2 inch marks.
- Quarters and Eighths: Shorter lines represent 1/4, 3/8, and other fractional increments.
Avoiding Common Confusion
Sometimes, manufacturers may vary the designs of tape measures. To ensure you’re reading it correctly:
- Consult the Markings Chart: Every tape measure has a specific design; refer to the chart to understand its unique markings.
- Look for Numbers: Whole inches are usually numbered, providing a clear reference point.
- Compare with a Standard: Familiarize yourself with standard tape measure markings to quickly identify differences.
 The One Tape Measure Trick That Makes Fractions Feel Like Whole Numbers
Handling fractions on a tape measure can be daunting, but there’s a simple trick that can make these fractions feel as intuitive as whole numbers.
Simplifying Fractional Measurements
To make fractions easier to manage:
- Visual Grouping: Group the fractions into halves, quarters, and eighths in your mind.
- Relative Positioning: Notice where each fraction falls in relation to the whole inch, making it easier to estimate quickly.
- Use Landmarks: Establish mental landmarks for common fractions, such as knowing that 3/4 inch is halfway between 1/2 and 1 inch.
Practical Application
When measuring:
- Start by identifying the nearest whole inch.
- Break down the remaining measurement into familiar fractions.
- Use the grouping technique to simplify the reading process.
This approach reduces the cognitive load and speeds up your measuring process without sacrificing accuracy.
The Visual Guide That Stops You from Guessing ‘Close Enough’
Relying on guessing can lead to significant inaccuracies, especially in projects where precision is critical. A well-designed visual guide can eliminate the “close enough” mentality.
Creating Your Own Visual Reference
Develop a visual guide to help you quickly identify common fractions:
- Draw a Tape Measure: Sketch a tape measure and label each fractional mark.
- Color Code Fractions: Use different colors for 1/2, 1/4, 1/8, and 1/16 inch marks.
- Attach to Your Tool: Keep this guide nearby while measuring to reinforce recognition.
Benefits of a Visual Guide
- Quick Reference: Facilitates faster measurements.
- Enhanced Accuracy: Reduces the chance of misreading.
- Confidence Boost: Allows you to measure with assurance, knowing your guide has your back.
How to ‘Read Between the Lines’ on a Tape Measure for Perfect Measurements
Reading between the lines means understanding the subtle nuances of your tape measure’s markings to achieve flawless measurements every time.
Interpreting Subtle Markings
Besides the main fractional marks, some tape measures include additional indicators:
- Minor Lines: Extremely short lines may indicate tenths or twentieths of an inch.
- Color Highlights: Different colors can signify specific fractions or measurements.
- Hooks and Ends: The metal hook at the end of the tape has its own measurement quirks, often adjusted for precise readings.
Mastering Precise Readings
To read between the lines effectively:
- Understand the Scale: Know how each line corresponds to a specific fraction.
- Use Both Eyes: Align the tape measure at eye level to prevent parallax errors.
- Double-Check Measurements: Confirm by measuring twice or using an additional tool for verification.
 The DIY Project Where Misreading 1/8th of an Inch Cost Me $300
Experience is the best teacher, and sometimes, costly mistakes highlight the importance of accurate measurements. Let me share a personal story about a DIY project where misreading an 1/8th of an inch almost resulted in a $300 loss.
The Project Breakdown
I was installing crown molding in my living room. The installation required precise cuts at multiple angles, with each measurement relying on exact fractions like 1/8th of an inch.
The Mistake
In my haste, I misread the 1/8th-inch mark as 1/4 inch. This small error caused the molding pieces to fit improperly, leading to gaps and an uneven appearance.
The Resolution
Realizing the mistake, I had to reorder the molding and redo the entire installation. This experience taught me the critical importance of attentive reading and verification of each fractional mark on the tape measure.
Lesson Learned
Never underestimate the significance of precise measurement, especially when dealing with small fractions. Always double-check your readings to avoid costly errors.
Why the Smallest Marks on a Tape Measure Are the Most Important Ones
The smallest marks on your tape measure, such as 1/16th-inch increments, might seem insignificant, but they play a crucial role in ensuring accurate measurements.
Importance of Fine Measurements
- Precision: Essential for projects requiring tight tolerances.
- Fit and Finish: Ensures components fit together seamlessly without gaps or overlaps.
- Quality: Reflects a professional finish and attention to detail.
Utilizing Small Marks Effectively
- Focus on Detail: Pay close attention to these marks, especially in intricate projects.
- Practice Reading: Regularly measuring small increments builds familiarity and accuracy.
- Use Tools: Employ magnifying glasses or additional lighting to better see the smallest marks if needed.
Enhancing Your Measurement Skills
By emphasizing the importance of these tiny marks, you enhance your ability to measure accurately, leading to superior project outcomes.
The Fraction Pattern That Makes Measuring Easier Than You Think
Understanding the underlying fraction pattern on your tape measure can simplify the measuring process, making it more intuitive and less error-prone.
Recognizing Common Patterns
Most tape measures follow a consistent fractional pattern:
- Each inch is divided into halves, quarters, eighths, and sixteenths.
- The repeating pattern allows for quick recognition and easier mental calculation.
Leveraging Pattern Recognition
- Memorize the Sequence: Familiarize yourself with the order of fractions for faster identification.
- Use Mental Grouping: Group fractions in halves and quarters to streamline the measuring process.
- Apply Patterns Consistently: Consistent use of patterns aids in reducing measurement time and errors.
Practical Benefits
Recognizing these patterns not only speeds up your measuring but also boosts your confidence in handling complex measurements effortlessly.
 The One Tape Measure Trick That Makes Fractions Feel Like Whole Numbers
Handling fractions can be challenging, but a clever trick can make them feel as straightforward as whole numbers, enhancing your measurement proficiency.
The Trick: Simplified Mental Addition
Instead of viewing fractions as separate entities, combine them mentally to simplify the process.
- Start with Whole Numbers: Identify the nearest inch mark first.
- Add Fractions Sequentially: Add each fraction step by step, treating them as parts of a whole.
- Visualize the Combination: Picture the combined fractions to make them feel like a unified measurement.
Example Application
For instance, when measuring 2 5/8 inches:
- Identify the 2-inch mark.
- Add the 1/2 inch (making it 2 1/2).
- Add the remaining 1/8 inch, totaling 2 5/8 inches.
This method reduces the cognitive load, making fractions easier to manage and apply.
The Visual Guide That Stops You from Guessing ‘Close Enough’
Relying on estimation can compromise the integrity of your projects. A visual guide ensures you measure accurately every time, eliminating the guesswork.
Developing a Reliable Visual Guide
Create a reference that visually represents each fraction, facilitating quick and precise identification.
- Print a Reference Chart: Include all the fractional marks and their specific positions.
- Use Visual Cues: Incorporate colors or distinctive markings for easy differentiation.
- Position Nearby: Keep the guide close to your workspace for easy access during projects.
Advantages of a Visual Guide
- Speed: Quickly identify measurements without extensive calculations.
- Accuracy: Ensure each measurement is precise, reducing errors.
- Consistency: Maintain uniformity across different projects and measurements.
How to ‘Read Between the Lines’ on a Tape Measure for Perfect Measurements
Mastering the ability to read between the lines on a tape measure is essential for achieving flawless measurements. This skill involves interpreting the subtle cues and minor markings that ensure precision.
Techniques for Reading Between the Lines
- Angle Your View: Position your head directly above the tape measure to avoid parallax errors.
- Focus on Both Eyes: Use binocular vision to enhance accuracy.
- Practice Alignment: Consistently align the tape at the same starting point to maintain measurement consistency.
Benefits of Precision Reading
- Enhanced Accuracy: Perfect measurements lead to professional-quality results.
- Reduced Waste: Accurate measurements mean fewer mistakes and less material wastage.
- Increased Efficiency: Precision speeds up the workflow, allowing for smoother project progression.
The DIY Project That Misread 1/8th of an Inch Cost Me $300
Let’s explore a real-life example where misreading a tiny fraction led to significant consequences in a DIY project.
Project Overview
I was building custom bookshelves that required precise dimensions to fit perfectly within a designated space. The design called for multiple cuts at 1/8th-inch increments to ensure seamless assembly.
The Misread
In my measurement, I misread a 1/8th-inch mark as 1/4-inch. This small error caused the shelves to be slightly oversized, preventing them from fitting correctly into the space.
The Outcome
The misfit shelves not only looked unprofessional but also required expensive adjustments and additional materials to correct the mistake, resulting in a $300 loss.
Takeaway
This incident underscores the importance of meticulously reading every fractional mark on your tape measure. Even the smallest error can have substantial repercussions in your projects.
Why a Tape Measure Markings Chart Is Essential for Every Project
A tape measure markings chart serves as a vital reference tool, ensuring that every measurement you take is accurate and reliable.
Key Benefits
- Clarity: Provides a clear understanding of each fractional mark and its corresponding value.
- Efficiency: Reduces the time spent deciphering measurements, allowing for smoother workflow.
- Accuracy: Enhances precision by serving as a constant reference, minimizing the risk of errors.
Implementing the Markings Chart
- Study the Chart: Familiarize yourself with the layout and specific markings.
- Refer Often: Keep the chart within view while working to reinforce your understanding.
- Customize if Needed: Tailor the chart to highlight fractions you frequently use, enhancing quick reference during projects.
Why Fractions on a Tape Measure Work Like a Secret Code (And How to Crack It)
Fractions on a tape measure might initially appear cryptic, but they follow a predictable pattern similar to a secret code. Understanding this pattern allows you to decode measurements effortlessly.
Decoding the Fractional Code
- Identify the Base: Recognize that each inch is divided into standard fractions (1/2, 1/4, 1/8, 1/16).
- Understand the Hierarchy: Know that larger fractions like 1/2 and 1/4 are more prominent, while smaller ones like 1/8 and 1/16 are fine lines.
- Apply the Pattern: Use the repeating fractional divisions to quickly interpret any measurement.
Cracking the Code
- Memorize Common Fractions: Familiarity with the common fractional divisions speeds up the decoding process.
- Use Mnemonics: Create memory aids to remember the order and placement of fractions.
- Practice Regularly: Consistent practice ensures that you recognize and interpret the fractions effortlessly.
The Visual Guide That Stops You from Guessing ‘Close Enough’
A visual guide is a powerful tool that replaces estimation with precision, ensuring your measurements are always accurate.
Building an Effective Visual Guide
- Include All Fractions: Ensure your guide covers all the fractional marks on your tape measure.
- Use Clear Labels: Clearly label each fraction to avoid confusion.
- Incorporate Visual Cues: Utilize colors or symbols to differentiate between fractions easily.
Utilizing the Visual Guide
- Reference While Measuring: Keep the guide beside your tape measure for quick consultation.
- Practice with the Guide: Use it to measure various objects, reinforcing your ability to identify fractions accurately.
- Update as Needed: Modify the guide to suit your specific measurement needs, enhancing its effectiveness.
Maintaining and Using Your Tape Measure Markings Chart for Longevity and Precision
To maximize the benefits of your tape measure markings chart, proper maintenance and usage are essential.
Keeping the Chart Updated
- Regular Reviews: Periodically check your chart against your tape measure to ensure accuracy.
- Add Notes: Include any personal tips or reminders that help you interpret specific markings.
- Protect the Chart: Keep it free from damage by storing it in a safe, accessible place.
Enhancing Precision with Maintenance
- Clean Regularly: Remove dust and debris from your tape measure to keep the markings clear and visible.
- Check for Wear: Inspect the tape measure for worn or faded marks and replace it if necessary to maintain measurement accuracy.
- Calibrate When Needed: Some tape measures might require recalibration over time to ensure the markings remain true.
Best Practices for Using Your Chart
- Consistent Reference: Always refer to your chart during measurements, making it a habitual part of your measuring process.
- Teach Others: Share your chart and knowledge with team members or fellow DIYers to maintain consistency in your projects.
- Integrate Technology: Consider digital versions of the chart for easy access on devices, complementing your physical tape measure.
Conclusion: Unlock the Power of a Tape Measure Markings Chart for Flawless Measurements
A tape measure markings chart is more than just a reference guide; it’s the key to unlocking precise and efficient measurements in any project. By understanding the fractional codes, recognizing the significance of each mark, and utilizing visual guides, you can elevate your measuring skills to professional levels. Avoid costly mistakes, enhance your project quality, and work with confidence by mastering the tape measure markings chart.
Embrace these insights, practice diligently, and maintain your tools properly to ensure every measurement you take is accurate and reliable. Whether you’re a DIY enthusiast, a professional carpenter, or a crafting aficionado, a thorough understanding of the tape measure markings chart will empower you to achieve outstanding results every time you measure.