How to Read Measure Tape for Measurements Every Time
Understanding how to read measure tape is a fundamental skill that goes beyond simple DIY projects. Whether you’re a seasoned carpenter, a home improvement enthusiast, or someone who frequently engages in everyday tasks, mastering this skill ensures precision and efficiency. In this comprehensive guide, we will explore various techniques, tips, and hacks to help you read a measure tape accurately, enhancing your measurement capabilities without the need for advanced mathematical knowledge.
Contents
hide
 The Basics of Reading a Measure Tape
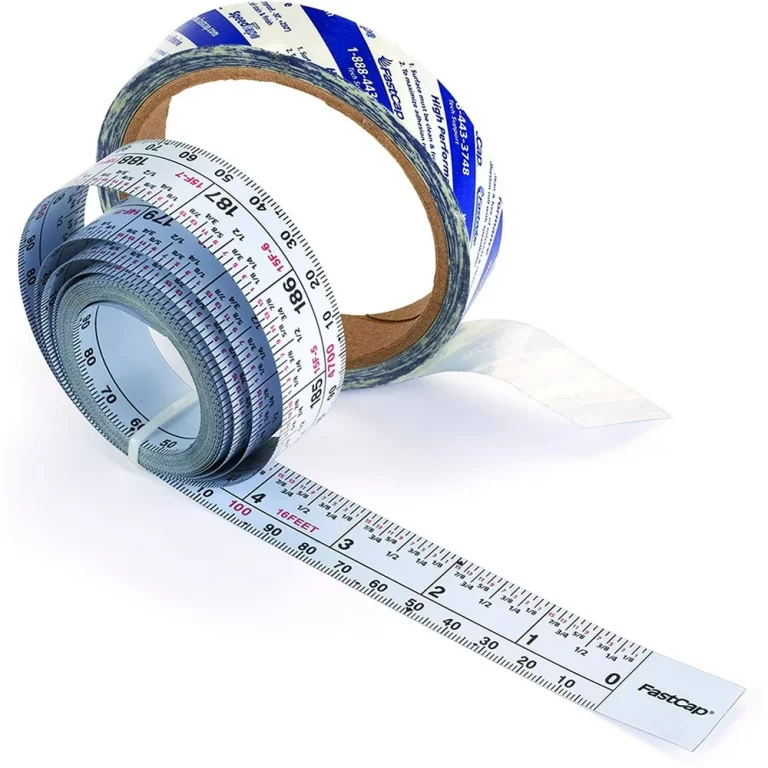
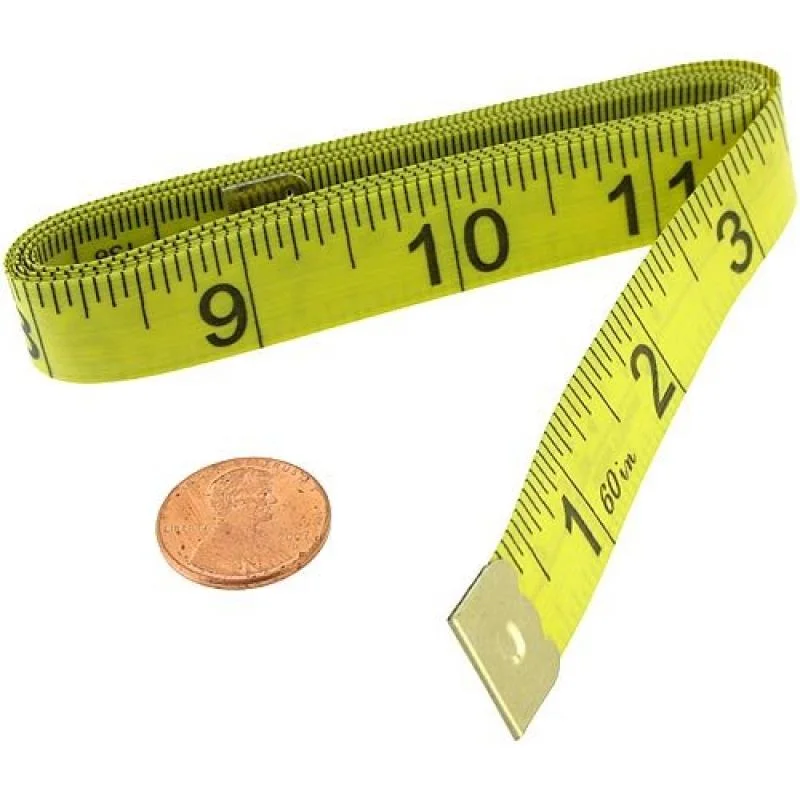
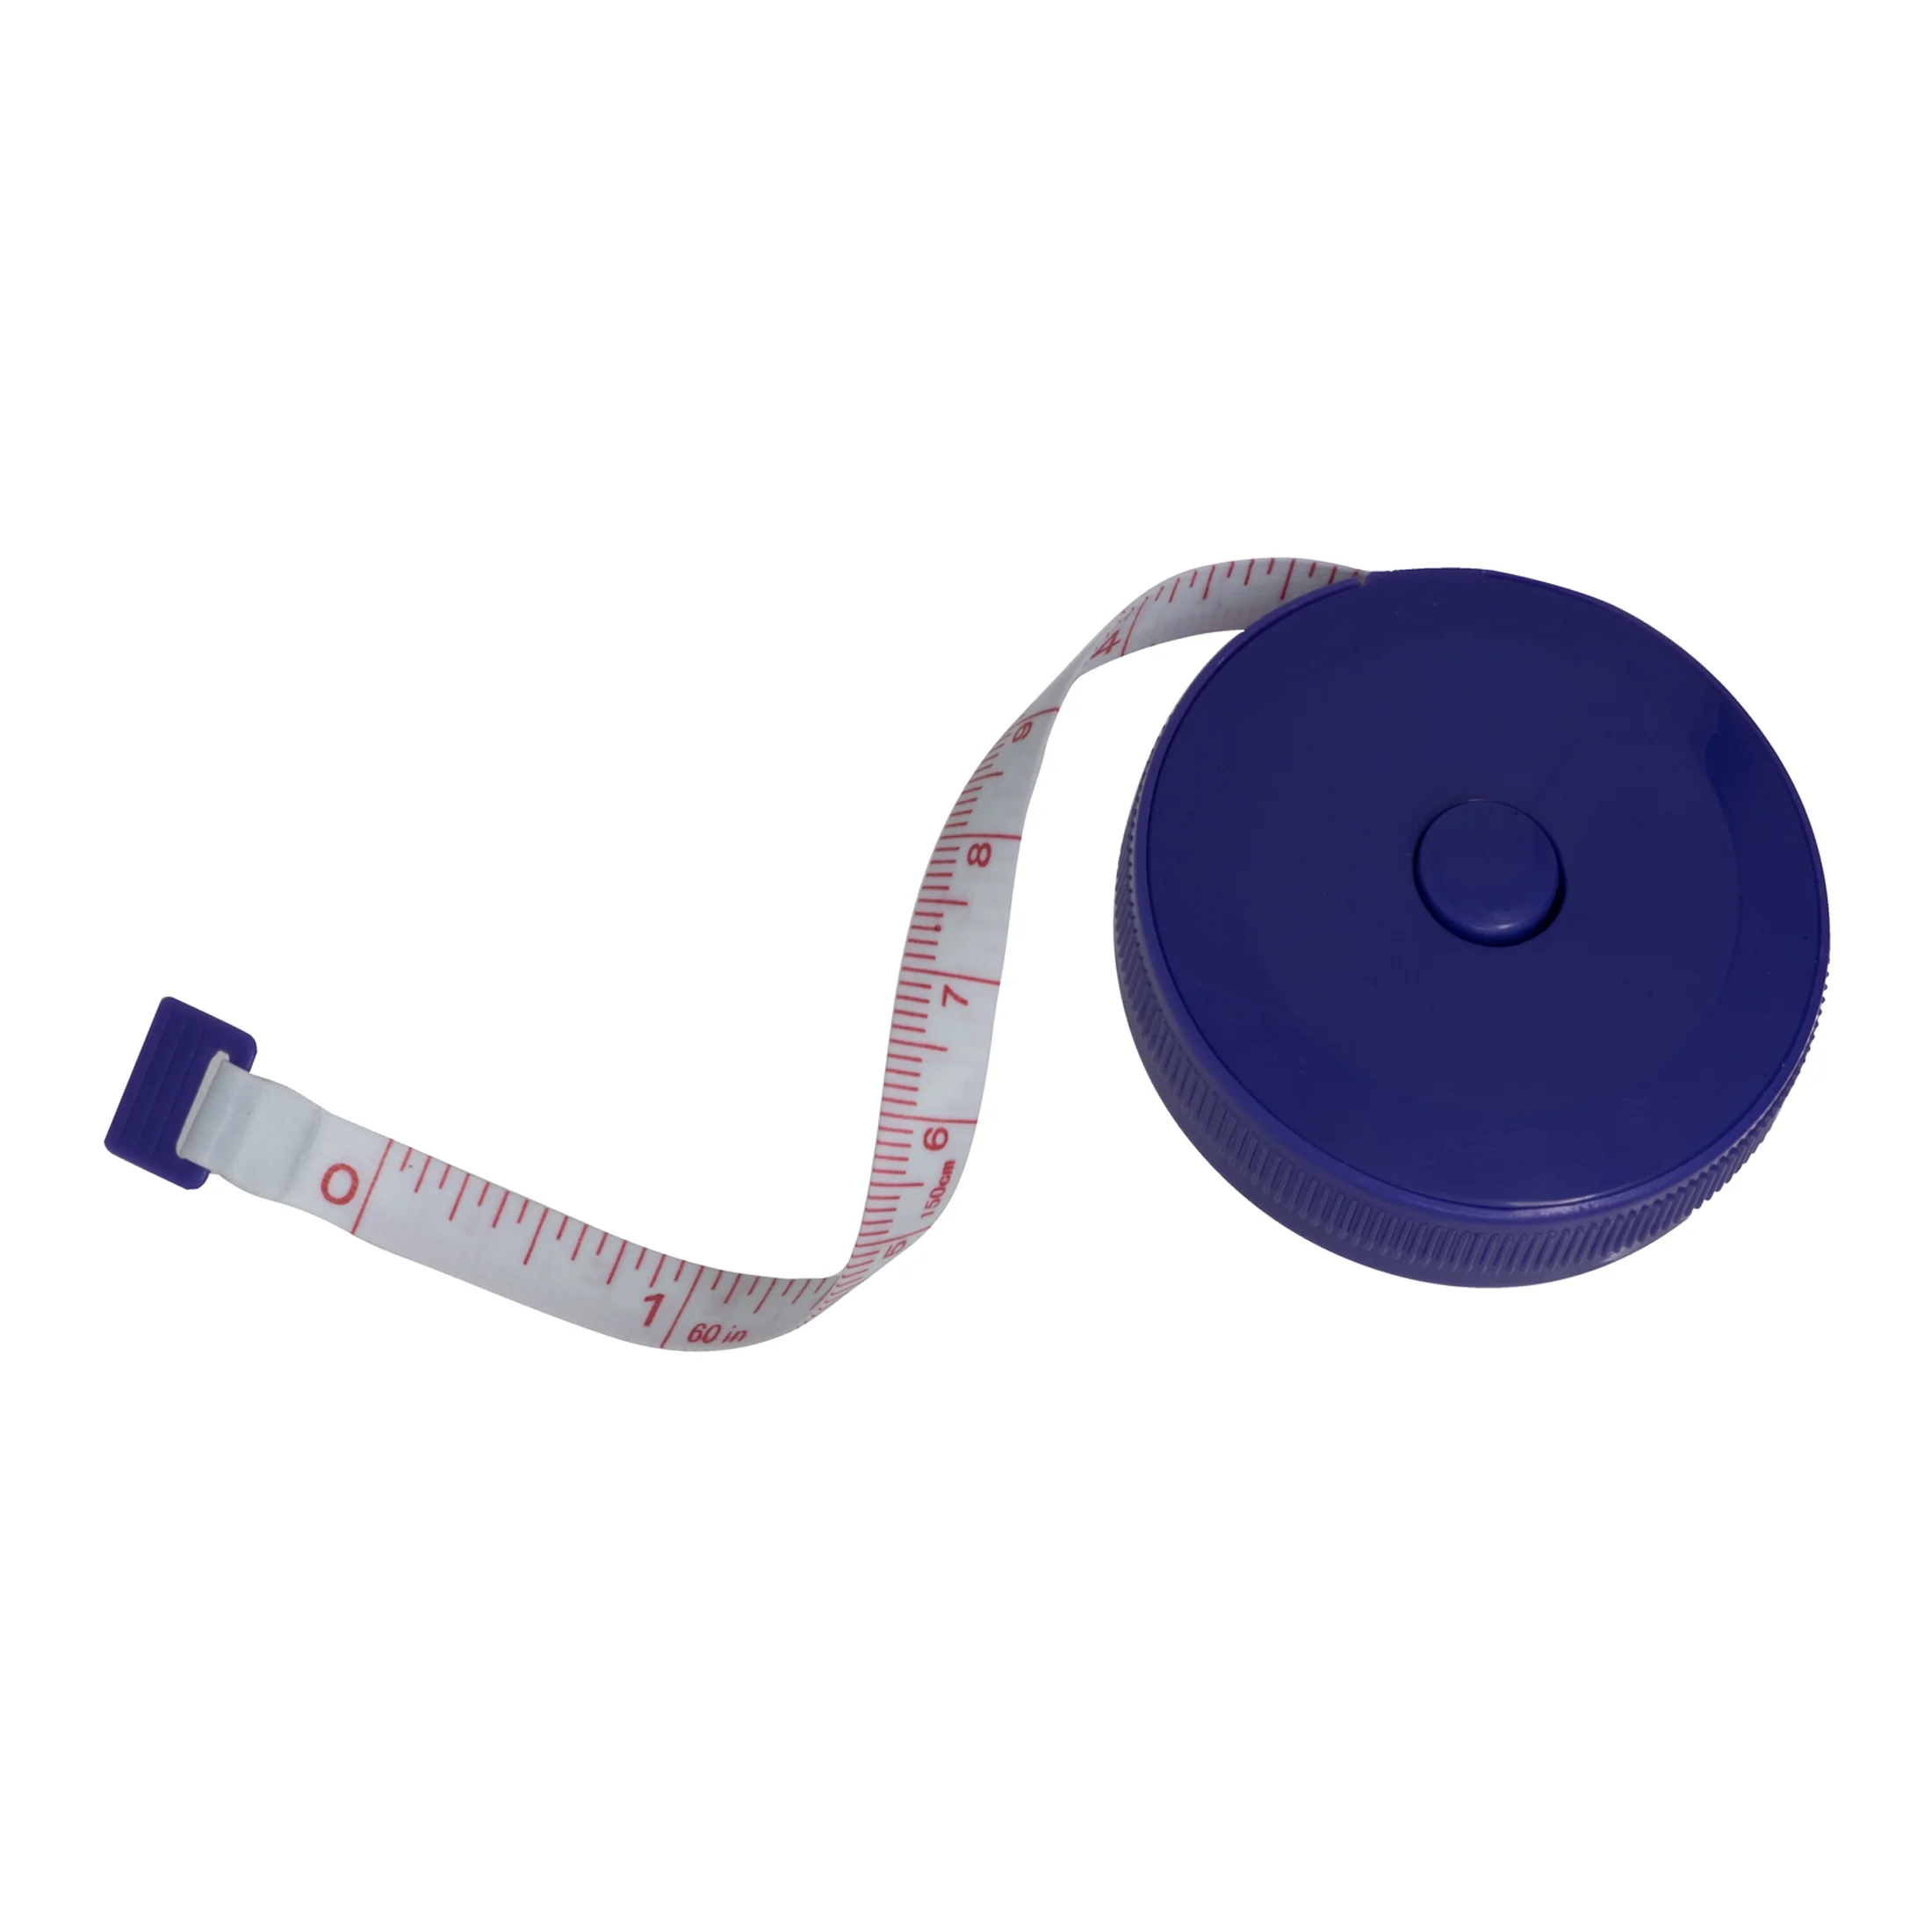
Before diving into advanced techniques, it’s crucial to grasp the basic structure of a measure tape. A typical measure tape consists of a long, flexible strip marked with measurement units, often in both inches and centimeters. These tapes come in various lengths, commonly 12, 25, or 30 feet, suitable for different projects.
Understanding the Markings
Measure tapes feature a series of lines indicating specific measurements. Each inch is typically subdivided into smaller fractions, such as half-inches (1/2), quarter-inches (1/4), eighth-inches (1/8), and even sixteenths of an inch (1/16). Additionally, some tapes include metric measurements alongside imperial ones, catering to a broader range of users.
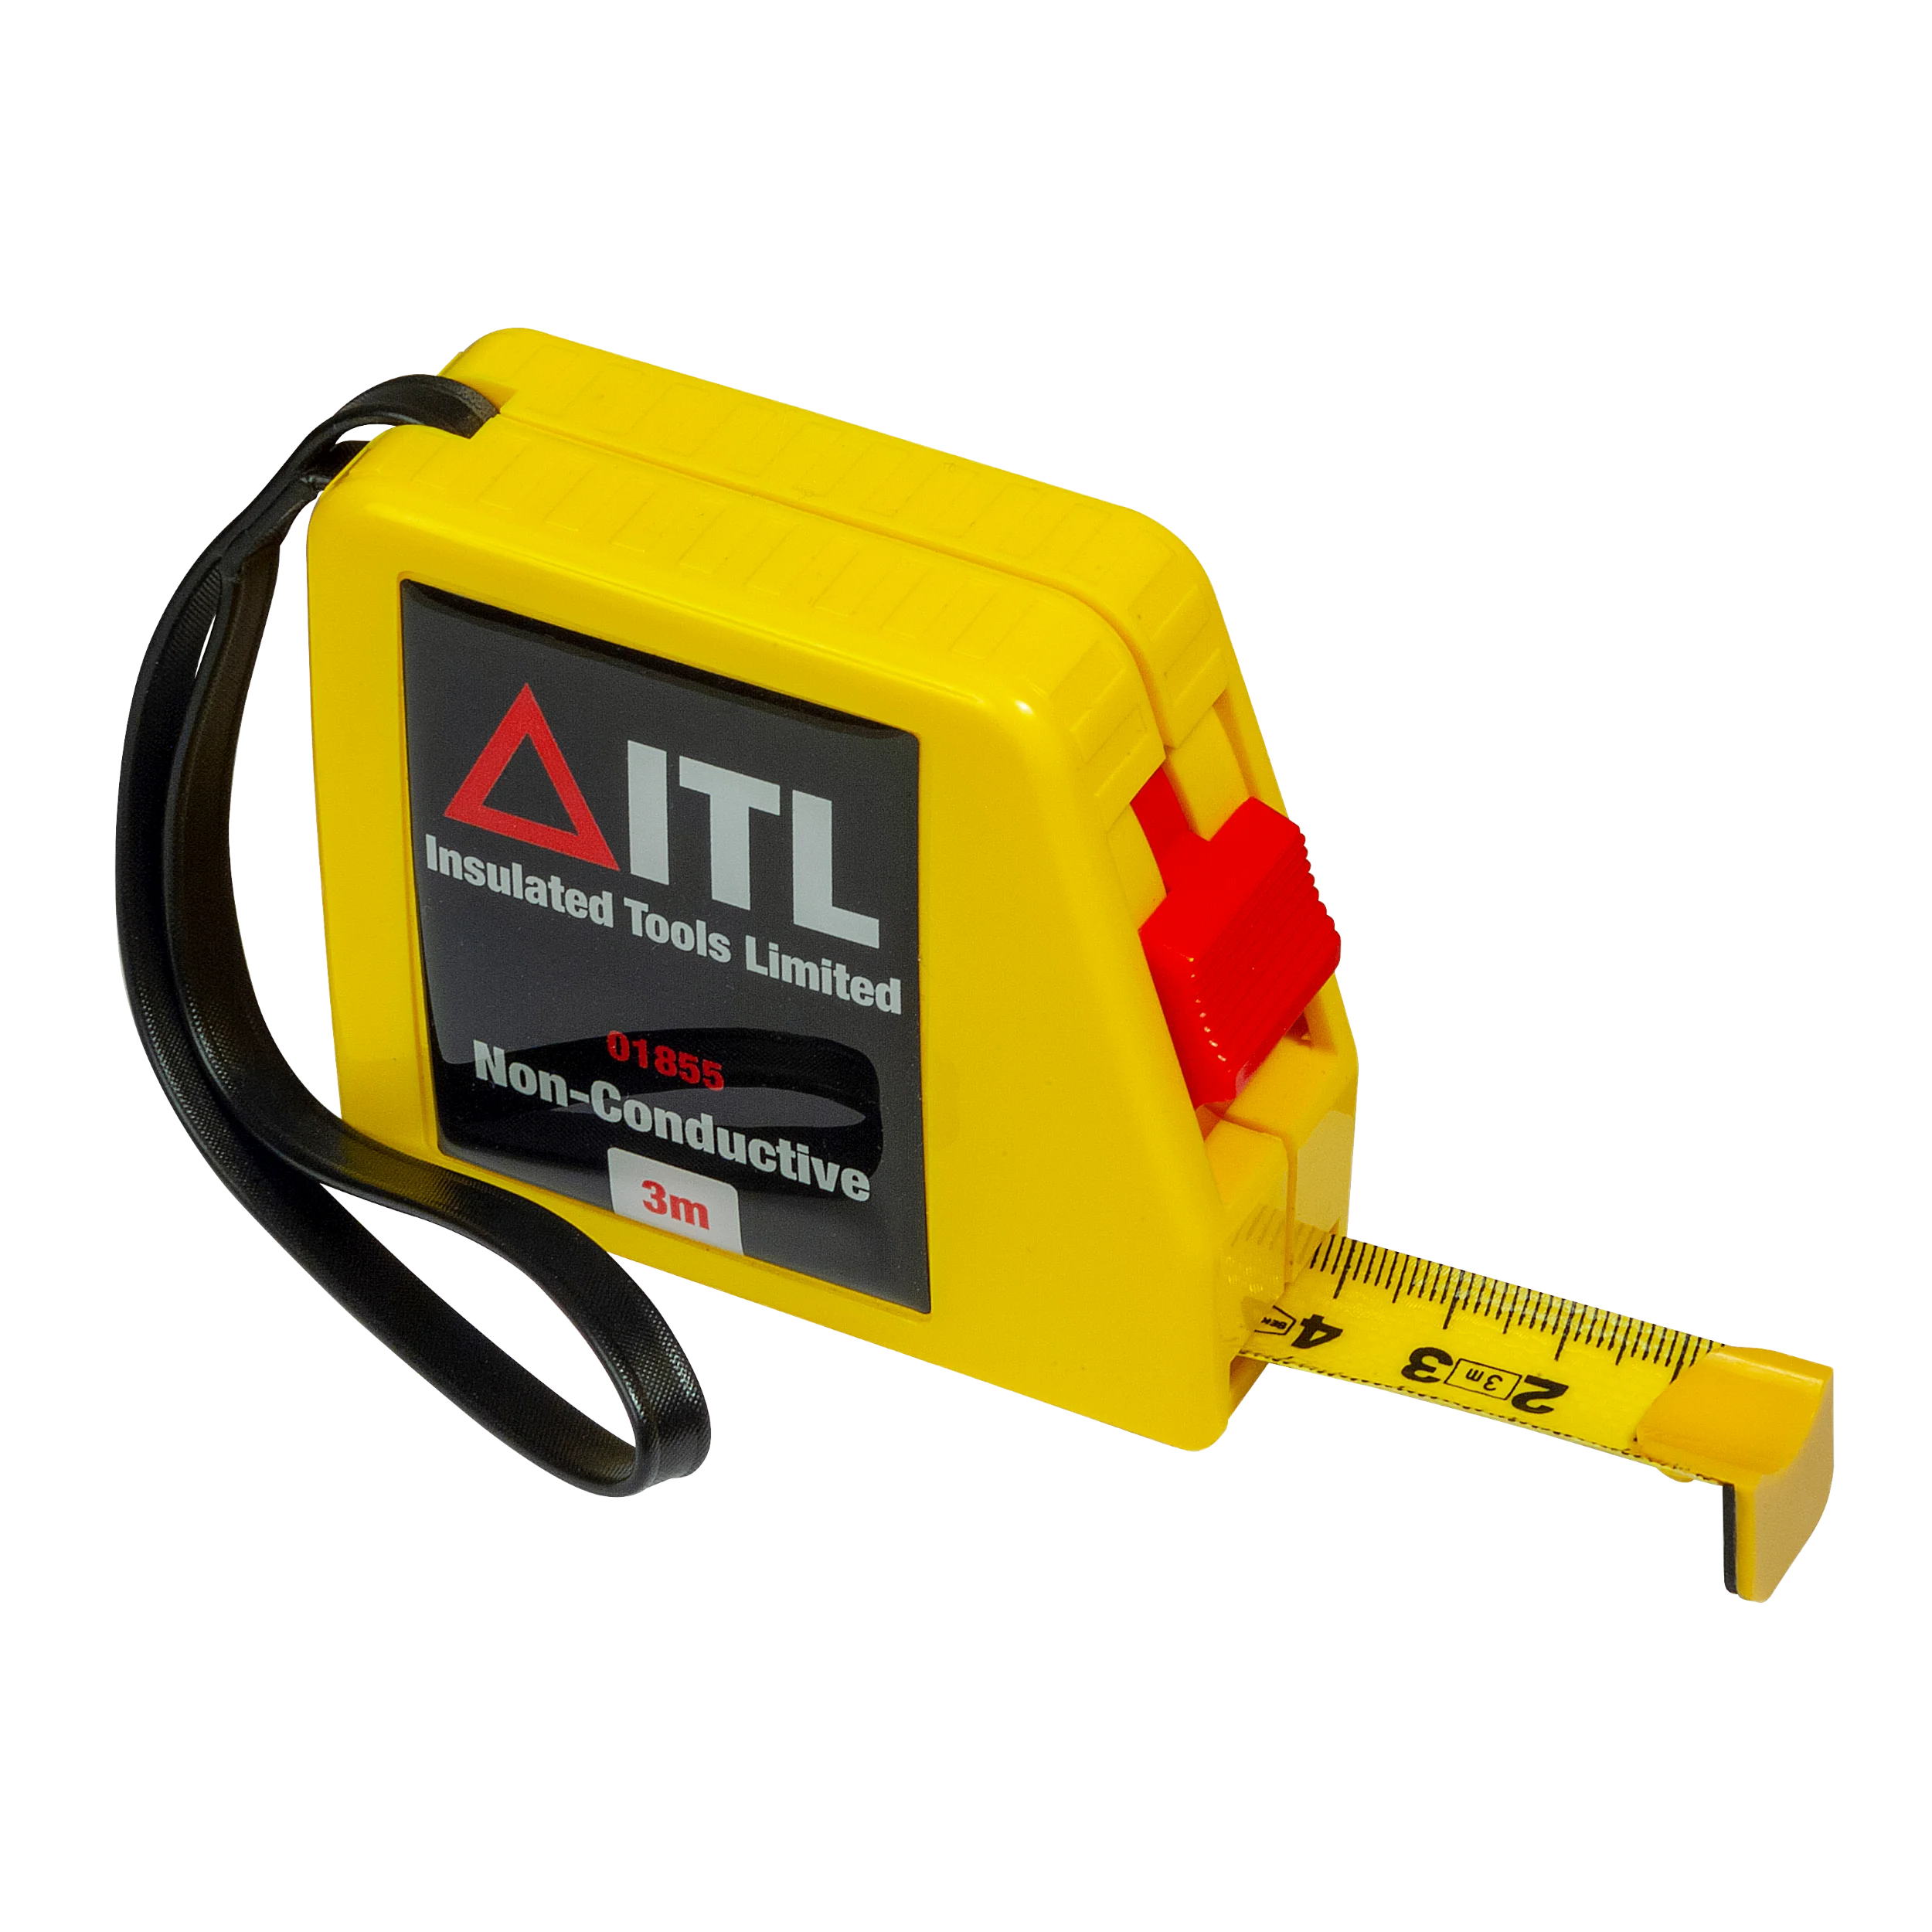
Identifying the Tape’s Length
The total length of a measure tape is clearly indicated on the casing, usually in feet or meters. This information helps you select the appropriate tape for your project, ensuring you have enough length to cover the desired measurements without frequent retractions.
Why Reading a Tape Measure Isn’t Just for DIYers—and How It Helps in Everyday Life
Reading a measure tape accurately is not limited to DIY enthusiasts. This skill extends its utility to various aspects of daily life, enhancing your ability to perform tasks with precision and confidence.
Everyday Applications
- Cooking and Baking: Precise measurements can be critical for ingredient proportions, especially in baking where accuracy affects the outcome.
- Fashion and Tailoring: Measuring body dimensions accurately ensures well-fitted clothing and accessories.
- Home Organization: Properly measuring spaces facilitates efficient furniture arrangement and storage solutions.
- Gardening and Landscaping: Accurate measurements help in planning garden layouts and installing components like garden beds and walkways.
Enhancing Problem-Solving Skills
Learning how to read measure tape sharpens your problem-solving abilities. It requires attention to detail, spatial awareness, and the ability to interpret numerical data, all of which are valuable skills in various real-life scenarios.
The Fraction Reading Hack That Makes You Feel Like a Math Pro (Without Calculus)
Understanding fractions on a measure tape can be daunting for many. However, with the right hack, you can read fractions effortlessly, boosting your measurement accuracy without delving into complex mathematics.
Visual Mnemonics for Fractions
One effective technique is to associate each fractional mark with a visual cue:
- 1/2 Inch: Think of it as the midway point between two whole inches.
- 1/4 Inch: Visualize quarter sections, making it easier to identify each part.
- 1/8 Inch: Break down the half-inch into two equal parts.
- 1/16 Inch: Divide the measurements into smaller, manageable sections.
Practice with Everyday Objects
To internalize these fractions, practice measuring everyday objects. For instance, measure a standard paperclip to understand half-inch increments or a pencil to grasp quarter-inch sections. Repetition solidifies your understanding, making fraction reading second nature.
 The One Mistake 90% of People Make with 1/16th-Inch Measurements (And How to Fix It)
A common error many people encounter is misreading the 1/16th-inch measurements on a tape measure. This mistake can lead to inaccuracies in projects that require high precision.
Identifying the Mistake
Often, individuals overlook the finer subdivisions, mistaking 1/16th-of-an-inch marks for larger increments. This oversight results in measurements that are either too large or too small, compromising the project’s integrity.
How to Fix It
- Count Each Mark: Instead of assuming, count each 1/16th-inch mark to ensure accurate measurement.
- Use a Marker: Highlight the 1/16th-inch marks with a marker for easier identification.
- Practice Regularly: Frequent practice with these finer measurements enhances recognition and accuracy.
How to ‘See’ Fractions on a Tape Measure Without Guessing
Guessing fractions on a tape measure can lead to errors and frustration. Learning to visualize and accurately identify fractions enhances your measurement precision.
Step-by-Step Visualization
- Start with Whole Inches: Begin by identifying the nearest whole inch to your measurement point.
- Identify the Nearest Fraction: Observe the smaller marks between the inches and determine which fraction your measurement aligns with.
- Count the Marks: If unsure, count the number of smaller marks from the nearest inch to pinpoint the exact fraction.
Leveraging Color-Coded Tapes
Many measure tapes come with color-coded fractions, making it easier to differentiate between them. Utilizing these visual aids reduces the guesswork, allowing for quicker and more accurate readings.
The Tape Measure Trick That Makes Woodworking Cuts Look ‘Professional’
In woodworking, precision is paramount. A simple trick can elevate your measurement accuracy, resulting in professional-looking cuts every time.
Using the ‘Stop Mark’ Method
- Set a Stop Point: Use a pen or marker to indicate where you need to cut.
- Align the Tape: Position the measure tape so that the stop mark aligns with the desired measurement.
- Secure the Tape: Hold the tape firmly in place to prevent slipping during your cut.
Enhancing Stability
Ensuring the tape measure remains stable reduces errors. Consider using clamps or tape to secure it temporarily, allowing for smoother and more precise cuts.
 Why a Magnetic Tip Makes Reading a Tape Measure 10x Easier (Yes, Even for Beginners)
Many beginners struggle with holding the measure tape in place, leading to inaccurate readings. A magnetic tip can significantly enhance usability, making the measurement process seamless.
Benefits of a Magnetic Tip
- Secure Attachment: The magnetic tip anchors the tape to metal surfaces, eliminating the need for one-handed holding.
- Stability: It provides a stable starting point, ensuring consistent measurements.
- Convenience: Easy to use, even for beginners, enhancing overall measurement accuracy.
Practical Applications
From hanging pictures to assembling furniture, a magnetic tip simplifies various tasks by keeping the measure tape in place, allowing you to focus on achieving precise measurements without the hassle.
The Visual Guide to Fraction Sizes That Stops You from Mixing Up 1/4 vs 3/8
Confusing similar fractions like 1/4 and 3/8 can lead to significant measurement errors. A visual guide helps in distinguishing these fractions, ensuring accuracy in your projects.
Creating a Fraction Chart
Develop a simple chart that depicts each fraction in relation to a whole inch. Visual representation aids in quickly identifying and differentiating between similar fractions.
Practice with Visual Aids
Use visual aids such as fraction flashcards or diagrams to reinforce your understanding. Regular practice with these tools enhances your ability to recognize and remember each fraction’s size.
The One Step That Makes All Your Measurements Feel ‘Perfect’ Immediately
Achieving near-perfect measurements is possible with a single, crucial step that enhances accuracy and confidence in your measurements.
The Importance of Double-Checking
After taking a measurement, always double-check it. Reaffirming your measurement ensures that any slight mistakes are caught and corrected immediately, preventing larger errors in your project.
Implementing Consistent Techniques
Use consistent measuring techniques every time. Whether it’s aligning the tape correctly or reading the measurement at eye level, consistency eliminates variability, resulting in more reliable measurements.
 How to Accurately Measure Curved Surfaces with a Tape Measure
Curved surfaces present unique challenges when measuring. However, with the right approach, you can achieve accurate measurements even on irregular shapes.
Using Flexible Tape Measures
Opt for flexible tape measures that can conform to curves and bends. This flexibility allows you to follow the contour of the surface, ensuring a precise measurement.
The String Method
For more complex curves, use a piece of string:
- Lay the String Along the Curve: Place the string along the curved surface you wish to measure.
- Mark the String: Once the string outlines the curve, mark the end points.
- Measure the String: Straighten the string and measure its length using your tape measure.
Benefits of Accurate Curved Measurements
Accurate measurements of curved surfaces are essential for projects like custom furniture, intricate woodwork, or fitting round fixtures, ensuring a professional and seamless finish.
Maintaining and Storing Your Measure Tape for Longevity
Proper maintenance and storage of your measure tape ensure its longevity and accuracy over time.
Cleaning After Use
After using the tape measure, wipe it down with a dry cloth to remove any dust or debris. This simple step prevents wear and tear, maintaining the tape’s integrity.
Proper Storage Techniques
- Store in a Dry Place: Keep the tape measure in a dry environment to prevent rust and damage.
- Avoid Overextending: Ensure the tape retracts fully without overextending, preventing kinks and bends.
- Protect the Case: Store the tape measure in its case or a protective pouch to shield it from bumps and scratches.
Regular Inspection
Periodically inspect your measure tape for any signs of damage or wear. Addressing issues early prolongs the tape’s lifespan and ensures consistent accuracy in your measurements.
Advanced Measurement Techniques for Precision Projects
For projects requiring higher precision, advanced measurement techniques can enhance accuracy beyond standard methods.
Using a Level
Incorporate a level with your tape measure to ensure measurements are not only accurate but also aligned correctly. This combination is particularly useful in construction and carpentry, where alignment is critical.
Measuring Both Inside and Outside Dimensions
For objects with depth, measure both the inside and outside dimensions. This comprehensive approach ensures a complete understanding of the object’s size, crucial for tasks like installing fixtures or fitting components.
Combining Tape Measures with Digital Tools
Modern advancements have introduced digital tape measures that offer enhanced precision and additional features like memory functions. Combining traditional tape measures with digital tools provides a robust measurement system for intricate projects.
Tips for Teaching Others How to Read a Measure Tape
Passing on your knowledge of reading a measure tape can empower others and ensure that precise measurements become a shared skill.
Simplify the Learning Process
Break down the measurement process into simple, understandable steps. Start with basic whole inches, then gradually introduce fractions, ensuring a smooth learning curve.
Use Hands-On Demonstrations
Practical demonstrations reinforce theoretical knowledge. Allow learners to handle the tape measure, take measurements, and practice reading fractions, fostering confidence and proficiency.
Encourage Regular Practice
Consistent practice is key to mastering how to read measure tape. Encourage learners to measure various objects around them, promoting continuous improvement and skill retention.
The One Step That Makes All Your Measurements Feel ‘Perfect’ Immediately
Achieving precision in measurements often feels elusive, but there’s one simple step that can transform your approach and results.
Aligning the Tape at Eye Level
Always align the tape measure at eye level when taking a measurement. This alignment prevents errors caused by angles and ensures the measurement read is accurate and true to life.
Benefits of Eye-Level Alignment
- Reduces Parallax Error: Minimizes discrepancies caused by viewing the tape from different angles.
- Enhances Precision: Ensures the measurement is read directly, avoiding misinterpretation of the scale.
- Increases Confidence: Provides a clear and accurate reading, boosting your confidence in your measurements.
Conclusion: Elevate Your Skills in How to Read Measure Tape
Mastering how to read measure tape is a valuable skill that enhances your accuracy and efficiency in various tasks, from DIY projects to everyday applications. By understanding the basics, utilizing advanced techniques, and practicing consistently, you can ensure precise measurements every time. Remember, the key to successful measurement lies in attention to detail, consistency, and the willingness to refine your techniques. Embrace these strategies, and you’ll transform your approach to measuring, making it an effortless and integral part of your skill set.