How to Measure with a Tape Measure: Essential Techniques
Accurate measurement is the cornerstone of successful projects, whether you’re sewing a garment, setting up furniture, or tracking growth. Learning how to measure with a tape measure is an essential skill that ensures precision and efficiency in various tasks. This guide will explore multiple techniques and best practices, offering detailed insights to help you master the use of a tape measure in diverse scenarios. From body mapping for sewing to calculating wall clearances and beyond, you’ll discover effective methods to enhance your measurement accuracy and project outcomes.
Contents
hide
 Precision Body Mapping: 3-Point Contact Method for Sewing Measurements
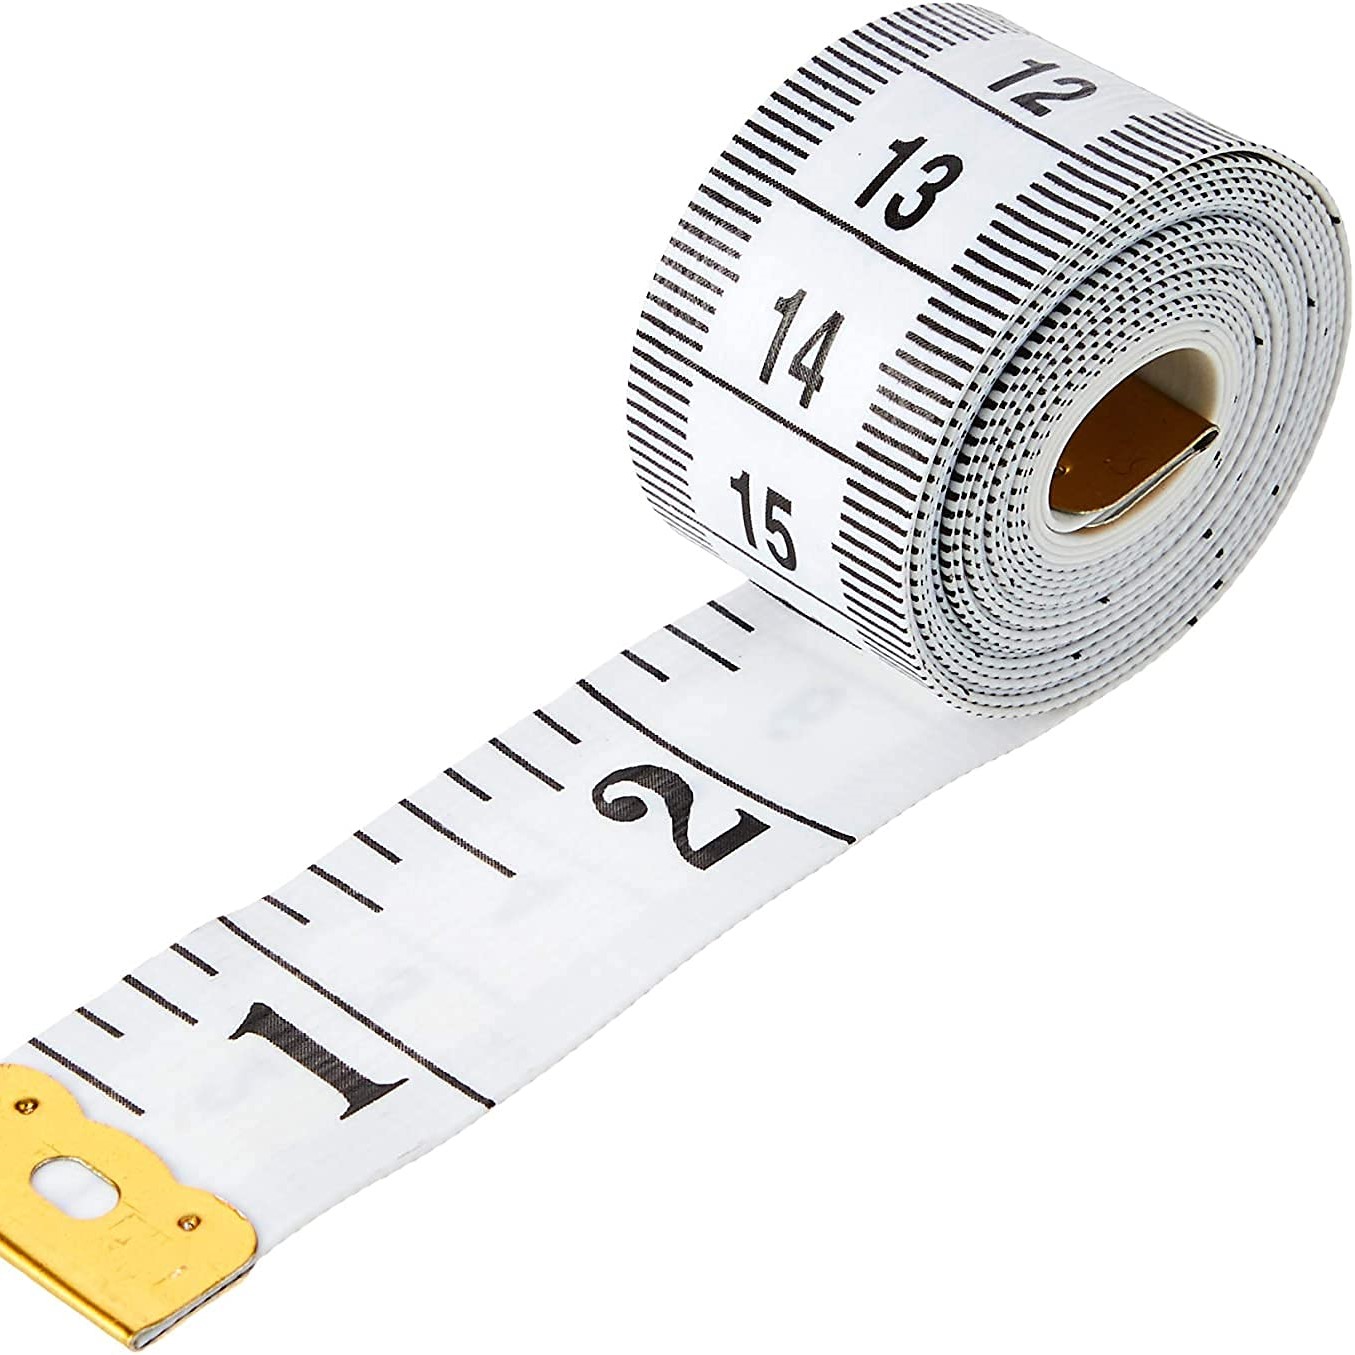
When sewing, precise body measurements are crucial for creating garments that fit perfectly. The how to measure with a tape measure involves a few key techniques, one of which is the 3-point contact method. This method ensures that your tape measure remains accurate and consistent during the measurement process.
Establishing Key Contact Points
First, identify three essential points on the body: the bust, waist, and hips. Wrap the tape measure around each point, ensuring it remains parallel to the floor. The 3-point contact method involves maintaining consistent pressure and placement at these spots to avoid discrepancies. By doing so, you capture the true dimensions needed for tailoring, reducing the risk of ill-fitting garments.
Maintaining Consistency for Accuracy
Next, apply the same technique each time you measure to maintain consistency. Use the 3-point contact method consistently across different measurements to ensure that all parts of your garment align perfectly. This approach minimizes errors and enhances the overall fit of your sewing projects. Ultimately, understanding how to measure with a tape measure using this method leads to more professional and tailored results.
Furniture Gap Science: Calculating 1/4″ Wall Clearance for Humidity Swelling
Proper furniture placement requires careful measurement to accommodate environmental factors like humidity. Learning how to measure with a tape measure for wall clearance ensures that your furniture remains functional and aesthetically pleasing over time.
Measuring Wall Spaces Accurately
Begin by measuring the dimensions of the wall space where your furniture will reside. Use the tape measure to determine both the height and width, allowing you to calculate the necessary clearance. For instance, a 1/4″ wall clearance is recommended to account for potential swelling due to humidity. This small gap prevents furniture from pressing against the wall, which can cause damage or impede movement.
Planning for Environmental Changes
Furthermore, consider the environmental conditions of your space. High humidity can cause wooden furniture to expand, making accurate measurements even more critical. By incorporating a 1/4″ wall clearance in your measurements, you provide room for natural expansion, ensuring that your furniture remains in place and retains its integrity. This foresight enhances the longevity and appearance of your furnishings.
 Curved Surface Mastery: Flexible Tape Techniques for Piping and Molding
Measuring curved surfaces requires a flexible approach to ensure precision. Mastering how to measure with a tape measure for piping and molding can significantly improve the quality of your finished projects.
Adapting to Curved Lines
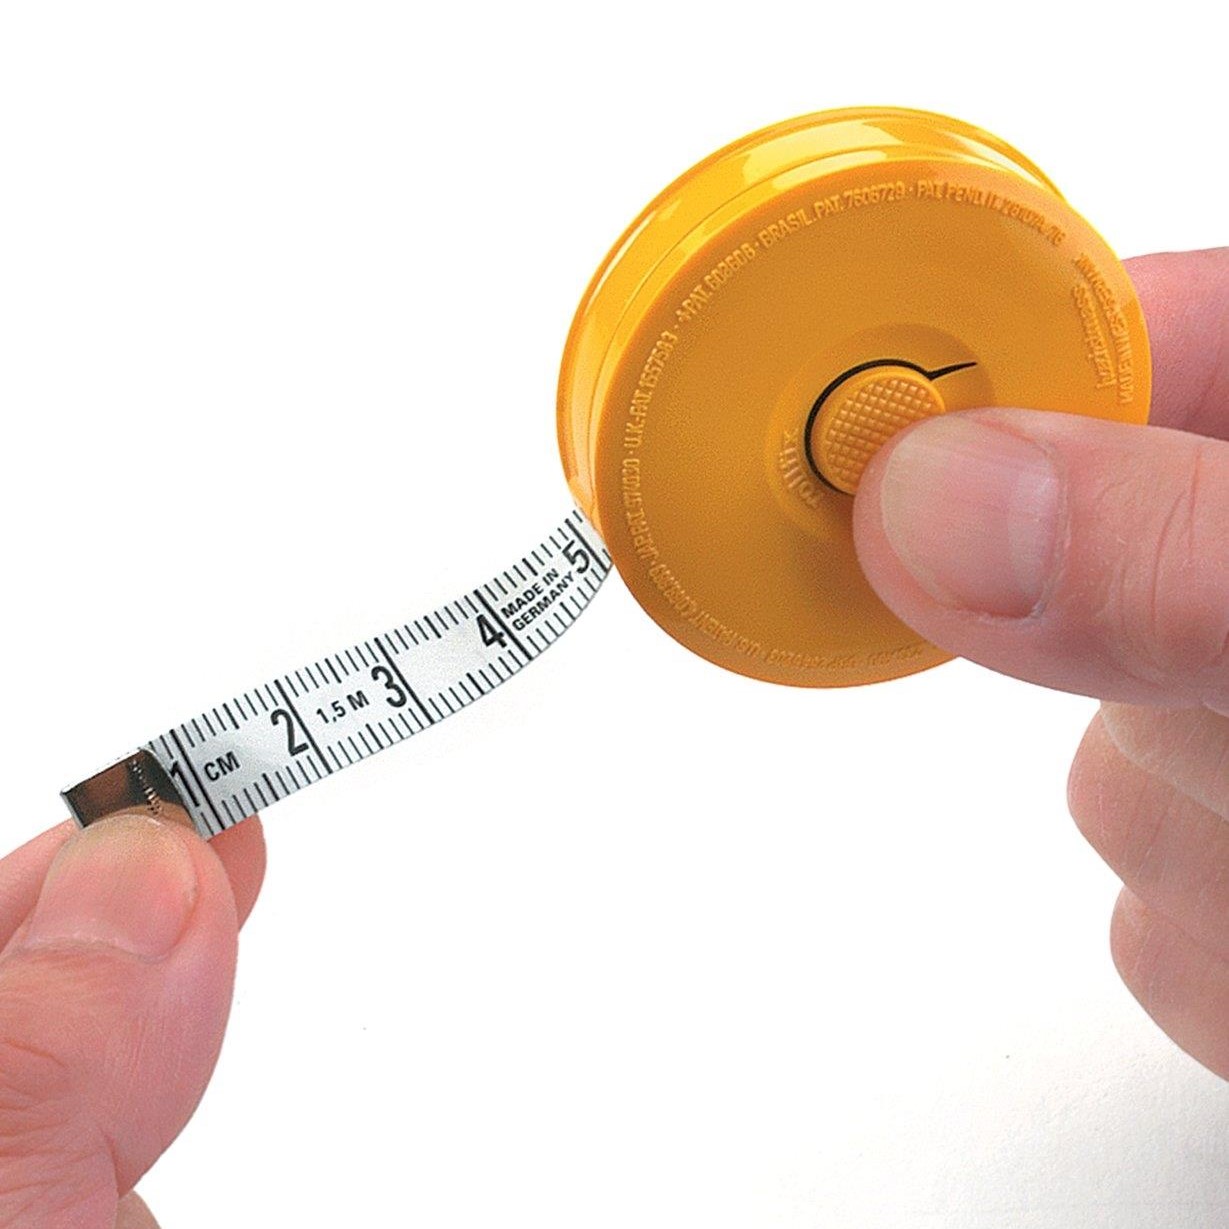
Start by selecting a flexible tape measure designed to bend easily around curves. When measuring piping or molding, gently guide the tape along the curve without stretching it. This technique allows you to capture the exact length needed, ensuring that your pieces fit seamlessly together. Additionally, practice patience and steady movements to maintain accuracy throughout the measurement process.
Recording and Transferring Measurements
Once you’ve measured the curved surface, record the measurements immediately to prevent errors. Use a pencil to mark the exact points on your materials where cuts or bends are required. This step ensures that the angles and lengths are precise, leading to a professional and polished finish. By refining how to measure with a tape measure for curved surfaces, you enhance the overall quality and appearance of your piping and molding projects.
Pet Gear Sizing Hacks: Two-Finger Rule for Harness Comfort Checks
Ensuring your pet’s comfort and safety involves accurate measurements for collars and harnesses. Implementing the two-finger rule when how to measure with a tape measure can help achieve the perfect fit.
Measuring for Comfortable Fit
Start by wrapping the tape measure around your pet’s neck or chest, depending on the gear you’re sizing. Leave enough room to fit two fingers between the tape and your pet’s body. This allowance ensures that the harness or collar is snug but not too tight, preventing discomfort and allowing for natural movement. The two-finger rule is a simple yet effective way to gauge the appropriate fit using your tape measure.
Adjusting for Growth and Activity
Moreover, regularly update your pet’s measurements, especially for growing puppies or active cats and dogs. As your pet grows or engages in more physical activity, their gear may need adjustments. By consistently applying how to measure with a tape measure using the two-finger rule, you can maintain a comfortable and secure fit for your pet’s harness or collar. This practice promotes your pet’s well-being and enhances their overall safety during activities.
 Picture Wall Geometry: Nail Spacing Formulas Avoiding Plaster Damage
Creating a well-organized picture wall involves precise measurements to ensure proper nail spacing and avoid damaging your walls. Understanding how to measure with a tape measure is essential for achieving a balanced and aesthetically pleasing display.
Calculating Optimal Nail Spacing
Begin by determining the layout of your gallery wall. Use the tape measures to measure the spacing between each picture frame, maintaining consistent intervals. For example, a common spacing might be 2 inches between frames. By adhering to these measurements, you ensure that your pictures are evenly distributed, creating a harmonious arrangement that enhances the overall appearance of your wall.
Aligning Frames with Precision
Next, use the tape measure to align each frame accurately both horizontally and vertically. Mark the precise points where nails will be placed, ensuring that each frame is level and evenly spaced. This meticulous approach prevents crooked or unevenly spaced pictures, resulting in a professional and organized gallery display. Mastering how to measure with a tape measure for nail spacing guarantees a visually appealing and damage-free picture wall.
Circular Skirt Math: Diameter-to-Yardage Conversion Cheat Sheet
Sewing circular garments, such as skirts, demands precise calculations to ensure adequate fabric usage. Mastering how to measure with a tape measure for diameter-to-yardage conversions is essential for seamless and error-free sewing projects.
Calculating Fabric Requirements
Start by measuring the diameter of the circular skirt using the tape measures. Once you have the diameter, use it to calculate the circumference, which determines the amount of fabric needed. For example, a skirt with a 30-inch diameter requires approximately 94 inches of fabric for the circumference. Converting these inches to yardage ensures that you purchase the correct amount of material, preventing shortages or excess.
Planning Fabric Layout for Efficiency
Additionally, plan the fabric layout on your sewing table to optimize usage and reduce waste. Use the tape measures to mark precise cutting lines based on your calculations, ensuring that each section of the skirt is cut accurately. This strategic approach not only saves time but also enhances the quality of your final product by maintaining consistent measurements throughout the sewing process. By refining how to measure with a tape measure for circular garments, you achieve professional and polished sewing results.
 Growth Tracking Accuracy: Eliminating 1/8″ Errors in DIY Height Charts
Tracking growth, especially for children, requires accurate and reliable measurements. Learning how to measure with a tape measure correctly can eliminate minor errors and ensure precise growth tracking.
Creating a Reliable Height Chart
Begin by selecting a prominent wall space and using the tape measures to mark consistent inch intervals. Apply these marks horizontally, ensuring they are level and evenly spaced. To eliminate potential errors, double-check each mark for accuracy. This careful approach creates a reliable height chart that accurately reflects growth over time.
Regular Measurement and Documentation
Next, schedule regular measurement sessions, such as monthly or quarterly, to track growth accurately. Use the tape measures to record each growth milestone, and update your chart accordingly. By maintaining consistent measurement practices, you eliminate the risk of 1/8″ errors, ensuring that your height chart provides an accurate representation of growth patterns. This precision is vital for monitoring development and making informed decisions about health and wellness.
High-Contrast Tapes Decoded: Fluorescent Backings for Dim Workshop Lighting
Working in dimly lit environments can make reading standard tape measure markings challenging. Understanding how to measure with a tape measure using high-contrast designs improves readability and accuracy in low-light conditions.
Choosing High-Contrast Tape Measures
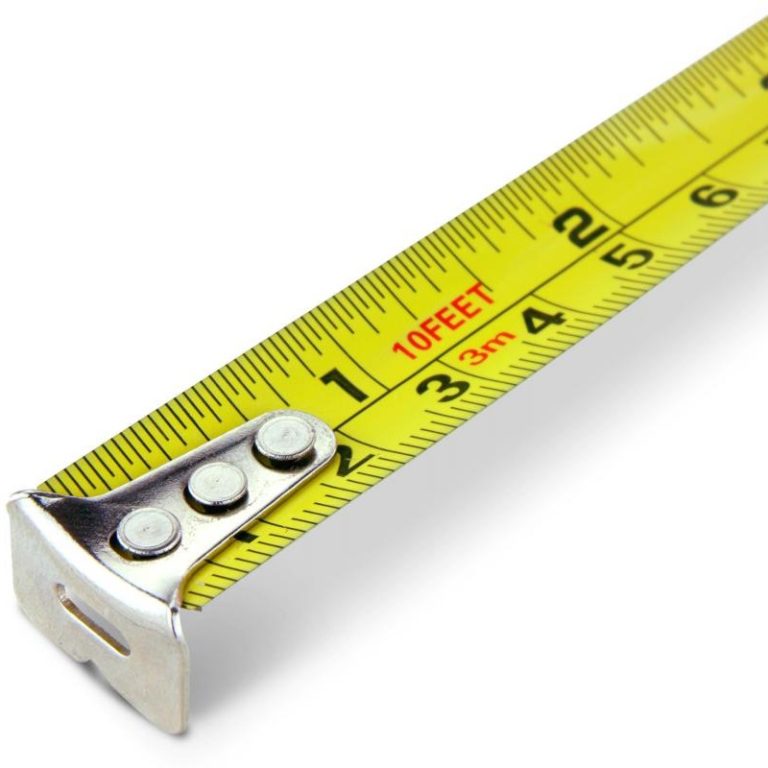
Opt for tape measures with high-contrast markings, such as bold black numbers on a bright yellow or fluorescent background. These designs enhance visibility, making it easier to read measurements quickly and accurately, even in dim workshop lighting. High-contrast tapes reduce eye strain and minimize the risk of misreading measurements, ensuring that your projects proceed smoothly.
Enhancing Visibility with Fluorescent Features
Additionally, some tape measures incorporate fluorescent backings or glow-in-the-dark features that further improve visibility. These enhancements allow you to see the measurements clearly without relying solely on ambient light. By selecting a high-contrast tape measure, you ensure that you can measure effectively in any lighting condition, maintaining precision and efficiency in all your tasks. Mastering how to measure with a tape measure using these advanced features enhances your overall measuring experience.
Conclusion: Mastering How to Measure with a Tape Measure for Precision and Efficiency
In conclusion, learning how to measure with a tape measure is an invaluable skill that enhances precision and efficiency across various applications. Whether you’re mapping body measurements for sewing, calculating wall clearances for furniture, or creating accurate growth charts, mastering the use of a tape measure ensures successful and professional results. By applying the techniques and tips discussed in this guide, you can elevate your measurement accuracy and achieve exceptional outcomes in all your projects. Embrace these best practices to transform the way you measure, create, and organize your world with confidence and precision.