A Beginner’s Guide on How to Read a Tape Measure for Dummies
Whether you’re embarking on your first DIY project or looking to refine your carpentry skills, understanding how to read a tape measure for dummies is essential. This comprehensive guide will walk you through the basics, help you decode imperial markings, and provide practical tips to ensure your measurements are always spot-on. By the end of this article, you’ll feel confident in using a tape measure, avoiding common pitfalls, and achieving professional results every time.
Contents
hide
 Understanding the Basics of a Tape Measure
Before diving into the specifics, it’s crucial to familiarize yourself with the fundamental components of a tape measure. A tape measure is an indispensable tool in construction, woodworking, and various DIY projects, allowing you to measure distances accurately with ease.
Different Types of Tape Measures
Tape measures come in various types, each designed for specific tasks. The most common categories include:
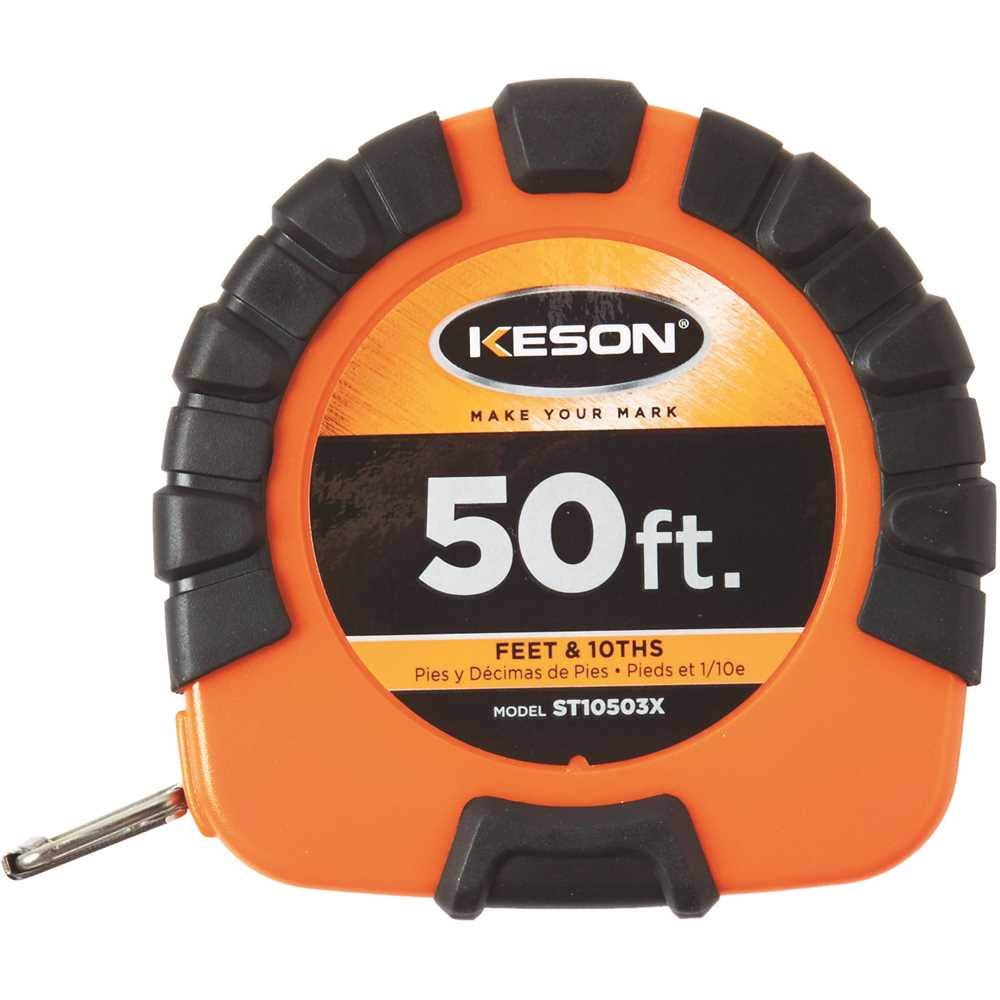
- Standard Steel Tape Measures: These are versatile and suitable for most general-purpose measurements. They often feature a durable steel blade that can withstand regular use.
- Fiberglass Tape Measures: Known for their flexibility and durability, fiberglass tapes are ideal for measuring longer distances and curved surfaces without bending or breaking.
- Metric vs. Imperial Tape Measures: Depending on your region or project requirements, you may need a metric tape (measured in centimeters and meters) or an imperial tape (measured in inches and feet).
By selecting the right type of tape measure for your needs, you can ensure greater accuracy and ease of use in your projects.
Key Features to Identify on Your Tape
Understanding the key features of your tape measure will enhance your ability to read it accurately. Pay attention to the following elements:
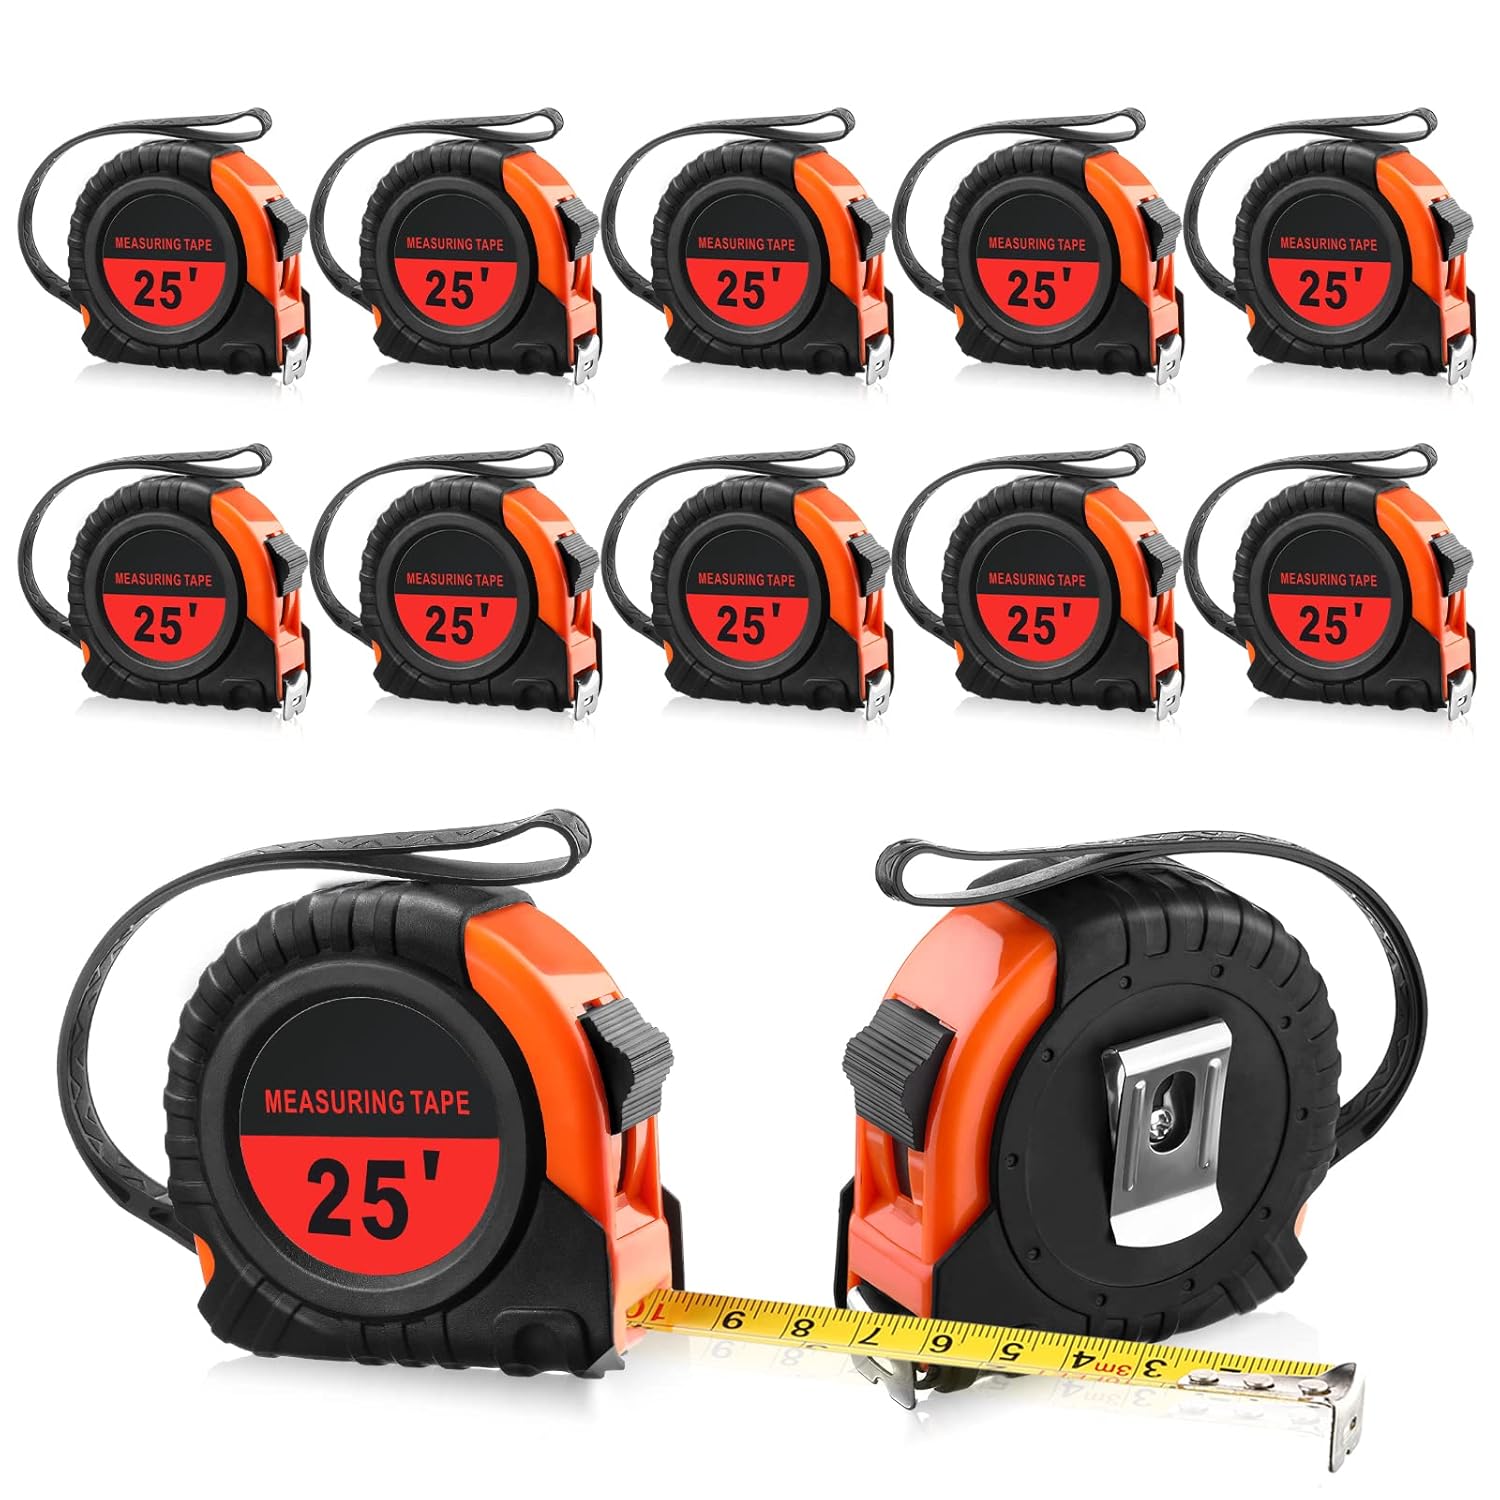
- The Tape Blade: This is the flexible metal or fiberglass strip marked with measurement units.
- Locking Mechanism: A button or lever that locks the tape in place to hold a measurement steady.
- Hook or Tang: The small metal piece at the end of the tape. It plays a crucial role in accurate measurements by accounting for the thickness of the tape itself.
- Markings and Gradations: These indicate the units of measurement, typically divided into inches, feet, and fractions.
Familiarizing yourself with these features ensures you can use your tape measure effectively and avoid common mistakes.
Decoding Imperial Markings Efficiently
One of the most challenging aspects for beginners is interpreting the imperial markings on a tape measure. However, once you grasp the basics, reading these measurements becomes straightforward.
Inches, Feet, and Fractions Explained
Imperial measurements are widely used in the United States and a few other countries. Here’s a breakdown of the primary components:
- Inches and Feet: The tape measure is typically divided into feet and inches. There are 12 inches in a foot, so understanding this relationship is crucial for accurate measurements.
- Fractions of an Inch: Each inch is further divided into smaller fractions, commonly halves (1/2), quarters (1/4), eighths (1/8), and sixteenths (1/16). These fractions allow for precise measurements necessary in detailed work.
- Reading Fractions: To read a fraction, start from the left and count each division. For example, if a line is halfway between two inch marks, it represents 1/2 inch.
By mastering these basics, you can confidently read and interpret measurements on your tape measure.
Recognizing Common Measurement Symbols
Understanding the symbols on your tape measure enhances accuracy and speed. Key symbols to recognize include:
- Inch Marks: Typically represented by longer lines or numbers at each inch mark.
- Feet Marks: Often distinguished by a different color or a distinct symbol such as an ‘F’ or a larger marker.
- Fractional Lines: Smaller lines between inch marks signify fractions, providing more detailed measurement options.
Familiarizing yourself with these symbols allows for quicker and more precise readings, essential for any project requiring exact dimensions.
 Mastering the Tape Measure Technique
Beyond understanding the markings, employing the correct technique when using a tape measure is vital for accurate measurements.
Properly Holding and Positioning the Tape
To ensure accurate measurements, it’s important to hold the tape measure correctly:
- Anchor the Tape: Secure the end of the tape measure (the hook) at the starting point of your measurement. This ensures the tape stays in place and provides a fixed reference.
- Maintain Tension: Keep the tape taut to prevent it from bending or sagging, which can distort the measurement.
- Use the Locking Mechanism: When measuring longer distances, use the tape measure’s locking feature to hold the tape steady, allowing you to read the measurement without strain.
By maintaining proper control and tension, you can achieve precise measurements consistently.
Taking Accurate Measurements Every Time
Accurate measurements hinge on attention to detail and following best practices:
- Start from the Correct Point: Always begin your measurement from the zero mark on the tape. Ensure the hook is firmly anchored to your starting point.
- Read at Eye Level: Position yourself so that your eye is directly above the point where you’re taking the measurement. This minimizes parallax error, where the angle of view distorts the reading.
- Double-Check Measurements: It’s a good habit to measure twice, especially for critical dimensions. This helps catch any errors and confirms accuracy.
Implementing these practices consistently will enhance the reliability of your measurements, preventing costly mistakes in your projects.
 Avoiding 5 Costly Mistakes When Using a Tape Measure
Even with a solid understanding of tape measures, beginners often make common mistakes that can lead to inaccurate measurements and project setbacks. Here are five pitfalls to avoid:
Overlooking the Zero End
A frequent error is neglecting the zero end of the tape measure. The hook at the beginning serves as the zero point, and failing to anchor it correctly can result in measurements that are off by the thickness of the tape itself. Always ensure the hook is properly positioned at your starting point to maintain accuracy.
Misreading Fractions and Markings
Misinterpreting fractional markings is another common mistake. Spending time to familiarize yourself with the different fractions and their corresponding lines on the tape measure can prevent confusion and ensure precise readings.
Ignoring the Tape’s Flex and Bend
Tape measures can bend or flex, especially during extended use. Ignoring this flexibility can lead to inaccurate measurements. Always check that the tape is straight and taut before taking a measurement to avoid discrepancies.
Not Using the Locking Mechanism
Failing to utilize the tape measure’s locking feature can make it difficult to hold the tape in place, resulting in inconsistent measurements. Make it a habit to engage the lock when measuring longer distances or when you need the tape to stay fixed.
Relying Solely on Visual Estimates
Another mistake is depending solely on visual estimates rather than relying on the tape measure’s precise markings. While experience can improve your estimation skills, always confirm measurements with the tape measure to ensure accuracy.
By being aware of these common errors and taking steps to avoid them, you can enhance the precision of your measurements and the quality of your projects.
Practical Tips and Tricks for Perfect Measurements
Achieving perfect measurements consistently requires more than just reading the tape measure correctly. Implementing practical tips and tricks can further enhance your accuracy and efficiency.
Using Corners and Edge Cases
When measuring around corners or at edge cases, it’s essential to maintain the tape’s alignment with the object’s edges:
- Secure the Tape at Corners: Ensure the tape measure follows the contour of corners without twisting or bending. This maintains the accuracy of the measurement along the entire length.
- Double-Check Curves: For curved surfaces, take multiple measurements at different points to confirm consistency and account for any deviations.
Marking Measurements Clearly
Clear markings are vital for accurate cuts and placements:
- Use a Sharp Marker: When noting measurements, use a fine-tip marker or pencil to make precise marks on the material.
- Highlight Critical Points: For complex projects, highlight key measurement points to guide your work and prevent errors.
- Label in Multiple Places: If necessary, mark measurements on both the material and your project plan to ensure clarity and alignment.
Implementing these techniques ensures your measurements translate effectively into your project, reducing the likelihood of mistakes.
 How to Read a Tape Measure for Dummies: Special Applications
Understanding how to read a tape measure for dummies extends beyond basic measurements. Applying these skills to specific scenarios can enhance your versatility and proficiency.
DIY Projects and Home Improvements
In DIY and home improvement projects, precise measurements are crucial for success:
- Furniture Assembly: Accurately measuring components ensures pieces fit together seamlessly.
- Wall Installations: Whether hanging shelves or mounting TVs, correct measurements prevent uneven placements and ensure stability.
- Flooring and Tiling: Measuring floor spaces and tile placements accurately ensures a professional-looking finish.
By mastering tape measure techniques, you can tackle a wide range of DIY tasks with confidence and precision.
Professional Woodworking and Construction
For those pursuing woodworking or construction professionally, accurate measurements are non-negotiable:
- Blueprint Interpretation: Translating blueprint measurements to physical structures requires meticulous tape measure reading.
- Material Cutting: Precise measurements ensure materials are cut correctly, minimizing waste and ensuring structural integrity.
- Project Planning: Detailed measurements aid in effective project planning and resource allocation, leading to more efficient workflows.
Developing expertise in reading a tape measure for dummies enables you to perform professional tasks with accuracy and reliability.
Measure Like a Pro with This IKEA Hack Tutorial
Incorporating techniques from popular DIY resources can further enhance your tape measure skills. For instance, the IKEA hack tutorial demonstrates practical applications that can simplify complex measurements.
Applying IKEA Hacks to Your Projects
IKEA hacks often involve customizing furniture to fit specific spaces or needs. To execute these hacks successfully:
- Precise Measurement Alignment: Ensure all measurements align correctly to maintain the aesthetic and functional integrity of the customized furniture.
- Detailed Planning: Use detailed measurements to plan modifications, ensuring all components fit together as intended.
- Customization Accuracy: Accurate measurements allow for seamless integration of new elements, enhancing the overall design and functionality.
By adopting these strategies, inspired by IKEA hacks, you can approach your projects with greater precision and creativity.
Video Walkthrough for Visual Learners (No Math!)
For those who prefer visual learning, a video walkthrough can be an invaluable resource. Understanding how to read a tape measure for dummies through visual aids eliminates the need for complex math, making the learning process more accessible.
Benefits of Visual Learning
Visual learners can grasp tape measure techniques more effectively through demonstration:
- Step-by-Step Demonstrations: Watching a video allows you to see the correct handling and reading of the tape measure in real-time.
- Clear Illustrations: Visual guides can clarify how to read fractions and align measurements accurately.
- Interactive Learning: Engaging with a video can enhance retention and understanding, making it easier to apply the skills in practice.
Incorporating video resources into your learning process can significantly improve your ability to read a tape measure accurately and efficiently.
Decoding Imperial Markings in 90 Seconds
Mastering how to read a tape measure for dummies doesn’t have to be time-consuming. With a few focused strategies, you can decode imperial markings quickly and start measuring like a pro in no time.
Quick Reference Techniques
Developing quick reference techniques can streamline the measurement process:
- Memorize Common Fractions: Familiarize yourself with the positions of common fractions on the tape measure to speed up reading.
- Use Mnemonics: Create memory aids to recall the order and spacing of marks, enhancing your ability to read measurements instantly.
- Practice Regularly: Frequent practice reinforces your skills, making it easier to interpret measurements accurately without hesitation.
By implementing these techniques, you can achieve a swift and accurate reading of your tape measure, saving time and reducing errors in your projects.
See How 90 Seconds Can Make a Difference
Investing just 90 seconds to understand how to read a tape measure for dummies can transform your approach to measurement tasks. This brief yet impactful learning session equips you with the fundamental skills necessary for precise and effective measurement, paving the way for successful DIY projects and professional endeavors alike.
Conclusion: Empower Yourself with Tape Measure Mastery
In conclusion, learning how to read a tape measure for dummies is a straightforward process that significantly enhances your DIY and professional skills. By understanding the basics, decoding imperial markings, mastering proper techniques, and avoiding common mistakes, you can ensure accurate and reliable measurements in all your projects. Whether you’re customizing furniture, embarking on home improvements, or engaged in professional construction, the ability to read a tape measure confidently is an invaluable asset. Embrace these strategies and tips to empower yourself with tape measure mastery, ensuring every project you undertake is executed with precision and success.