Centimeters on a Tape Measure: Guide to Accurate Measurements
Accurate measurements are fundamental in various projects, whether you’re a DIY enthusiast, a professional craftsman, or simply tackling household tasks. Understanding centimeters on a tape measure is essential for precise metric measurements. This beginner’s guide will walk you through the basics of reading centimeters and millimeters on a tape measure, explore different types of tape measures, and demonstrate practical applications in everyday scenarios. By the end of this article, you’ll have the confidence and knowledge to utilize a tape measure effectively for all your measurement needs.
Contents
hide
 Understanding the Centimeter and Millimeter Markings
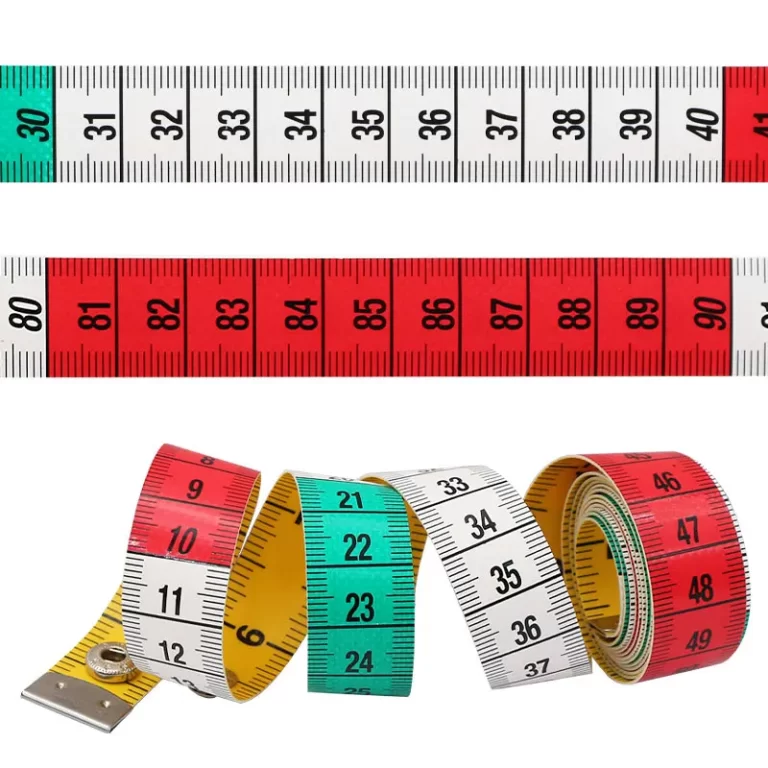
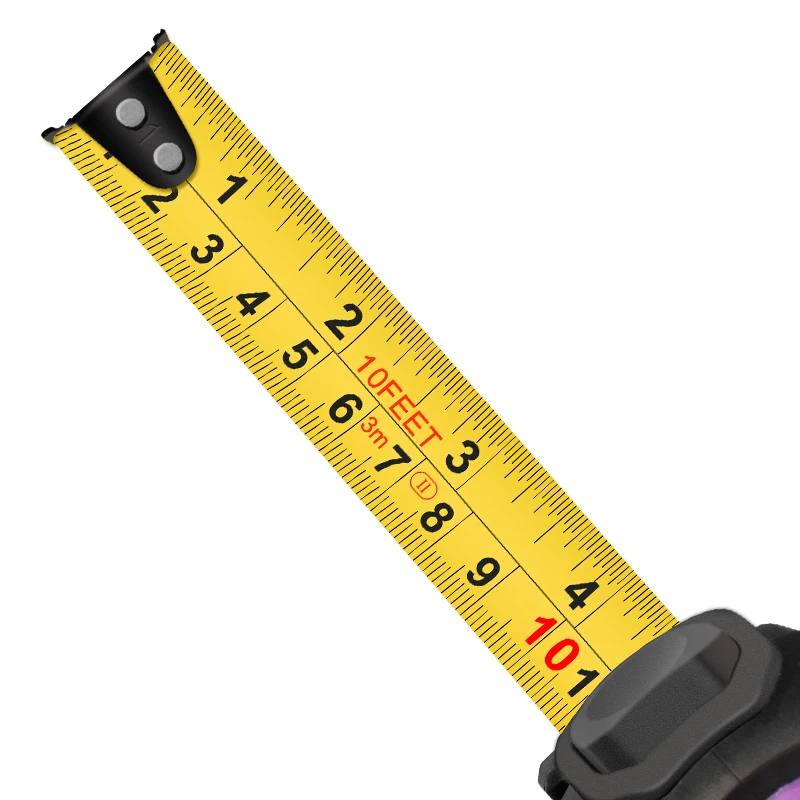
When you first pick up a tape measure, the multitude of markings can be overwhelming. However, focusing on the centimeters on a tape measure will simplify your measurement tasks significantly. Each centimeter is divided into smaller units called millimeters, with each centimeter containing 10 millimeters. This subdivision allows for more precise measurements, which is particularly useful in tasks requiring high accuracy.
Reading Whole Centimeters
To read whole centimeters on a tape measure, locate the centimeter markings, typically denoted by slightly longer lines or numbers. Start by finding the nearest centimeter closest to the starting point of your measurement. For example, if your measurement begins at 3 centimeters, the first long line after the zero mark represents the 1-centimeter point, the second long line is the 2-centimeter mark, and so on. Counting these lines will give you a clear and straightforward measurement in whole centimeters.
Adding Millimeters for Precision
While whole centimeters provide a good estimate, adding millimeters allows for greater precision. Since each centimeter is divided into 10 millimeters, you can add these smaller increments to your measurement for accuracy. For instance, a measurement of 3.5 centimeters includes 3 centimeters plus 5 millimeters. To read this, locate the 3-centimeter mark and then count five smaller lines to the next centimeter mark. This method provides a detailed and accurate measurement, essential for tasks like crafting or construction where precision is crucial.
Types of Tape Measures and Their Centimeter Markings
Different tape measures come with varying features tailored to specific tasks. Understanding the characteristics of each type will help you choose the right one for your needs, especially regarding the centimeters on a tape measure.
Steel Tape Measures
Steel tape measures are renowned for their durability and rigidity, making them ideal for construction and heavy-duty use. The centimeter markings on a steel tape are typically clear and etched into the tape, ensuring longevity and resistance to wear and tear. Additionally, the metallic finish makes the markings easy to read even in low-light conditions. These tape measures are perfect for measuring larger objects, such as furniture or building dimensions, where accuracy and toughness are paramount.
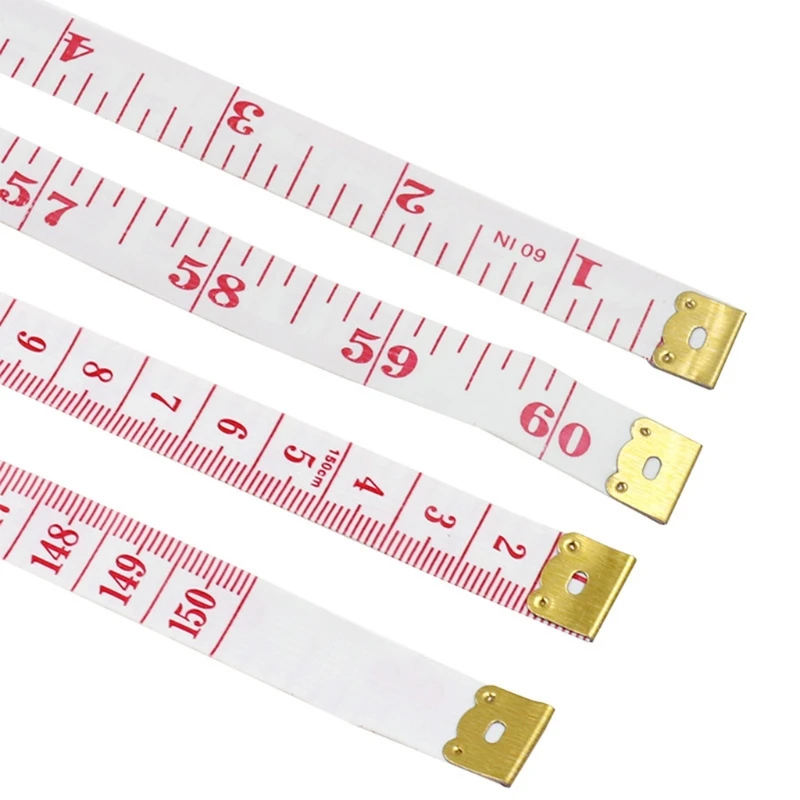
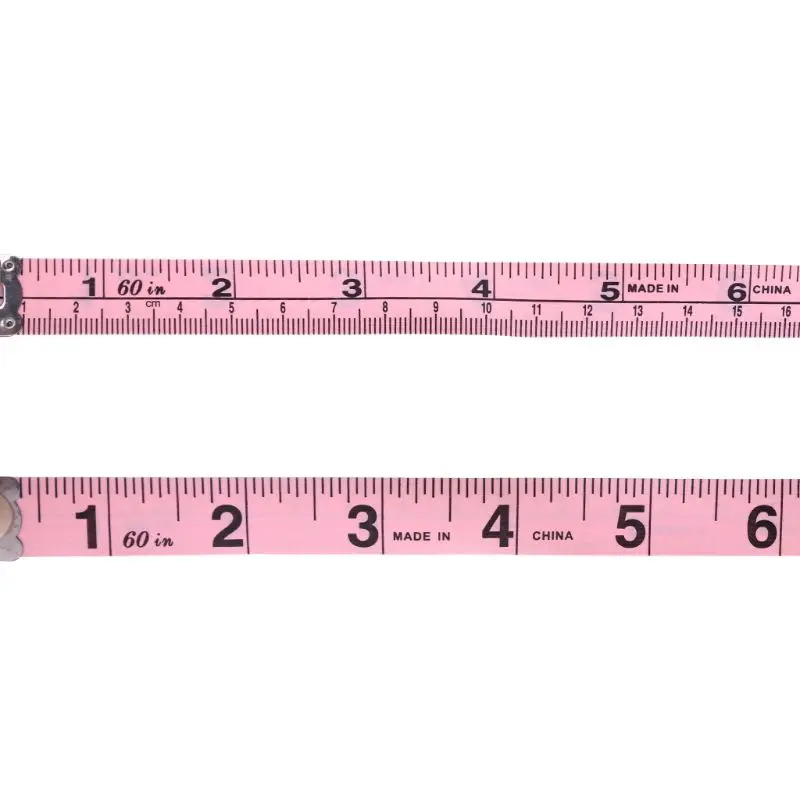
Soft Cloth Tape Measures
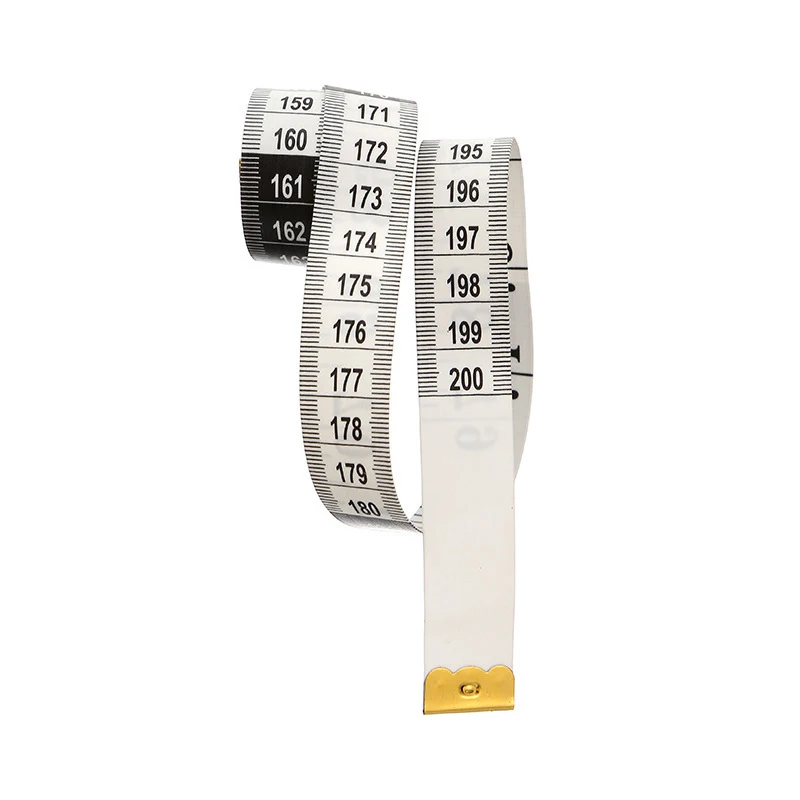
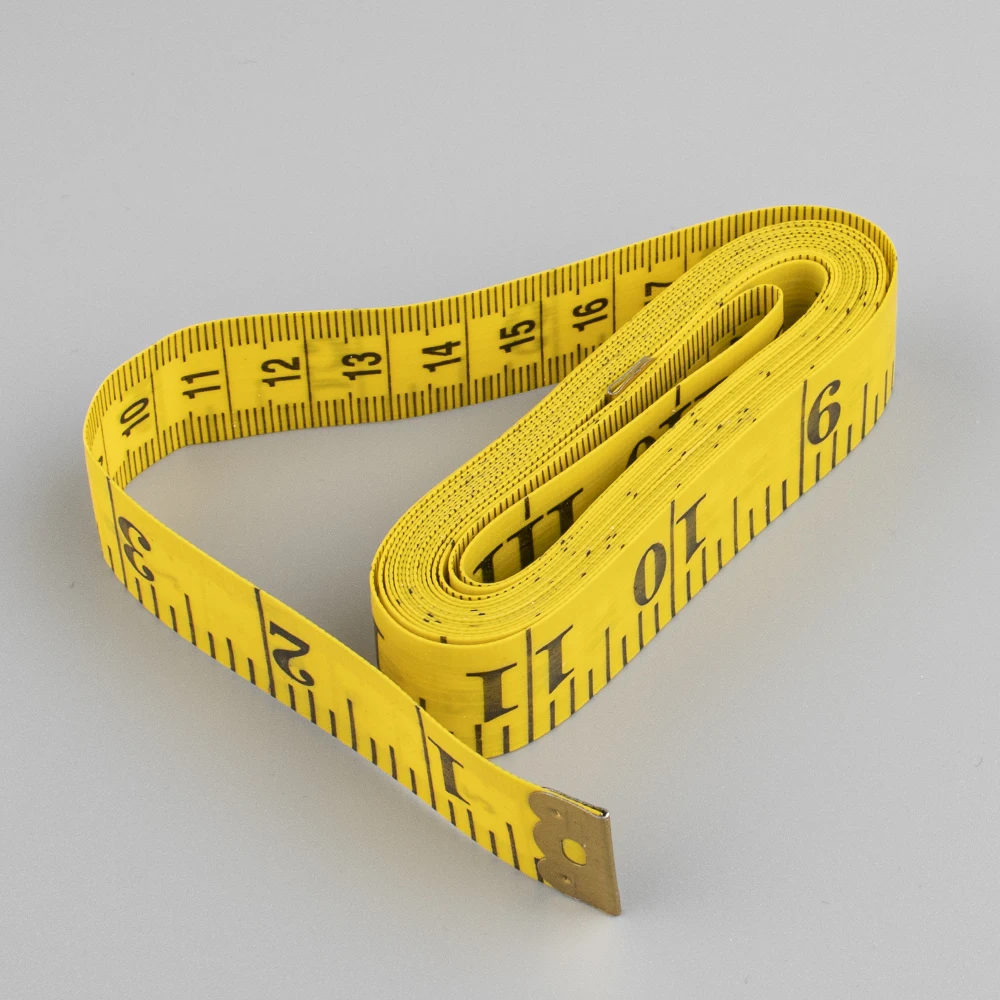
Soft cloth or fiberglass tape measures offer flexibility, making them suitable for measuring irregular shapes and delicate materials. The centimeters on a cloth tape measure are printed clearly, often in contrasting colors for easy visibility. Unlike steel tapes, cloth tapes can bend and twist without losing their measurement integrity, which is particularly useful in tailoring, upholstery, and other tasks requiring versatility. These tape measures are lightweight and compact, making them convenient for everyday use and portable projects.
Digital Tape Measures
For those who prefer technological assistance, digital tape measures provide digital readouts of measurements, including centimeters. These devices often come with additional features such as memory storage, unit conversion, and Bluetooth connectivity. The centimeter readings on digital tapes are displayed on an LCD screen, offering enhanced accuracy and reducing the chances of human error. Digital tape measures are ideal for precision work in engineering, architecture, and advanced DIY projects where exact measurements are critical.
 Practical Applications of Centimeters on Tape Measure
Understanding how to read centimeters on a tape measure is one thing, but applying that knowledge to real-life scenarios is where the true value lies. Here are some common applications that demonstrate the importance of precise metric measurements.
Measuring Furniture Dimensions
Accurately measuring furniture is essential when planning room layouts or making purchase decisions. Using the centimeters on a tape measure, you can ensure that your furniture fits perfectly within the designated space. Start by measuring the length, width, and height of each piece, noting the measurements carefully. This precision helps prevent issues like overcrowding or wasting space, allowing for a harmonious and functional living area.
Cutting Fabric for Sewing Projects
In sewing and crafting, precise measurements can make or break your project. By utilizing the centimeters on a tape measure, you can measure fabric accurately to avoid wastage and ensure your pieces fit together seamlessly. Whether you’re cutting for garments, quilts, or other textiles, precise metric measurements ensure that patterns align correctly and final products meet your expectations.
Home Improvement and Renovation
Home improvement projects, such as installing shelves, cabinets, or flooring, require meticulous measurements. The centimeters on a tape measure allow you to measure spaces and materials accurately, ensuring that installations are level and properly fitted. Accurate measurements prevent costly mistakes and rework, making your renovation projects more efficient and successful.
Tips for Accurate Measuring with Centimeters on Tape Measure
Achieving accurate measurements involves more than just reading the centimeters on a tape measure correctly. Here are some practical tips to enhance your measurement accuracy.
Keep the Tape Measure Straight
One common mistake is not keeping the tape measure straight during measurement. Ensure that the tape is taut and follows a straight line from start to finish. Any bends or curves can lead to inaccurate readings. For larger measurements, consider using a tape measure with a locking feature to keep it straight and prevent slipping.
Use Both Hands for Stability
Using both hands to hold the tape measure can provide better stability and control, reducing the chance of errors. One hand should anchor the tape measure, while the other extends it to the desired length. This method ensures that the tape remains steady and the markings stay aligned with your measurement point.
Double-Check Your Measurements
To ensure accuracy, always double-check your measurements. After taking an initial measurement, remeasure to confirm the result. This practice helps identify and correct any errors caused by slipping or misreading the tape. Consistently double-checking can significantly improve the reliability of your measurements.
Mark the Measurement Point Clearly
When measuring, clearly mark the exact point where the measurement ends. Using a pencil or a marker can help you remember the measurement point, especially for more complex tasks. This clarity prevents confusion and ensures that you measure from the correct starting point in subsequent steps of your project.
 Maintaining Your Tape Measure for Longevity
A well-maintained tape measure ensures that the centimeters on a tape measure remain accurate and easy to read over time. Proper maintenance involves regular cleaning, proper storage, and careful handling.
Regular Cleaning
Dust, dirt, and debris can accumulate on the tape measure’s surface, obscuring the centimeter markings and hindering its functionality. Regularly clean your tape measure with a dry cloth to remove any buildup. For stubborn dirt, lightly dampen the cloth, ensuring that no moisture seeps into the tape mechanism, which could cause damage.
Proper Storage
Storing your tape measure correctly extends its lifespan. Always retract the tape carefully, avoiding rapid winding that can cause the tape to fray. Store the tape measure in a dry, cool place, protected from extreme temperatures and direct sunlight, which can degrade the tape and its markings over time.
Careful Handling
Handle your tape measure with care to prevent accidental drops or impacts, which can damage the tape and affect the accuracy of the centimeter markings. When not in use, ensure the tape measure is closed securely to protect the tape and the locking mechanism from wear and tear.
Advanced Techniques for Using Centimeters on Tape Measure
Once you’ve mastered the basics, you can explore more advanced techniques to utilize the centimeters on a tape measure more effectively in your projects.
Measuring at Angles
Measuring at angles requires a good understanding of how to apply centimeters on a tape measure in non-linear scenarios. Utilize a combination square or a protractor to determine the angle, and then use trigonometric methods to calculate the exact length along the angled line. This technique is particularly useful in carpentry and construction, where precise angular measurements are necessary for structural integrity.
Working with Large Measurements
For large measurements, accuracy becomes even more critical. Use a long tape measure with clear centimeter markings to ensure you can see the measurement easily. Additionally, use stakes or anchors to hold the tape measure in place when measuring over long distances, such as in landscaping or building projects. This approach helps maintain a straight and accurate measurement line.
Utilizing the Tape Lock Feature
Many tape measures come with a locking feature that allows you to hold the tape in place without continuously gripping it. This feature is especially useful when measuring longer distances or when you need to take precise notes. By locking the tape at the desired measurement point, you can free up your hands to mark or record the measurement accurately.
 Choosing the Right Tape Measure for Your Needs
Selecting the appropriate tape measure is crucial for achieving accurate measurements using centimeters on a tape measure. Consider the following factors when choosing a tape measure that best suits your requirements.
Length of the Tape
The length of the tape measure should match the scale of the projects you typically undertake. For smaller projects like tailoring or crafting, a 1- or 2-meter tape measure may suffice. For larger projects, such as construction or landscaping, opt for a longer tape measure, ranging from 5 to 30 meters, to cover extensive distances without needing to reset frequently.
Durability and Build Quality
The durability and build quality of the tape measure affect its longevity and reliability. Look for tape measures with reinforced cases, sturdy hooks, and high-quality materials that can withstand frequent use and rough handling. A durable tape measure ensures that the centimeter markings remain intact and legible over time, providing consistent accuracy.
Ease of Reading the Markings
Clear and easy-to-read centimeter markings are essential for precise measurements. Choose a tape measure with high-contrast markings, preferably printed in bold colors against a contrasting background. Additionally, consider tape measures with both metric and imperial units if you require versatility in your measurements. This feature allows for easy readability and reduces the chances of misinterpreting the measurements.
Common Pitfalls and How to Avoid Them
Even with a good understanding of centimeters on a tape measure, certain pitfalls can lead to inaccurate measurements. Being aware of these common mistakes and knowing how to avoid them can enhance your measurement accuracy.
Misreading the Zero Point
One frequent mistake is misreading the zero point on the tape measure. Ensure that the zero mark aligns precisely with the starting point of your measurement. Misalignment can result in measurements that are too long or too short. Always double-check the alignment before taking the measurement.
Letting the Tape Measure Slip
Allowing the tape measure to slip while taking a measurement can lead to errors. To prevent slipping, hold the tape measure firmly and keep your hands steady throughout the measurement process. Using the tape lock feature can also help maintain the tape in place, reducing the risk of slipping.
Ignoring the Tape Bias
Tape bias occurs when the tape measure bends or drapes, leading to inaccurate measurements. To avoid tape bias, ensure that the tape is pulled taut and follows a straight path from the start to the endpoint. Supporting the tape with both hands can help maintain its straightness and prevent sloping or sagging.
Practical Examples of Using Centimeters on Tape Measure
Applying your knowledge of centimeters on a tape measure in real-world scenarios reinforces your understanding and improves your measurement skills.
Building a Wooden Shelf
Imagine you’re building a wooden shelf for your living room. Start by measuring the length of the wall where the shelf will be installed using the centimeters on a tape measure. Next, measure the height and depth of the shelf, ensuring precise cuts for the wooden boards. By accurately measuring and cutting each piece, you ensure that the shelf fits perfectly and is level when installed.
Tailoring a Custom Garment
In tailoring, precise measurements are paramount for creating well-fitting garments. Use the centimeters on a tape measure to measure the chest, waist, hips, and inseam. Recording these measurements accurately allows for precise pattern drafting and fabric cutting, resulting in a garment that fits perfectly and meets your design expectations.
Installing a Ceiling Fan
Installing a ceiling fan involves measuring the distance from the mounting bracket to the ceiling to ensure proper fit and balance. Use the centimeters on a tape measure to take these measurements accurately. Additionally, measure the dimensions of the fan itself to ensure it fits within the designated space without obstructing movement or aesthetics.
Enhancing Your Measurement Skills
Improving your measurement skills with the centimeters on a tape measure involves practice and attention to detail. Here are some strategies to enhance your proficiency.
Practice Regularly
Regular practice helps reinforce your understanding of how to read and apply centimeters on a tape measure. Take on various measuring tasks, both big and small, to build your confidence and accuracy. Consistent practice ensures that reading the centimeter markings becomes second nature, reducing the likelihood of errors.
Learn from Mistakes
Mistakes are inevitable, but they offer valuable learning opportunities. When you encounter a measurement error, analyze what went wrong and how you can prevent it in the future. Whether it’s misreading the zero point or allowing the tape to slip, understanding the cause of the mistake helps you develop better measurement habits.
Use Reference Guides
Keep a reference guide or chart handy that outlines the basics of reading centimeters on a tape measure. This guide can serve as a quick reminder of key concepts and tips, especially when you’re new to using a tape measure. Over time, you’ll rely less on the guide as your measurement skills become more refined.
Conclusion
Mastering the centimeters on a tape measure is an invaluable skill for achieving precise metric measurements in a variety of projects. From understanding the basic markings and reading whole centimeters to adding millimeters for increased accuracy, a tape measure becomes an essential tool in your toolkit. By choosing the right type of tape measure, applying practical measuring techniques, and avoiding common pitfalls, you can enhance the accuracy and efficiency of your measurements. Whether you’re measuring furniture, cutting fabric, or undertaking home improvement projects, the ability to read centimeters accurately ensures that your work meets the highest standards of precision and reliability.