Cheat Sheet How to Read a Tape Measure Like a Pro
Whether you’re embarking on a DIY project, working as a professional contractor, or simply tackling household repairs, mastering the art of reading a tape measure is indispensable. This cheat sheet how to read a tape measure serves as your ultimate quick reference guide, providing you with the essential knowledge and techniques to ensure every measurement you take is accurate and reliable.
Contents
hide
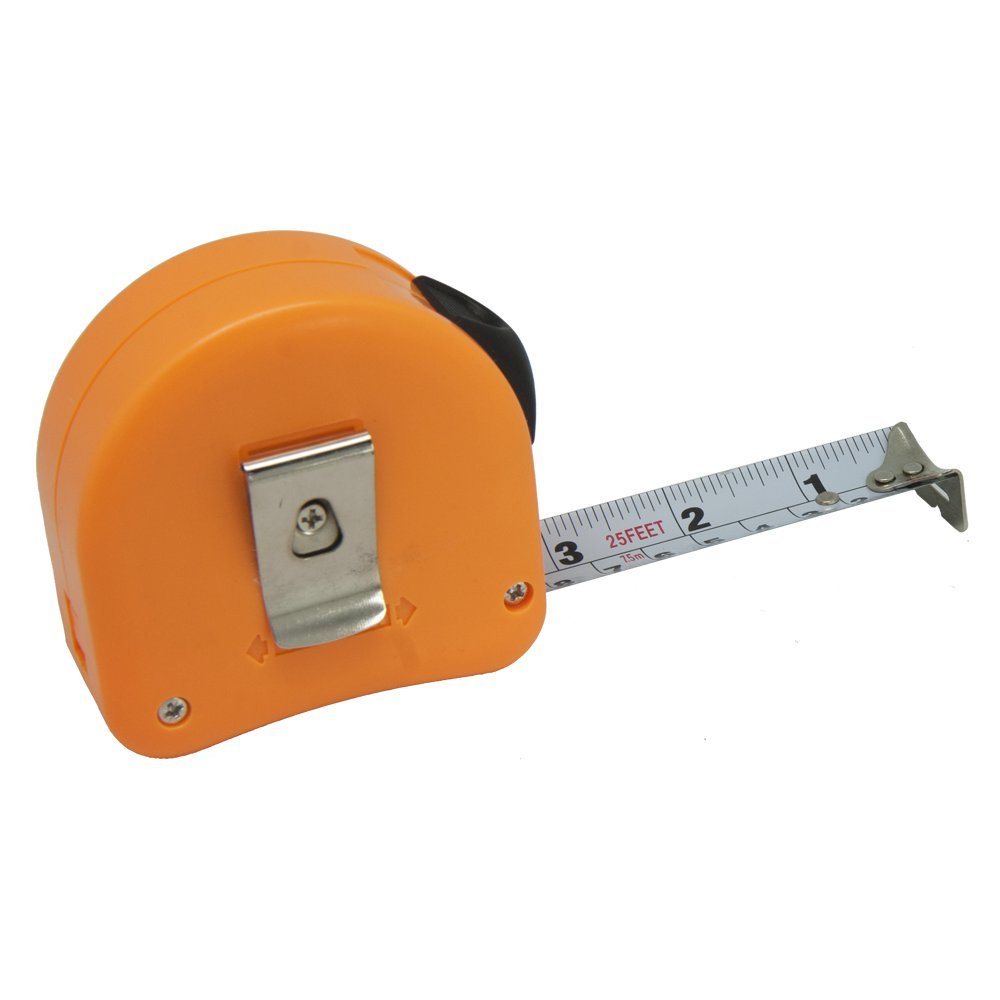
 The Anatomy of a Tape Measure
Understanding the structure of a tape measure is the first step in effectively utilizing this tool. By familiarizing yourself with its components, you’ll enhance your ability to read measurements with ease and precision.
Key Components Explained
A standard tape measure comprises several critical parts:
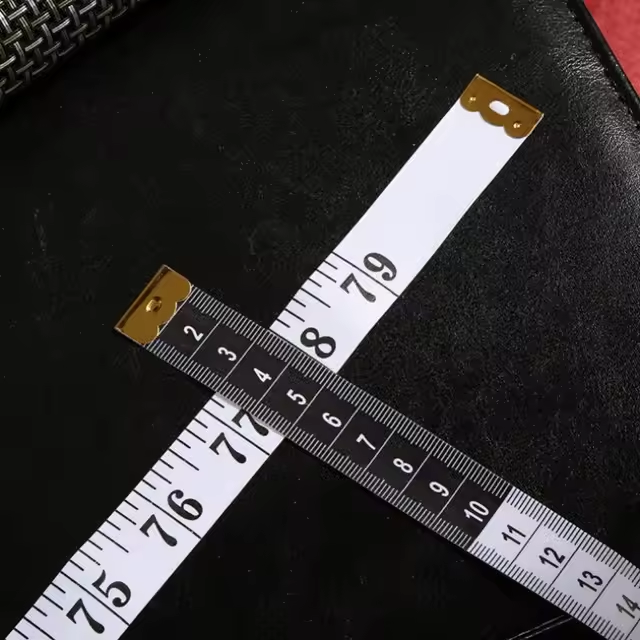
- Blade: The long, retractable metal strip marked with measurement units. The blade is flexible yet sturdy, allowing it to extend and retract smoothly.
- Case: The protective housing that encases the blade. It often includes features like a belt clip for portability.
- Lock Mechanism: Located on the case, the lock allows you to fix the blade in place once extended, ensuring stability during measurements.
- Hook: The end of the blade features a small metal hook. This hook is designed to latch onto surfaces, allowing for accurate inside and outside measurements.
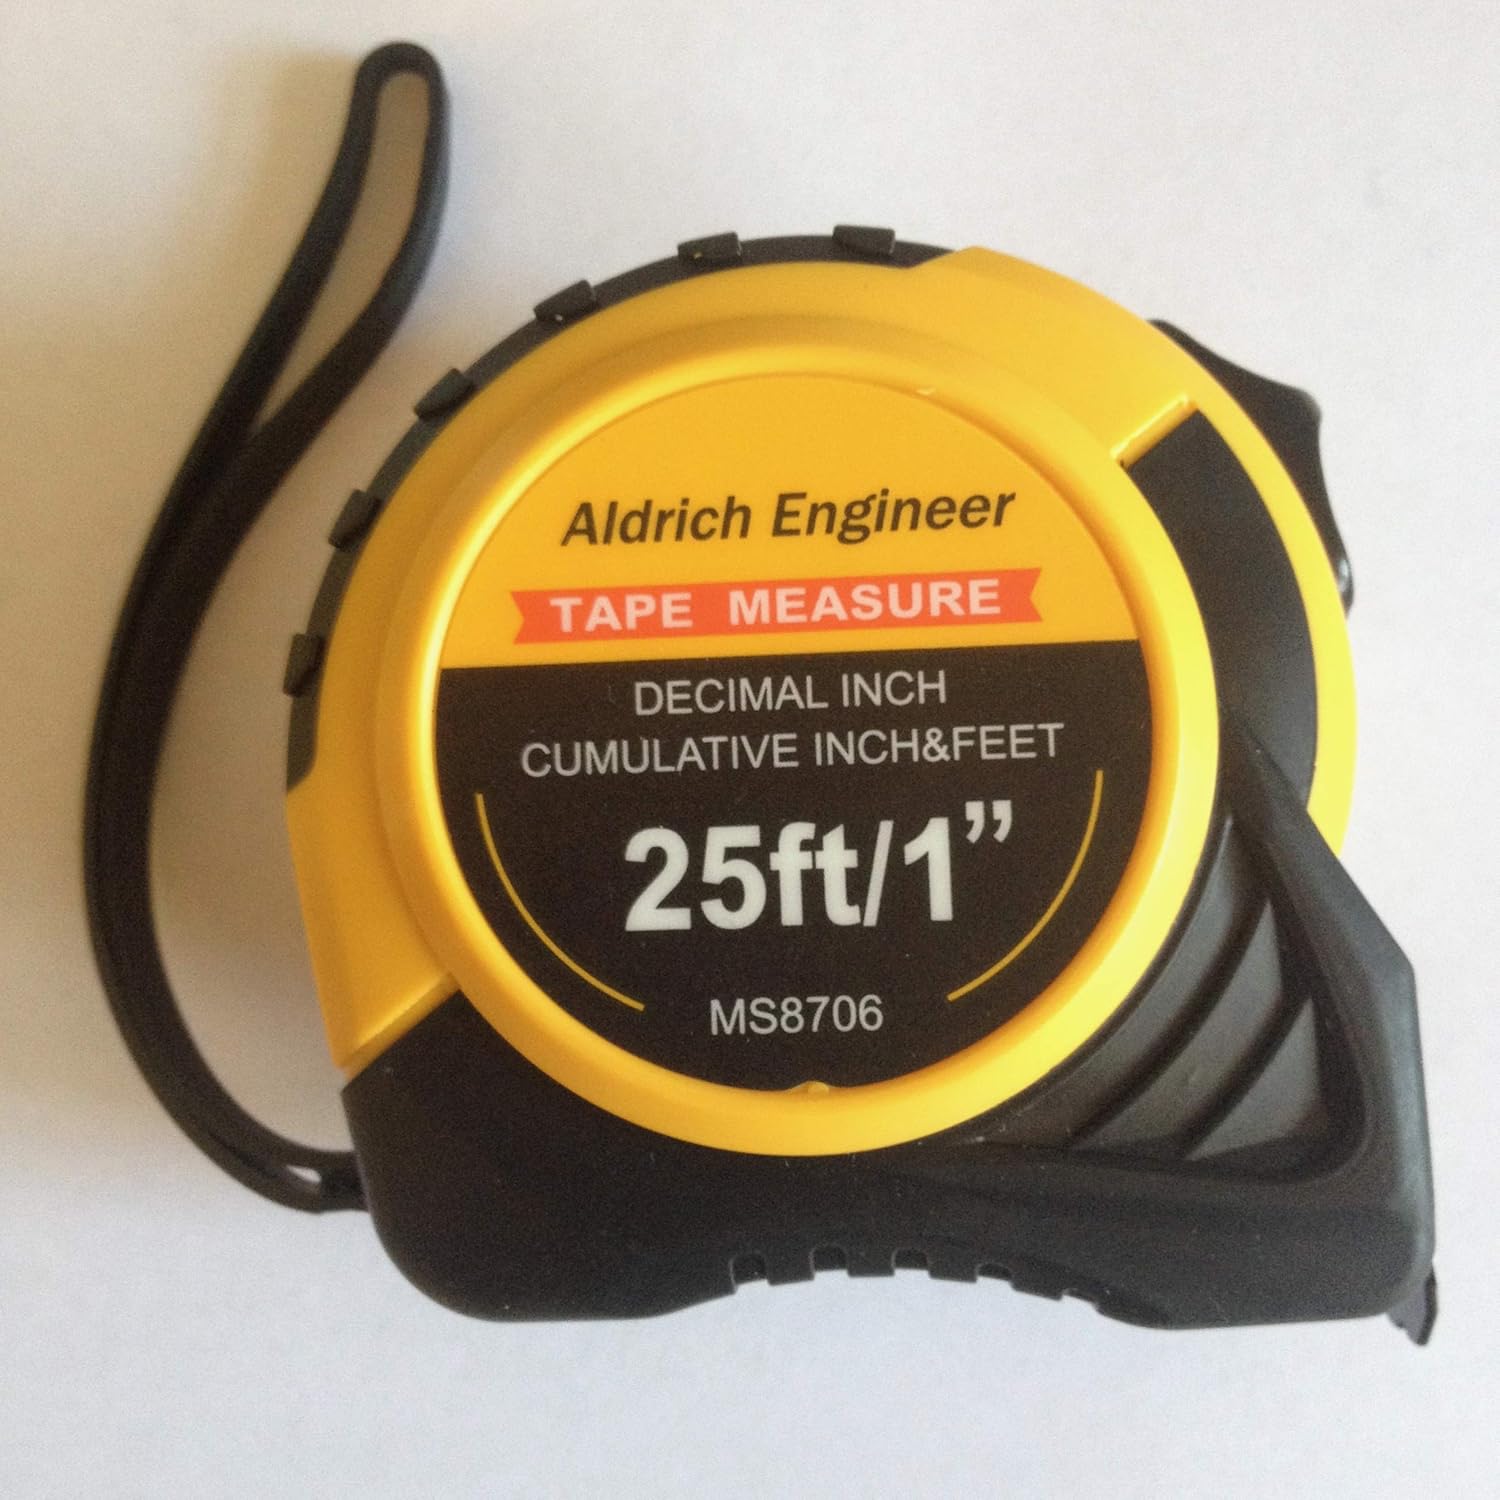
Different Types of Tape Measures
Tape measures come in various types, each tailored to specific tasks:
- Steel Blade Tape Measures: Known for their durability, these are ideal for heavy-duty applications like construction and carpentry.
- Fiberglass Tape Measures: Flexible and resistant to stretching, they are perfect for measuring around curves and in tight spaces.
- Retractable Tape Measures: These are the most common type, offering ease of use and portability for everyday tasks.
Selecting the right type of tape measure ensures that you have the appropriate tool for your specific measurement needs.
Mastering Imperial Measurements: Inches and Fractions
In many regions, especially in the United States, the imperial system is predominantly used. Understanding how to read inches and their fractional divisions is crucial for precise measurements.
Decoding Inch Markings
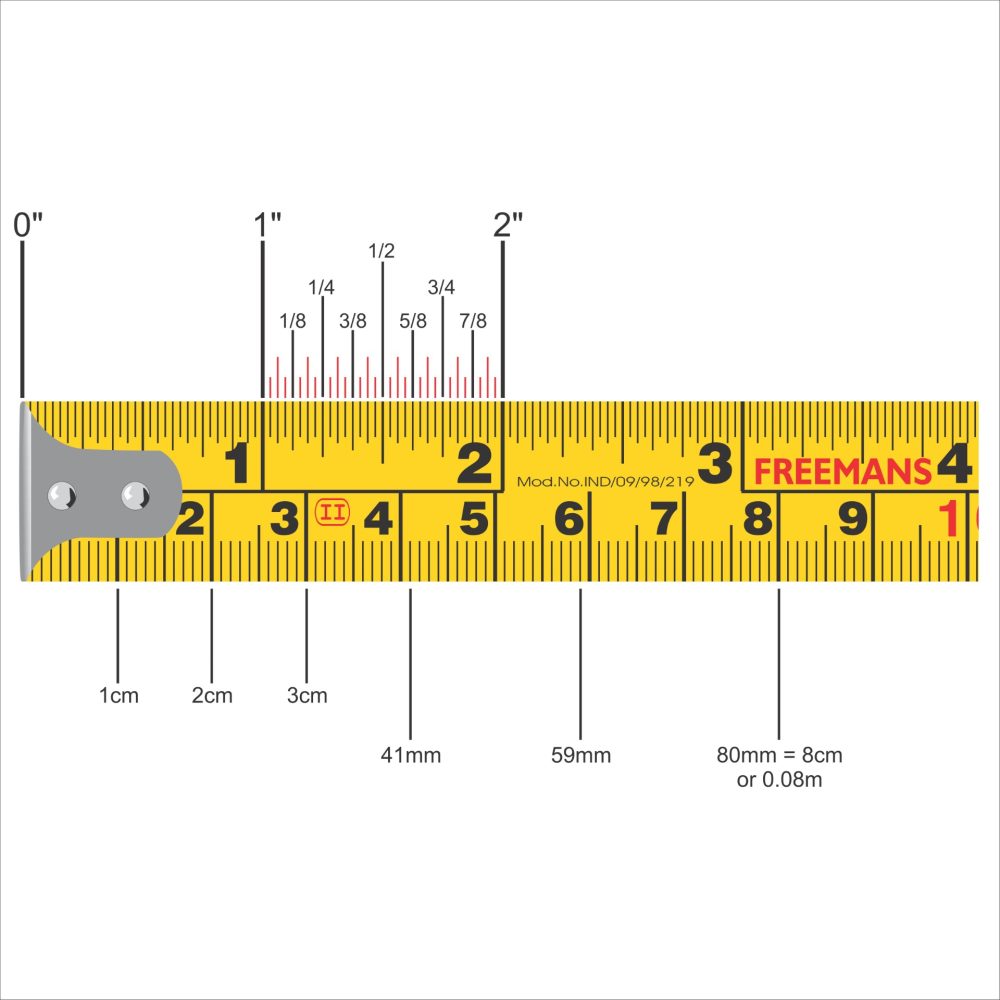
Each inch on a tape measure is divided into smaller segments, typically fractions, to provide more precise measurements:
- Whole Inches: The largest markings, usually bold and easy to see.
- Half Inches (1/2): The second longest lines, marking the halfway point of each inch.
- Quarter Inches (1/4 and 3/4): Shorter lines that divide the inch into four equal parts.
- Eighth Inches (1/8 and 7/8): Even smaller lines for finer measurements.
- Sixteenth Inches (1/16 and 15/16): The smallest commonly used increments, essential for high-precision tasks.
Reading Fractions Accurately
Accurate reading of fractional inches is vital for tasks requiring precision. Here’s how to do it effectively:
- Identify the Whole Inch: Start by locating the nearest whole inch mark.
- Count the Subdivisions: Determine how many smaller lines are present beyond the whole inch to identify the exact fraction.
- Understand the Pattern: Familiarize yourself with the regular pattern of subdivisions to quickly recognize fractions.
For example, if you need to measure a board that is 24 5/8 inches long, locate the 24-inch mark and count five lines beyond it to determine the 5/8 inch measurement.
Practical Application
Imagine you’re installing a shelf and need it to be exactly 30 3/4 inches long. By accurately reading the 30-inch mark and adding three-quarter increments, you ensure the shelf fits perfectly into the designated space.
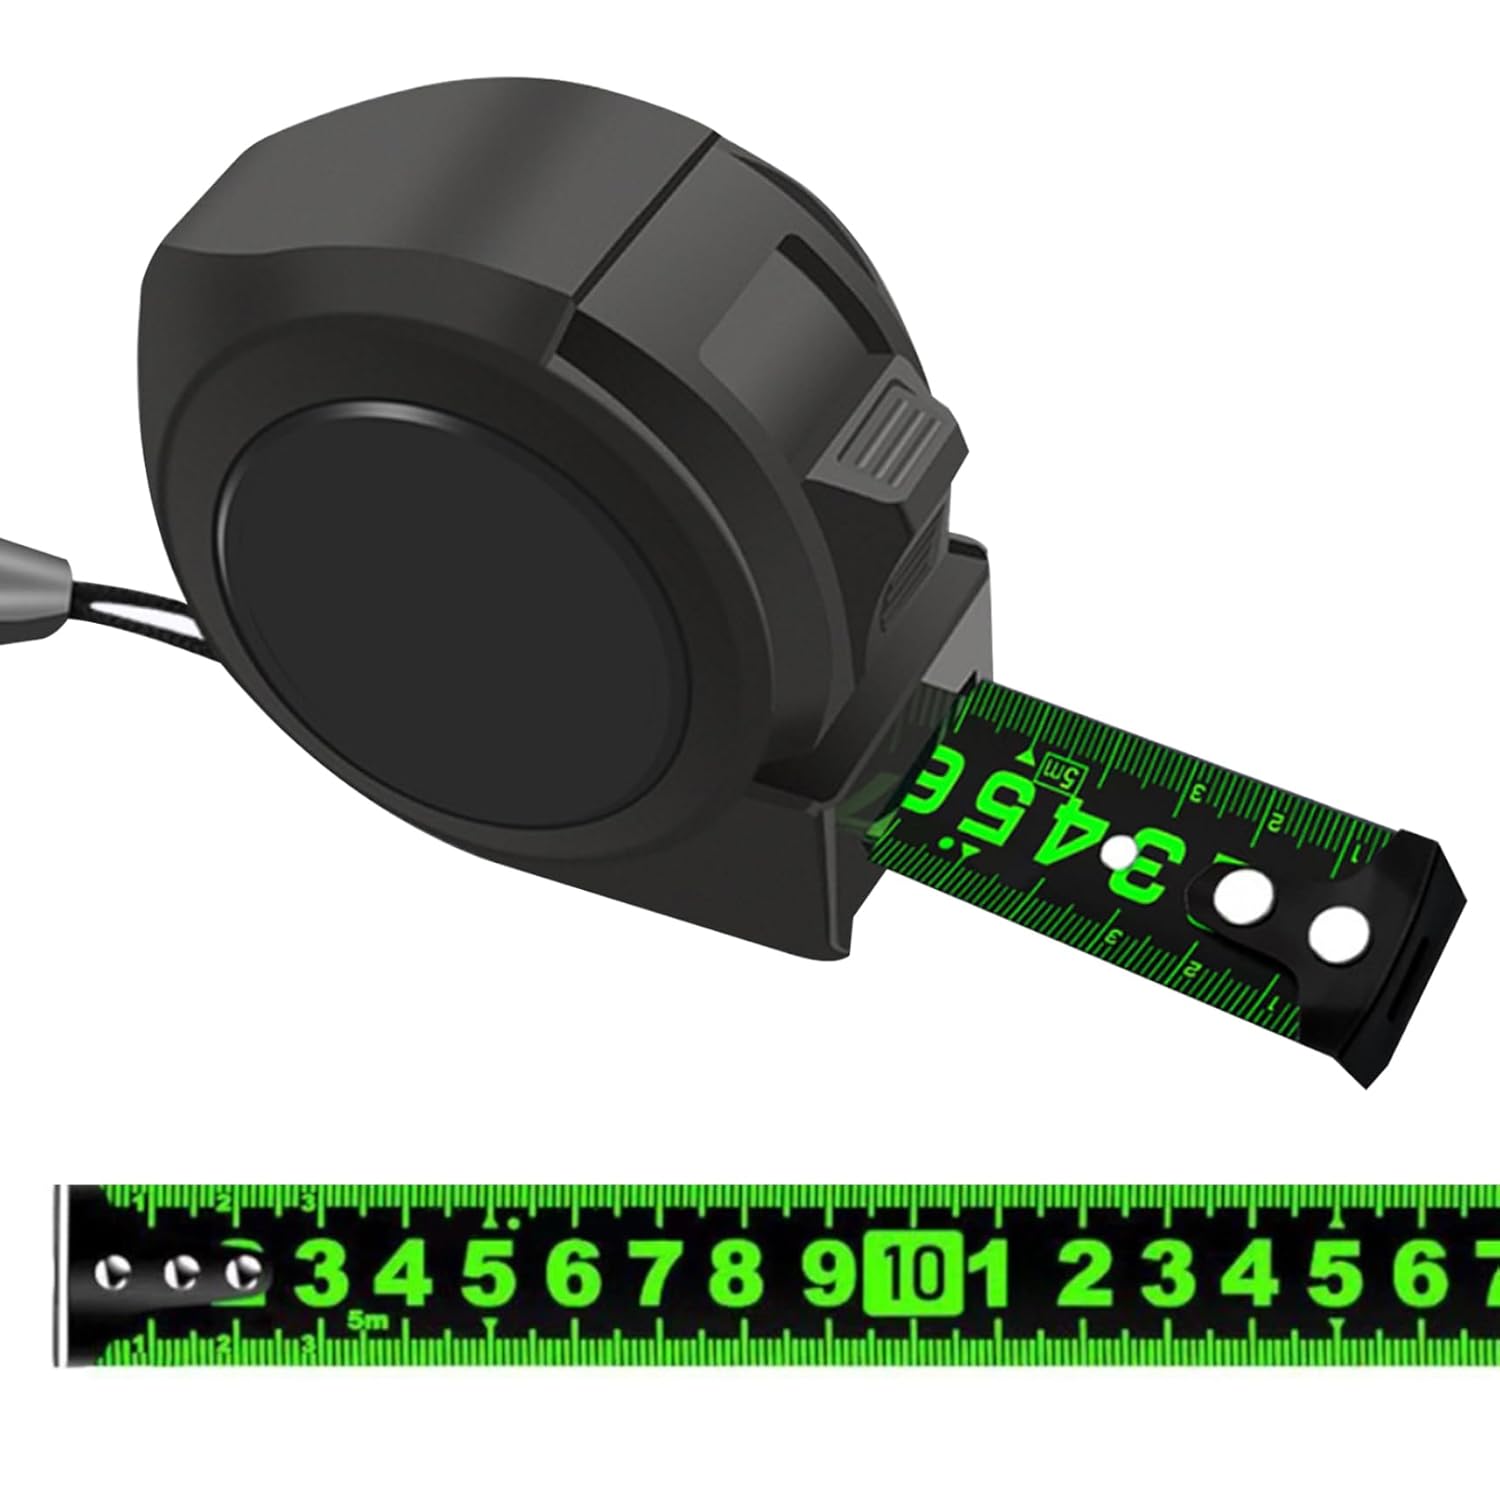
 Navigating Metric Measurements: Centimeters and Millimeters
For those who prefer the metric system, reading centimeters and millimeters on a tape measure follows a structured approach that ensures precision.
Understanding Centimeter Markings
In the metric system, each centimeter is divided into ten equal parts called millimeters:
- Whole Centimeters: The primary markings, clearly labeled for easy identification.
- Millimeter Increments: Smaller lines that divide each centimeter into ten parts, allowing for detailed measurements.
Reading Metric Fractions
Accurate reading of metric measurements involves recognizing centimeters and the additional millimeters:
- Locate the Centimeter Mark: Identify the nearest whole centimeter on the tape.
- Count the Millimeters: Determine how many millimeter lines extend beyond the centimeter mark to achieve the precise measurement.
- Combine for Accuracy: Add the counted millimeters to the whole centimeter for an exact measurement.
For instance, if you need to measure a fabric piece that is 15 centimeters and 7 millimeters long, locate the 15-centimeter mark and count seven millimeters beyond it to achieve the precise length.
Practical Example
When sewing a garment, precise measurements are crucial. If a pattern requires a piece to be 12 centimeters and 5 millimeters, accurately reading the centimeter and millimeter marks ensures a perfect fit.
Essential Symbols and Their Meanings
Tape measures often feature various symbols and markings that convey additional measurement information. Understanding these symbols enhances your ability to interpret measurements accurately.
Common Symbols Explained
- Black Diamond Marks: These marks typically indicate stud locations in construction, usually spaced 16 inches apart.
- Red Numbers: Highlight specific measurements, often used for key points like 12, 16, or 24 inches.
- Double Lines: Sometimes used to mark full studs or specific measurement intervals.
- Hidden Marks: Subtle indicators used for specialized measurements or reference points.
Practical Usage of Symbols
In a construction scenario, recognizing black diamond marks helps you identify the standard stud spacing without needing to measure each one individually. This speeds up the building process and ensures structural integrity.
Conversion Shortcuts Between Units
Being able to convert between imperial and metric units quickly can save time and prevent errors during projects that require both measurement systems.
Common Conversion Formulas
- Inches to Centimeters: 1 inch equals approximately 2.54 centimeters.
- Centimeters to Inches: 1 centimeter is roughly 0.39 inches.
- Millimeters to Inches: 1 millimeter is about 0.04 inches.
Quick Conversion Tips
- Memorize Key Equivalents: Knowing that 1 inch is approximately 2.5 centimeters simplifies quick conversions.
- Use Multiples: For larger measurements, multiply the key equivalents (e.g., 4 inches is about 10 centimeters).
- Practice Mental Math: Regularly practicing conversions helps improve speed and accuracy.
Practical Application
If a project blueprint provides measurements in centimeters, you can quickly convert them to inches using the memorized equivalents. For example, a length of 50 centimeters is approximately 19.7 inches, allowing you to proceed without interrupting your workflow to perform complex calculations.
Advanced Reading Techniques for Professional Accuracy
For those seeking to elevate their measurement skills, mastering advanced techniques can enhance accuracy and efficiency in complex projects.
Measuring Angles and Curves
When dealing with non-linear measurements, such as angles or curves, additional techniques are required:
- Using Trigonometry: Apply basic trigonometric principles to calculate lengths and angles accurately.
- Segmented Measurements: Break down curves into smaller, manageable segments and measure each individually before summing them up.
Depth and Width Measurements
To measure depth or width accurately:
- Position the Tape Measure: Align it perpendicular to the surface for accurate depth measurement.
- Secure the Blade: Use the lock feature to maintain a steady position while taking the measurement.
- Read at Eye Level: Ensure you’re reading the measurement straight on to avoid parallax errors.
Practical Example
In cabinetry, accurately measuring the depth and width of cabinets ensures that doors and drawers fit perfectly. By applying these advanced techniques, you can achieve precise measurements that contribute to the overall quality and functionality of your cabinetry work.
 Troubleshooting Common Reading Errors
Even with a reliable cheat sheet how to read a tape measure, measurement errors can occur. Being aware of common pitfalls helps maintain accuracy.
Miscounting Increments
One frequent mistake is miscounting the small lines between inches or centimeters. To avoid this:
- Double-Check Counts: Always verify the number of increments.
- Use Reference Points: Align your view with clearly marked lines to maintain accuracy.
Ignoring Zero Point Variations
Some tape measures feature a hook that is slightly offset from the zero mark to account for the thickness of what is being measured. Overlooking this can lead to slight inaccuracies. Always consider the hook’s position relative to the starting point.
Blade Flex and Kinks
A tape measure with a bent or kinking blade can distort measurements. Regularly inspect your tape measure for damage and replace it if necessary to ensure accurate readings.
Practical Solution
If you notice inconsistent measurements, first check the tape measure for damage or wear. Ensuring the blade is straight and the hook is intact can prevent many common errors.
Practical Applications: Measuring Like a Pro
Applying the knowledge from your cheat sheet how to read a tape measure to real-world scenarios enhances both skill and confidence.
Home Improvement Projects
Accurate measurements are the foundation of successful home improvement projects. From installing cabinets to building furniture, precise measurements ensure that each component fits perfectly.
For example, when laying down flooring, measuring the room accurately helps determine the amount of material needed, minimizing waste and ensuring a seamless fit.
Tailoring and Sewing
In tailoring, precision is paramount. Whether measuring fabric for a garment or aligning patterns, accurate measurements ensure a perfect fit and professional finish.
For instance, when hemming pants, knowing the exact length required ensures that the cuffs sit correctly without being too short or excessively long.
Construction and Carpentry
In construction, exact measurements are crucial for structural integrity and aesthetic appeal. From framing walls to installing windows, precise measurements prevent costly mistakes and ensure the project meets design specifications.
DIY Crafts
Even simple crafts benefit from accurate measurements. Creating symmetrical designs or fitting components together seamlessly requires reliable measurement skills.
For example, building a birdhouse with straight edges and properly fitting panels hinges on precise measurements, resulting in a sturdy and visually appealing final product.
 Conversion Shortcuts: Simplifying Measurements
Efficiently converting between different units of measurement can streamline your workflow, especially in projects that require both imperial and metric systems.
Practical Conversion Tips
- Use Memorized Equivalents: Quickly recall that 1 inch equals approximately 2.54 centimeters.
- Leverage Software Tools: Utilize smartphone apps or online converters for quick and accurate conversions.
- Write Conversion Tables: Keep a small conversion table handy for reference during projects.
Example in Use
When a project specification requires a measurement in centimeters, swiftly converting it to inches allows you to proceed without delay. For instance, converting 50 centimeters to inches (approximately 19.7 inches) ensures you have the accurate measurement needed for your task.
Advanced Tips for Professionals
For seasoned professionals, advancing measurement techniques can significantly enhance efficiency and accuracy.
Utilizing Technology
Modern tape measures come equipped with digital features that simplify reading measurements:
- Digital Displays: Provide clear and precise measurements at the push of a button.
- Laser Guides: Enhance accuracy by projecting a laser line, useful for large-scale measurements.
- Bluetooth Connectivity: Allows integration with smartphones and other devices for data logging and project management.
Precision Techniques
- Dual Measurement Systems: Using both imperial and metric units simultaneously can provide flexibility and accuracy in diverse projects.
- Regular Calibration: Ensuring your tape measure is calibrated maintains its accuracy over time, especially important for high-precision tasks.
Practical Application
In complex construction projects, using a digital tape measure with a laser guide can speed up the measurement process and reduce human error, resulting in more efficient project completion and higher quality outcomes.
Maintaining Your Tape Measure for Longevity
Proper maintenance of your tape measure ensures it remains a reliable tool for years to come. Here are essential tips to keep your tape measure in top condition.
Regular Cleaning
After each use, wipe down the tape measure to remove dust and debris. This prevents buildup that can cause wear and tear on the blade and moving parts.
Proper Storage
Store your tape measure in a dry, safe place to avoid rust and corrosion. Keeping it in its case protects it from accidental damage and ensures it remains free from environmental hazards.
Inspection and Care
Periodically inspect your tape measure for signs of damage, such as bent hooks or stretched blades. Addressing these issues promptly prevents inaccuracies and extends the tool’s lifespan.
Practical Maintenance Tips
- Avoid Dropping: Handle your tape measure with care to prevent bends and kinks in the blade.
- Use the Lock Mechanism: Engage the lock when not in use to keep the blade securely retracted.
- Replace Worn Parts: If the hook or other components show signs of wear, replace them to maintain measurement accuracy.
Enhancing Measurement Skills Through Practice
Consistent practice is key to mastering the use of a tape measure. Regularly applying your cheat sheet how to read a tape measure in various projects strengthens your skills and builds confidence.
Daily Measurement Opportunities
Incorporate measurement tasks into your daily routine to keep your skills sharp. Whether measuring furniture dimensions or estimating fabric lengths, frequent practice reinforces accuracy.
Learning Through Projects
Engage in diverse projects that require different types of measurements. From woodworking to sewing, each project presents unique challenges that enhance your ability to read and interpret tape measures effectively.
Practical Application
Start with simple tasks, such as measuring room dimensions, and gradually move to more complex projects like building a piece of furniture. This progressive approach ensures a thorough understanding and application of measurement techniques.
Conclusion: Mastering the Cheat Sheet on How to Read a Tape Measure
Incorporating a cheat sheet how to read a tape measure into your toolkit empowers you with the knowledge and skills to take precise measurements effortlessly. By understanding the tape measure’s components, mastering both imperial and metric measurements, and applying advanced techniques, you ensure accuracy in every project you undertake. Whether you’re a beginner or a seasoned professional, this guide provides the comprehensive reference you need to measure with confidence and achieve outstanding results.
Embrace these strategies and tips to enhance your measurement proficiency, avoid common errors, and maintain your tape measure for long-term reliability. With this cheat sheet at your disposal, you’ll be well-equipped to handle any measurement challenge with ease and precision.