How to Read a Tape Measure in CM: A Simple Guide
Accurate measurements are essential in various projects, whether you’re working on a DIY craft, constructing furniture, or engaging in professional engineering tasks. Understanding how to read a tape measure in cm is a fundamental skill that ensures precision and reliability in your work. This guide will explore the intricacies of reading a tape measure in centimeters, offering step-by-step instructions, practical applications, conversion techniques, common mistakes to avoid, and advanced tips for professionals. By mastering these concepts, you can enhance the accuracy of your measurements and improve the overall quality of your projects.
Contents
hide
 Understanding the Metric Tape Measure
Before diving into the specifics of reading a tape measure in centimeters, it’s crucial to understand the structure and markings of a metric tape measure.
The Basics of Metric Measurements
Metric tape measures use centimeters (cm) and millimeters (mm) as their primary units of measurement. One centimeter is equivalent to 10 millimeters, making the metric system straightforward and easy to convert between units. This simplicity is one reason why the metric system is widely used in scientific and engineering fields.
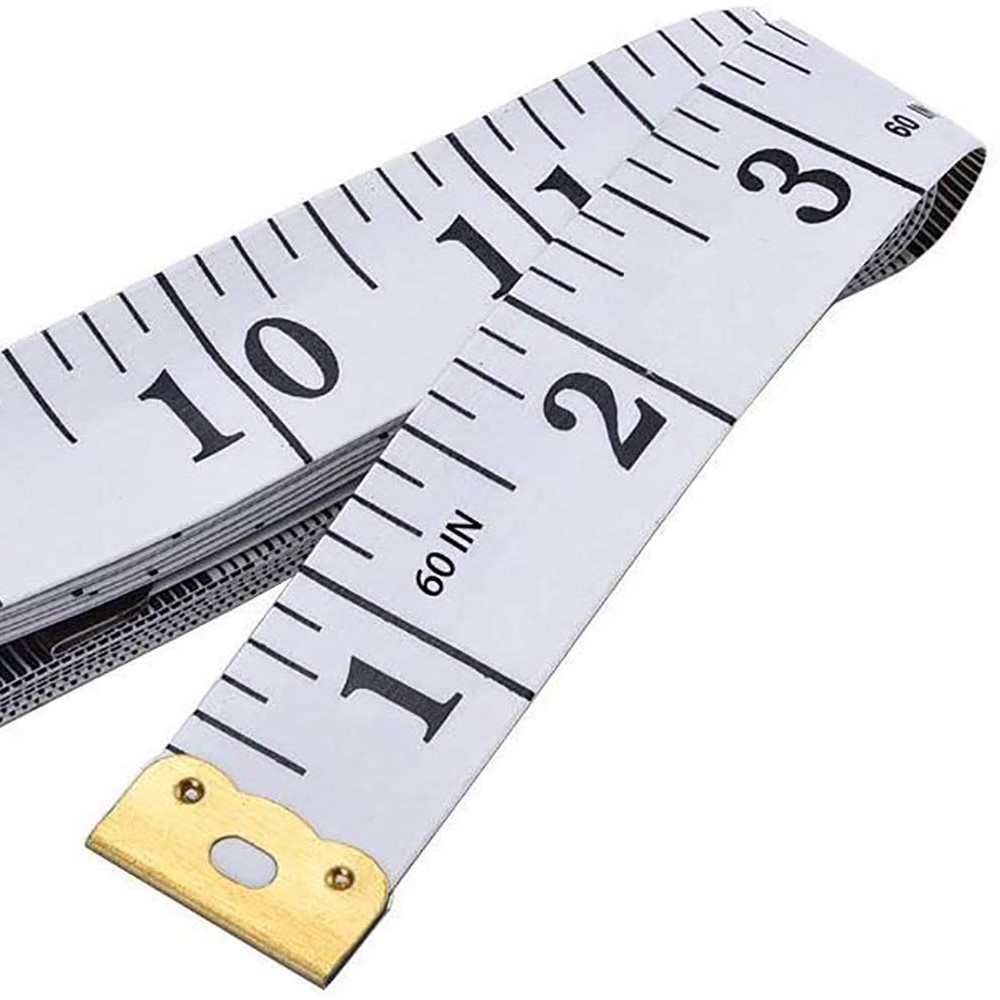
Structure of a Metric Tape Measure
A standard metric tape measure features a durable metal or fiberglass tape with clearly marked increments. The main markings represent each centimeter, while smaller lines indicate millimeters. Typically, there are 10 millimeter marks between each centimeter, allowing for precise measurements.
Key Features to Identify
When using a metric tape measure, it’s essential to identify key features such as the zero point, the centimeter marks, and the millimeter graduations. Additionally, some tape measures include special markings for ease of reading, such as colored lines or highlights for every 10 centimeters.
Step-by-Step Guide: How to Read a Tape Measure in cm
Reading a tape measure in centimeters involves understanding the markings and applying a systematic approach to take accurate measurements.
Step 1: Positioning the Tape Measure
Begin by placing the end of the tape measure at the starting point of the object you wish to measure. Ensure that the tape is taut and lies flat against the surface to avoid any inaccuracies caused by slack or bending.
Step 2: Identifying the Centimeter Marks
Locate the centimeter marks on the tape. These are typically the longer lines with numbers indicating each centimeter. For example, the 5 cm mark will be labeled clearly, making it easy to identify.
Step 3: Counting Millimeters
Between each centimeter mark, there are ten smaller lines representing millimeters. Each millimeter mark is equally spaced, allowing you to count precisely. For instance, if a measurement falls between 5 cm and 6 cm, you can determine how many millimeters past 5 cm the measurement is.
Step 4: Reading the Measurement
To read the measurement, note the number of centimeters and the additional millimeters. For example, if the measurement ends at the third millimeter past 5 cm, the total measurement is 5 cm and 3 mm, or 5.3 cm.
Step 5: Recording the Measurement
Finally, record the measurement accurately, ensuring that both the centimeter and millimeter values are noted. This precision is crucial for tasks that require exact measurements.
 Practical Applications of How to Read a Tape Measure in cm
Understanding how to read a tape measure in cm is invaluable across various fields and everyday tasks. Here are some practical applications:
DIY and Home Improvement
In DIY projects, accurate measurements ensure that materials fit together correctly. Whether you’re building a bookshelf, hanging curtains, or installing shelves, knowing how to read a tape measure in cm allows you to cut materials to the exact size required.
Sewing and Fashion Design
Sewing and fashion design rely heavily on precise measurements. When creating garments, patterns must be measured accurately in centimeters to ensure a proper fit. This precision helps in cutting fabric and tailoring clothes to the desired specifications.
Engineering and Construction
Engineers and construction professionals use metric tape measures to design and build structures with precision. Accurate measurements in centimeters are essential for creating detailed blueprints, ensuring that each component fits perfectly within the overall design.
Crafting and Art Projects
Artists and crafters use tape measures to scale their projects accurately. Whether it’s creating a mosaic, building a model, or designing a piece of furniture, understanding how to read a tape measure in cm helps maintain proportionality and precision in creative works.
Converting Centimeters to Other Units
While working with centimeters is straightforward within the metric system, you might occasionally need to convert to other units, such as inches or meters. Here’s how to handle these conversions:
Converting Centimeters to Millimeters
Since one centimeter equals ten millimeters, converting centimeters to millimeters is simple. Multiply the number of centimeters by ten. For example, 7 cm equals 70 mm.
Converting Centimeters to Meters
To convert centimeters to meters, divide the number of centimeters by 100. For instance, 150 cm is equal to 1.5 meters.
Converting Centimeters to Inches
For those who use the imperial system, converting centimeters to inches requires knowing that one inch is approximately 2.54 centimeters. To convert centimeters to inches, divide the number of centimeters by 2.54. For example, 10 cm divided by 2.54 equals approximately 3.94 inches.
Practical Conversion Examples
Imagine you’re working on a project that requires both metric and imperial measurements. If you measure a table length as 120 cm, you can convert this to inches by dividing by 2.54, resulting in approximately 47.24 inches. Similarly, if a fabric length is needed in meters, convert 250 cm to 2.5 meters by dividing by 100.
Common Mistakes When Reading a Tape Measure in cm and How to Avoid Them
Even with a clear understanding of the basics, some common mistakes can occur when reading a tape measure in centimeters. Being aware of these errors and knowing how to avoid them enhances measurement accuracy.
Misreading Millimeter Marks
One frequent mistake is misreading the millimeter marks between centimeters. It’s easy to overlook or miscount these small increments. To avoid this, take your time and carefully count each millimeter mark until you reach your measurement point.
Not Holding the Tape Straight
If the tape measure isn’t held straight and taut, the measurement can become inaccurate. Ensure that the tape is aligned correctly with the object being measured and held firmly to prevent any bending or slack.
Ignoring the Zero Point
Another common error is forgetting to align the zero point of the tape measure with the starting point of the object. Always double-check that the zero mark is precisely at the beginning of the measurement to avoid incorrect readings.
Overlooking Tape Curvature
When measuring around curved surfaces, the tape measure might curve, leading to inaccurate measurements. To prevent this, use a flexible measuring tape designed for easy handling around curves, or straighten the tape as much as possible during measurement.
Tip: Double-Check Your Measurements
One effective way to avoid mistakes is to double-check your measurements. After taking an initial measurement, measure the same dimension again to ensure consistency and accuracy.
 Tools and Techniques to Improve Accuracy
Enhancing your ability to read a tape measure in cm involves using the right tools and adopting effective techniques. Here are some strategies to help you achieve precise measurements.
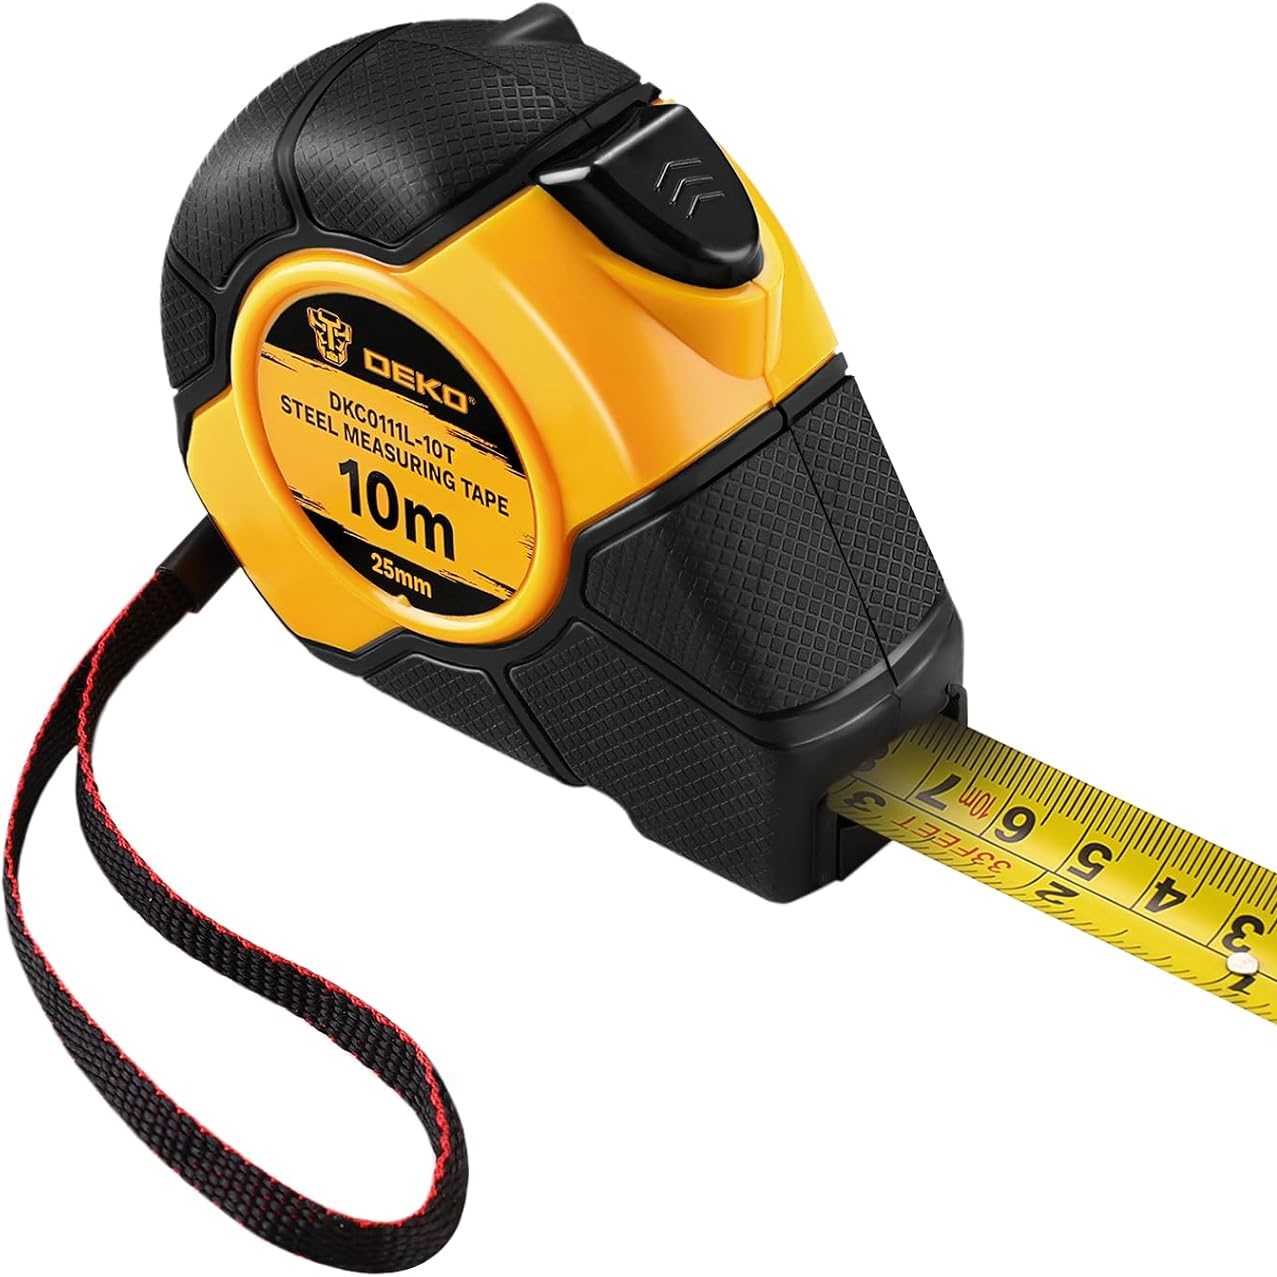
Selecting the Right Tape Measure
Choose a high-quality metric tape measure with clear, easy-to-read markings. Look for tapes with reinforced edges and a sturdy casing to prevent damage and ensure longevity. Some tape measures come with additional features, such as a built-in level or a locking mechanism, which can aid in taking accurate measurements.
Using a Flat Surface
When measuring, place the object on a flat surface to ensure that the tape measure lies evenly and straight. This practice minimizes the risk of measurement errors caused by uneven surfaces or tilts.
Marking the Measurement Point
Once you’ve identified the measurement point on the tape, mark it clearly with a pencil or a small piece of masking tape. This mark serves as a visual reference, making it easier to note the exact measurement and reducing the chances of misreading.
Utilizing a Measuring Jig
For projects that require repetitive measurements, using a measuring jig can save time and improve accuracy. A jig holds the tape measure in a fixed position, ensuring consistent measurements across multiple repetitions.
Practicing Regularly
Like any skill, reading a tape measure accurately improves with practice. Regularly measure different objects and compare your measurements to known dimensions to build confidence and proficiency.
Advanced Techniques for Professional Use
Professionals who require high precision in their measurements can benefit from advanced techniques when reading a tape measure in cm. These methods enhance accuracy and efficiency in demanding tasks.
Using a Laser Tape Measure
A laser tape measure projects a laser beam to provide precise measurements without the need for physical contact. This tool is especially useful for measuring large distances or hard-to-reach areas, ensuring accurate readings in professional settings.
Combining Tape Measures with Digital Tools
Integrating digital measuring tools with traditional tape measures can streamline the measurement process. Digital tape measures offer electronic readouts that display measurements in centimeters, reducing the potential for human error and speeding up the measurement process.
Implementing Measurement Templates
Creating templates for specific measurements can help maintain consistency and accuracy in professional projects. Templates provide a physical guide, ensuring that measurements are replicated precisely across different components.
Adhering to Industry Standards
Professionals should adhere to industry standards and best practices when using tape measures. Understanding and following these guidelines guarantees that measurements meet the required specifications and enhances the reliability of the work.
Training and Certification
Pursuing training and certification in measurement techniques can further enhance your skills. Professional courses teach advanced methods and offer hands-on experience, ensuring that you can read a tape measure in cm with the highest level of accuracy.
 Tips for Beginners
For those new to using a metric tape measure, these tips can facilitate the learning process and build a strong foundation for accurate measurements.
Familiarize Yourself with the Scale
Take time to study the tape measure’s scale. Understand the layout of centimeters and millimeters, and practice identifying each mark. This familiarity will make reading measurements quicker and more intuitive.
Start with Simple Measurements
Begin by measuring straightforward objects, such as books or tables, to practice reading the tape measure in cm. Simple measurements help build confidence and reinforce your understanding of the scale.
Use Clear Reference Points
Ensure that both the starting and ending points of your measurement are clearly defined. Using reference points, such as edges or corners, helps maintain consistency and accuracy in your measurements.
Keep the Tape Measure Straight
Always hold the tape measure straight and avoid bending it, unless necessary for measuring around curves. A straight tape ensures that the measurement is accurate and free from distortions.
Practice Reading Measurements at Different Angles
Measure objects from various angles to improve your ability to read the tape measure accurately. Practicing from different perspectives helps reduce errors caused by viewing the scale from an incorrect angle.
Addressing Specific Scenarios
Different scenarios may require unique approaches when reading a tape measure in cm. Addressing these situations ensures that your measurements remain accurate regardless of the context.
Measuring Interior Spaces
When measuring interior spaces, such as rooms or cabinets, ensure that the tape measure follows the contours of the space accurately. Use a helper to hold the tape measure straight and maintain tension for precise readings.
Measuring Curved Objects
For curved objects, use a flexible tape measure that can bend without stretching. Carefully follow the curve, and take multiple measurements to verify accuracy at different points.
Measuring Heights and Elevations
To measure heights or elevations, extend the tape measure vertically and ensure it remains straight. Using a stable platform or having someone assist can help achieve a more accurate measurement.
Measuring Thickness of Materials
When measuring the thickness of materials, place the tape measure perpendicular to the surface. This approach prevents slanting and ensures that the measurement reflects the true thickness in centimeters.
Troubleshooting Common Measurement Issues
Even with careful techniques, some measurement issues may arise. Knowing how to troubleshoot these problems enhances your ability to maintain accuracy.
Dealing with Tape Wear and Tear
Over time, tape measures can wear out, causing inaccurate measurements. Regularly inspect your tape measure for signs of damage, such as frayed edges or faded markings, and replace it if necessary to ensure reliable measurements.
Addressing Tape Slippage
If the tape measure slips while measuring, ensure that the tape is held firmly and the starting point is securely positioned. Using a tape measure with a locking mechanism can prevent slippage and maintain measurement accuracy.
Correcting Parallax Errors
Parallax errors occur when the tape measure mark is viewed from an angle, leading to misreadings. Always position yourself directly in line with the measurement mark to view it accurately and eliminate parallax errors.
Managing Measurement Uncertainty
Accept that some level of uncertainty is inherent in any measurement. Mitigate this by taking multiple measurements and averaging the results, which enhances overall accuracy and reliability.
Leveraging Technology to Enhance Measurement Accuracy
Incorporating technology into your measurement practices can significantly improve accuracy and efficiency when reading a tape measure in cm.
Digital Tape Measures
Digital tape measures offer electronic readings that display measurements in centimeters and other units. These devices reduce the likelihood of human error and provide quick, accurate measurements with the press of a button.
Mobile Apps and Software
Several mobile apps and software tools can assist in reading and converting measurements. These applications offer features like unit conversion, measurement storage, and precise scaling, which enhance the overall measurement process.
Smart Measuring Tools
Smart measuring tools integrate with digital devices to provide real-time data and advanced measurement capabilities. These tools often come with sensors and connectivity features that enable seamless integration into professional workflows.
Combining Traditional and Digital Methods
For the best results, combine traditional tape measures with digital tools. Use the tape measure for initial measurements and validate them with digital methods to ensure maximum accuracy.
Enhancing Your Skills Through Practice
Consistent practice is essential for mastering how to read a tape measure in cm. Here are some ways to enhance your skills through regular practice.
Regular Measurement Exercises
Engage in regular measurement exercises by measuring various objects around your home or workspace. This practice reinforces your ability to read the tape measure accurately and quickly.
Comparing Measurements
Compare your tape measure readings with known measurements to validate your accuracy. This comparison helps identify any discrepancies and allows you to correct your technique accordingly.
Learning from Mistakes
Don’t be discouraged by mistakes; instead, use them as learning opportunities. Analyze where the error occurred and adjust your approach to prevent similar mistakes in the future.
Seeking Feedback
Ask experienced individuals for feedback on your measurement techniques. Constructive criticism can highlight areas for improvement and accelerate your learning process.
Setting Measurement Challenges
Create measurement challenges for yourself, such as measuring objects to specific dimensions or converting units on the fly. These challenges make practice more engaging and help solidify your measurement skills.
Conclusion
In conclusion, understanding how to read a tape measure in cm is a crucial skill that enhances precision and accuracy across various projects and professional tasks. By familiarizing yourself with the metric tape measure, following a systematic approach to taking measurements, and utilizing practical applications, you can ensure that your measurements are reliable and consistent. Additionally, converting between units, avoiding common mistakes, and employing advanced techniques further improve your measurement accuracy. Whether you’re a beginner or a seasoned professional, mastering how to read a tape measure in cm empowers you to achieve the highest standards in your work, ensuring that every project is executed with precision and confidence.