How to Read a Tape Measure in mm: Accurate Measurements
When embarking on any DIY project, precise measurements are crucial to ensure success. Whether you’re building furniture, tailoring garments, or engaging in any form of construction, understanding how to read a tape measure in mm is an essential skill. This comprehensive guide will walk you through the fundamentals of tape measurement, helping you achieve accuracy and confidence in all your projects.
Contents
hide
 Understanding Tape Measures: A Basics Overview
Before diving into the specifics of reading a tape measure in millimeters, it’s important to grasp the basic components and functions of a tape measure. A tape measure is a flexible ruler used to measure size or distance, typically housed within a durable case for portability and protection.
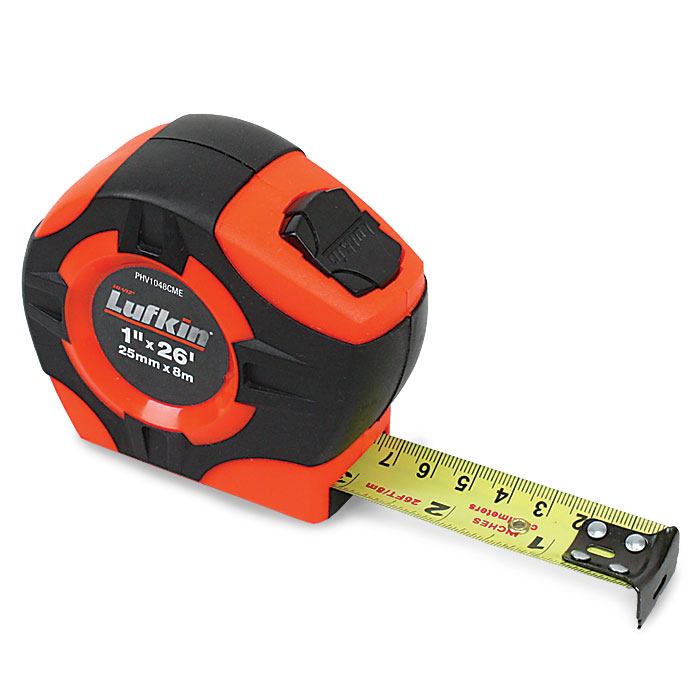
The Construction of a Tape Measure
Most tape measures consist of a metal or fiberglass tape that retracts into a compact housing. The tape is marked with measurement units, usually in both inches and millimeters, allowing for versatile use across different measurement systems. Additionally, many tape measures feature a locking mechanism that keeps the tape extended, enabling precise measurements without the tape retracting unexpectedly.
Key Features to Note
- Hook or End Tab: This is the metal tip at the end of the tape measure, designed to latch onto the edge of the object being measured. It provides a consistent starting point, essential for accurate measurements.
- Blade: The flat, flexible part of the tape that extends outward. It’s typically printed with measurement markings in both metric (mm) and imperial units (inches).
- Case: The outer casing that protects the tape and houses the retraction mechanism. It often includes a belt clip for easy portability.
Understanding these components sets the foundation for effectively using and reading your tape measure.
Components of a Tape Measure in Millimeters
To accurately read a tape measure in millimeters, it’s essential to familiarize yourself with its specific components and markings. Let’s explore these in more detail.
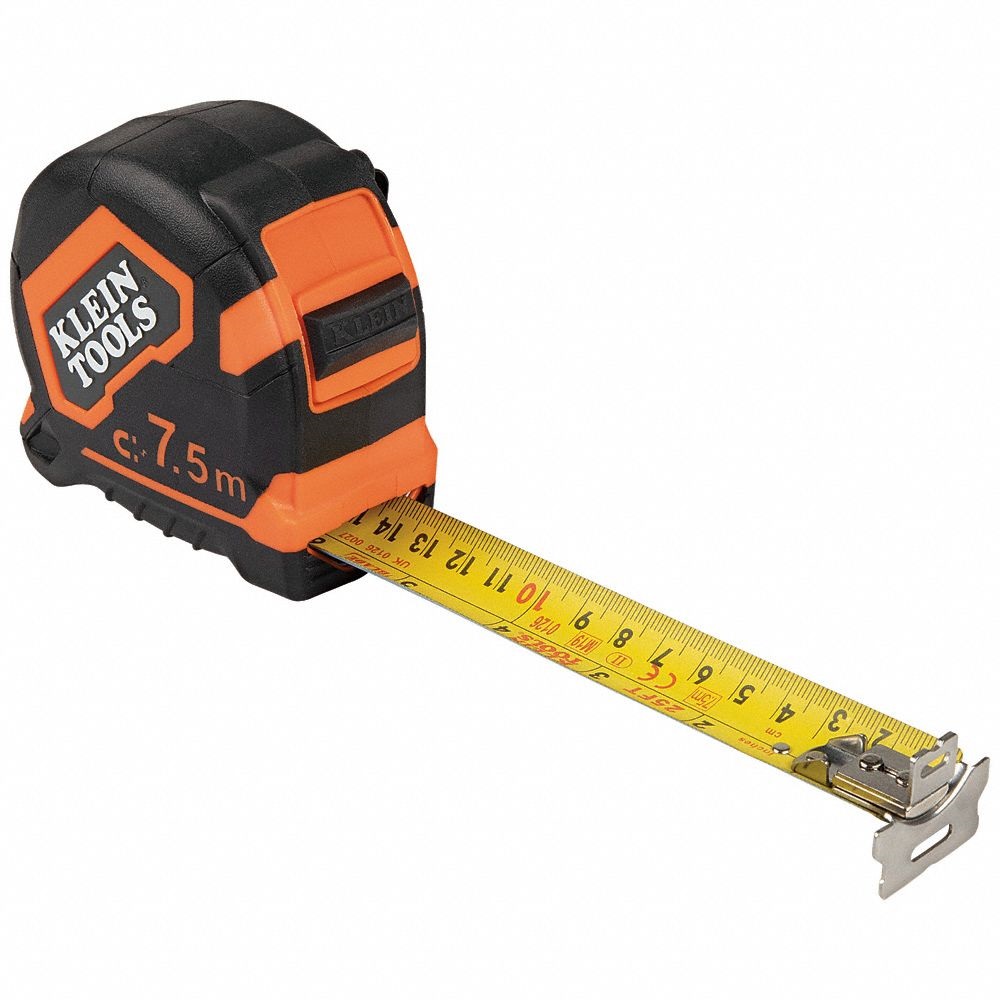
Main Body and Markings
The main body of the tape measure displays the primary measurement units. In a metric tape measure, millimeter (mm) markings are predominant, providing a clear and precise scale for measurement. Each millimeter mark represents one-thousandth of a meter, allowing for fine measurements essential in detailed projects.
Subdivisions and Scale Interpretation
In addition to the main millimeter markings, tape measures often include subdivisions for increased precision. These subdivisions typically break down each millimeter into smaller increments:
- Half-Millimeter (0.5 mm): Easily identifiable as slightly longer lines between each millimeter mark.
- Quarter-Millimeter (0.25 mm): Even finer lines provide additional precision, useful for tasks requiring exact measurements.
By understanding these subdivisions, you can achieve greater accuracy, ensuring that your measurements are both precise and reliable.
 Step-by-Step Guide to Reading Measurements in Millimeters
Reading a tape measure in millimeters involves a systematic approach to ensure accuracy. Follow these steps to master the process:
Aligning the Tape Measure
Begin by placing the tape measure’s hook at the starting point of the object or distance you’re measuring. Ensure that the tape is taut and lies flat against the surface to prevent any slack that could lead to inaccurate readings.
Accurately Reading the Millimeter Marks
Once the tape is securely in place, observe the millimeter markings along the length of the tape. Locate the exact point where the object or distance ends, and note the nearest millimeter mark. If your measurement falls between two millimeter marks, use the subdivisions (0.5 mm or 0.25 mm) to estimate the precise measurement.
Recording the Measurement
After identifying the correct millimeter mark, record the measurement immediately to avoid any confusion later on. It’s helpful to write down your measurements in a notebook or project plan to keep track of your progress and ensure consistency throughout your work.
Common Mistakes and How to Avoid Them
Even with a clear understanding of how to read a tape measure in mm, beginners often make common mistakes that can compromise the accuracy of their measurements. Here’s how to avoid them:
Misinterpreting Scale Increments
One prevalent error is misreading the scale increments, particularly when dealing with subdivisions. To prevent this, take the time to familiarize yourself with the tape’s markings. Practice by measuring known lengths and verifying your readings to build confidence and accuracy.
Ensuring Proper Tape Extension
Allowing the tape to bend or sag can lead to incorrect measurements. Always ensure that the tape is straight and fully extended when taking a measurement. Using the locking mechanism can help maintain the tape’s position, providing a stable and accurate reading.
Ignoring the Hook’s Position
The hook at the end of the tape measure is designed to account for its own thickness, ensuring consistent measurements. Make sure the hook is properly engaged with the starting point of your measurement to avoid discrepancies.
 Practical Tips for Effective Tape Measuring
Enhancing your tape measuring skills involves more than just reading the markings accurately. Here are some practical tips to ensure effective measurements every time:
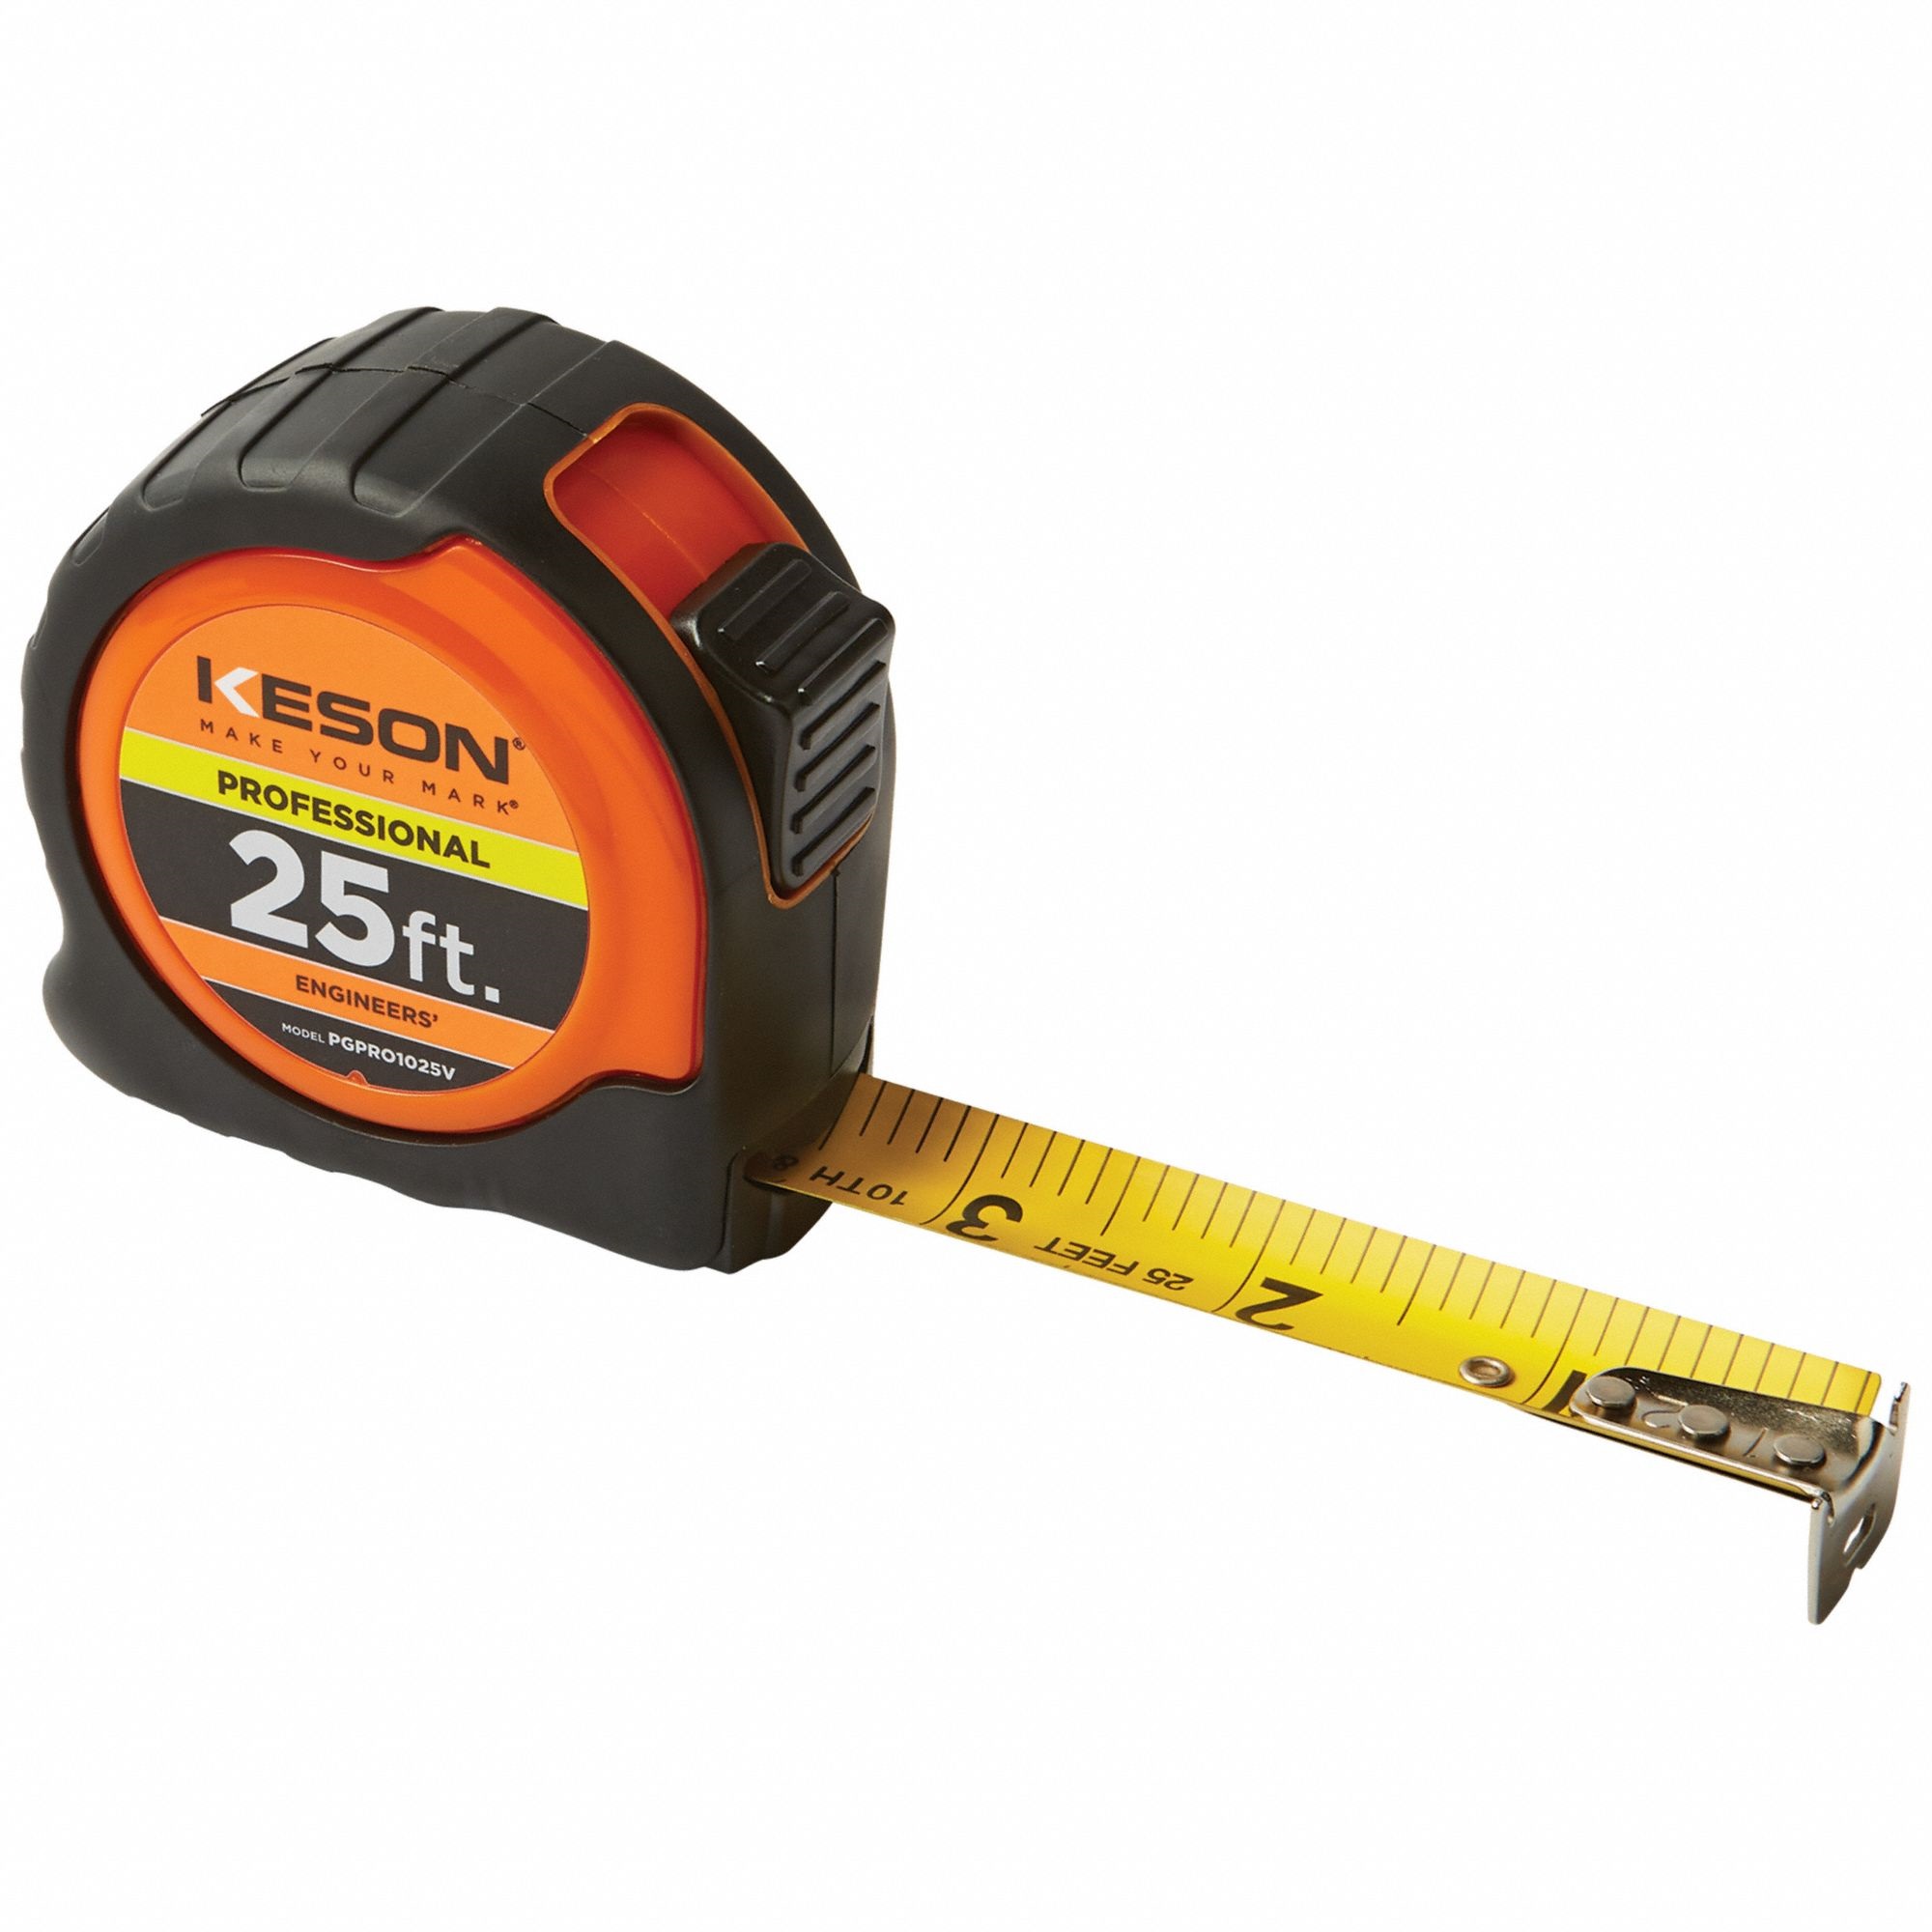
Selecting the Right Tape Measure
Choose a tape measure that suits your specific needs. For precision tasks, opt for a tape with clear millimeter markings and fine subdivisions. Additionally, consider the tape’s length and durability based on the projects you typically undertake.
Maintaining Accuracy During Use
Ensure that the tape measure is dry and free from debris, as dirt or moisture can obscure markings and affect readability. Regularly clean and store your tape measure properly to maintain its functionality and extend its lifespan.
Double-Checking Measurements
Whenever possible, double-check your measurements to confirm their accuracy. Measuring twice can help catch any errors and provide peace of mind before proceeding with your project.
Applications of Millimeter Measurements in Various Projects
Understanding how to read a tape measure in mm opens the door to a wide range of applications across different fields. Let’s explore some common uses:
Construction and Carpentry
In construction and carpentry, precise measurements are essential for cutting materials, fitting components, and ensuring structural integrity. Millimeter accuracy allows for seamless joins, accurate cuts, and effective use of materials, minimizing waste and enhancing the quality of the finished product.
Sewing and Tailoring
For sewing and tailoring, exact measurements in millimeters are crucial for achieving the perfect fit and design. Accurate tape measurements ensure that garments are tailored to the correct dimensions, providing comfort and style to the wearer.
Metalworking and Engineering
In metalworking and engineering, millimeter precision is vital for creating components that fit together seamlessly. Accurate measurements ensure the functionality and safety of mechanical systems, machinery, and other engineered products.
Interior Design and Home Improvement
When designing interiors or undertaking home improvement projects, millimeter measurements help ensure that furnishings fit perfectly within a space. Whether it’s installing cabinets, fitting countertops, or arranging furniture, precise measurements contribute to a harmonious and aesthetically pleasing environment.
 Enhancing Your Skills: Advanced Measurement Techniques
Once you have mastered the basics of reading a tape measure in mm, you can further enhance your measurement skills with advanced techniques:
Measuring Curves and Angles
While a tape measure is primarily designed for straight measurements, it can also be used to measure curves and angles with care. Gently follow the curve with the tape and mark key points. Measuring angles may require the use of a protractor in conjunction with your tape measure for greater precision.
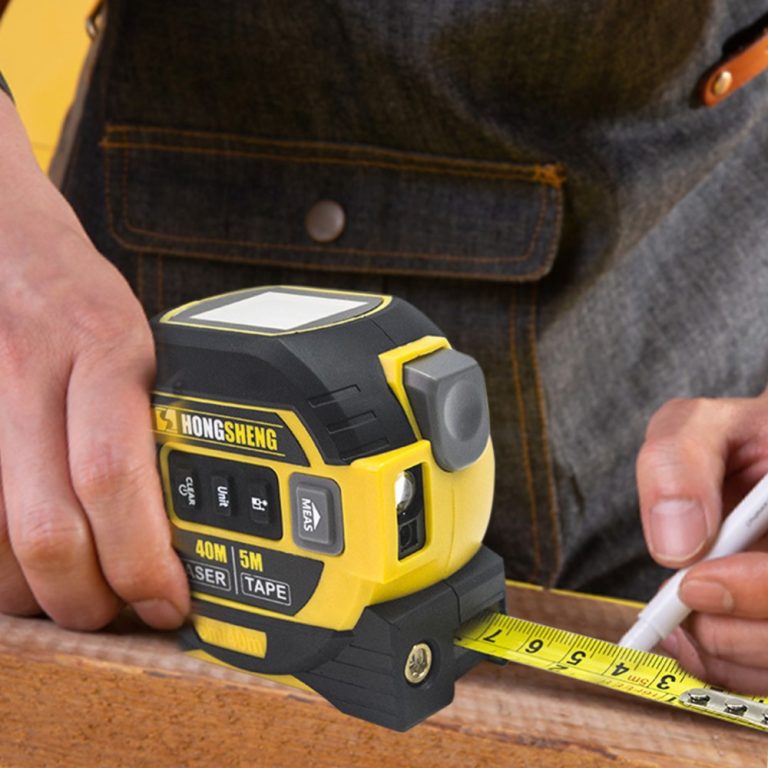
Incorporating Technology
Modern tape measures often come with digital features that can simplify measurements. For example, some models convert measurements from inches to millimeters with the push of a button, providing added flexibility and ease of use.
Learning to Estimate
In situations where a tape measure might not be readily available, developing the ability to estimate measurements using reference objects can be highly beneficial. Familiarize yourself with standard sizes and practice estimating lengths to improve your spatial awareness and measurement accuracy.
Tools and Accessories to Complement Your Tape Measure
Enhancing your tape measuring experience is possible by incorporating additional tools and accessories that complement its functionality:
Measurement Apps
While traditional tape measures are invaluable, smartphone measurement apps can provide an alternative method for quick measurements. These apps utilize the phone’s camera and sensors to estimate distances, offering a convenient backup to your physical tape measure.
Magnifying Glasses
For tiny millimeter markings, a magnifying glass can help improve visibility and reduce eye strain. This simple accessory ensures that even the smallest increments are easily readable, enhancing measurement accuracy.
Laser Measures
Laser measuring tools offer a modern alternative to tape measures, providing rapid and precise measurements over longer distances. While more expensive, laser measures can be particularly useful for large-scale projects or when measurements need to be taken quickly and accurately.
Best Practices for Maintaining Your Tape Measure
Proper maintenance of your tape measure ensures its longevity and continued accuracy. Follow these best practices to keep your tape measure in optimal condition:
Regular Cleaning
Wipe down the tape measure after use to remove dirt, debris, and moisture. Use a soft cloth to clean both the tape and the housing, preventing buildup that can obscure markings and affect functionality.
Proper Storage
Store your tape measure in a dry, secure location to prevent damage. Avoid leaving it in extreme temperatures or environments that can cause the tape to warp or the markings to fade.
Inspection and Calibration
Periodically inspect your tape measure for signs of wear or damage, such as bent hooks, stretched tapes, or faded markings. If you notice inaccuracies, consider calibrating the tape measure or replacing it to maintain measurement precision.
Frequently Asked Questions About Reading a Tape Measure in mm
To further assist you in mastering how to read a tape measure in mm, here are answers to some common questions:
How do I ensure my tape measure is accurate?
Regularly verify your tape measure against a known standard, such as a ruler or another calibrated measuring tool. This comparison helps identify any discrepancies and ensures your tape measure remains accurate.
Can I use a tape measure for very small measurements?
Yes, many tape measures include subdivisions for small measurements, such as 0.5 mm or 0.25 mm. For very precise tasks, consider using a caliper or micrometer, which are designed for high-precision measurements.
What should I do if my tape measure is damaged?
If your tape measure has a bent hook, stretched tape, or faded markings, it may be time to replace it. Continuing to use a damaged tape measure can result in inaccurate measurements and affect the quality of your projects.
Conclusion
In conclusion, understanding how to read a tape measure in mm is a fundamental skill that enhances precision and accuracy in a wide array of projects. By familiarizing yourself with the components of a tape measure, practicing accurate reading techniques, and avoiding common mistakes, you can achieve reliable measurements every time. Additionally, incorporating practical tips and utilizing complementary tools can further refine your measuring capabilities. Whether you’re a seasoned professional or a DIY enthusiast, mastering how to read a tape measure in mm empowers you to execute your projects with confidence and excellence.