Read Tape Measure: A Guide to Accurate Measurements
Accurate measurements are the cornerstone of any successful project, whether you’re a seasoned professional or a DIY enthusiast. Learning how to read a tape measure effectively is essential to ensure precision and avoid costly mistakes. This comprehensive guide will walk you through everything you need to know to confidently read tape measure markings, enhancing your measuring skills and project outcomes.
Contents
hide
 The Importance of Knowing How to Read a Tape Measure
Understanding how to read a tape measure goes beyond just knowing where the numbers are. It involves interpreting various markings, understanding different measurement systems, and applying this knowledge accurately to your projects. By mastering this skill, you ensure that your measurements are precise, which is crucial for tasks ranging from building furniture to hanging pictures.
Why Accuracy Matters
Accuracy in measurement ensures that all components of your project fit together seamlessly. For instance, in carpentry, even a slight miscalculation can lead to gaps or unstable structures. Similarly, in tailoring, precise measurements are necessary to create garments that fit perfectly. Therefore, being able to read a tape measure accurately is fundamental to achieving high-quality results.
The Role of a Tape Measure in Different Projects
A tape measure is a versatile tool used across various fields. In construction, it helps in laying out structures and ensuring that everything is level and square. In sewing, it assists in measuring fabrics to create garments with the right dimensions. For home improvement projects, a tape measure ensures that shelves, cabinets, and other fixtures are installed correctly. Regardless of the project, the ability to read a tape measure correctly is indispensable.
Understanding the Basics of a Tape Measure
Before diving into advanced techniques, it’s crucial to understand the basic components of a tape measure. Familiarizing yourself with these elements will make the process of reading measurements more intuitive and less error-prone.
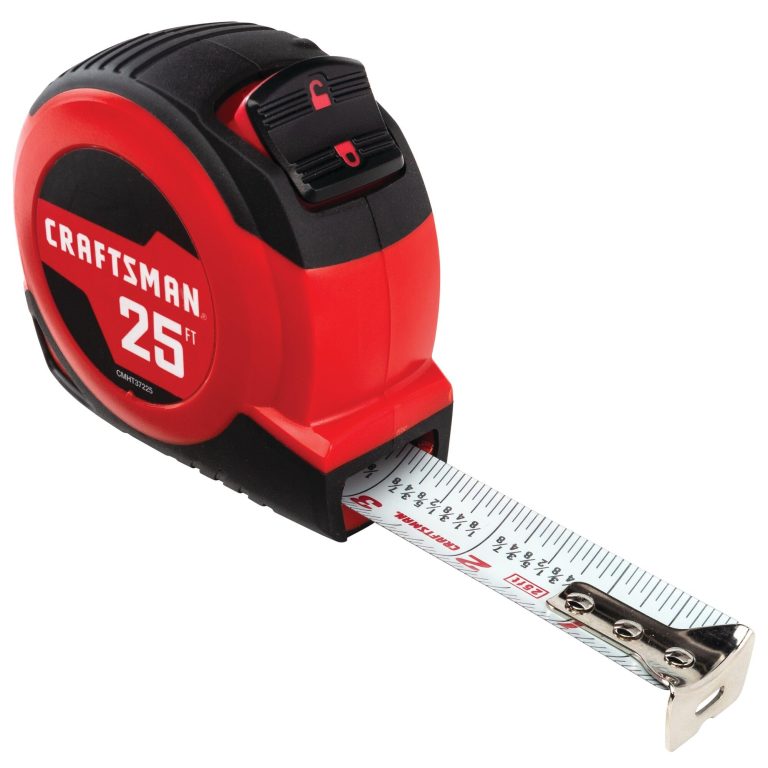
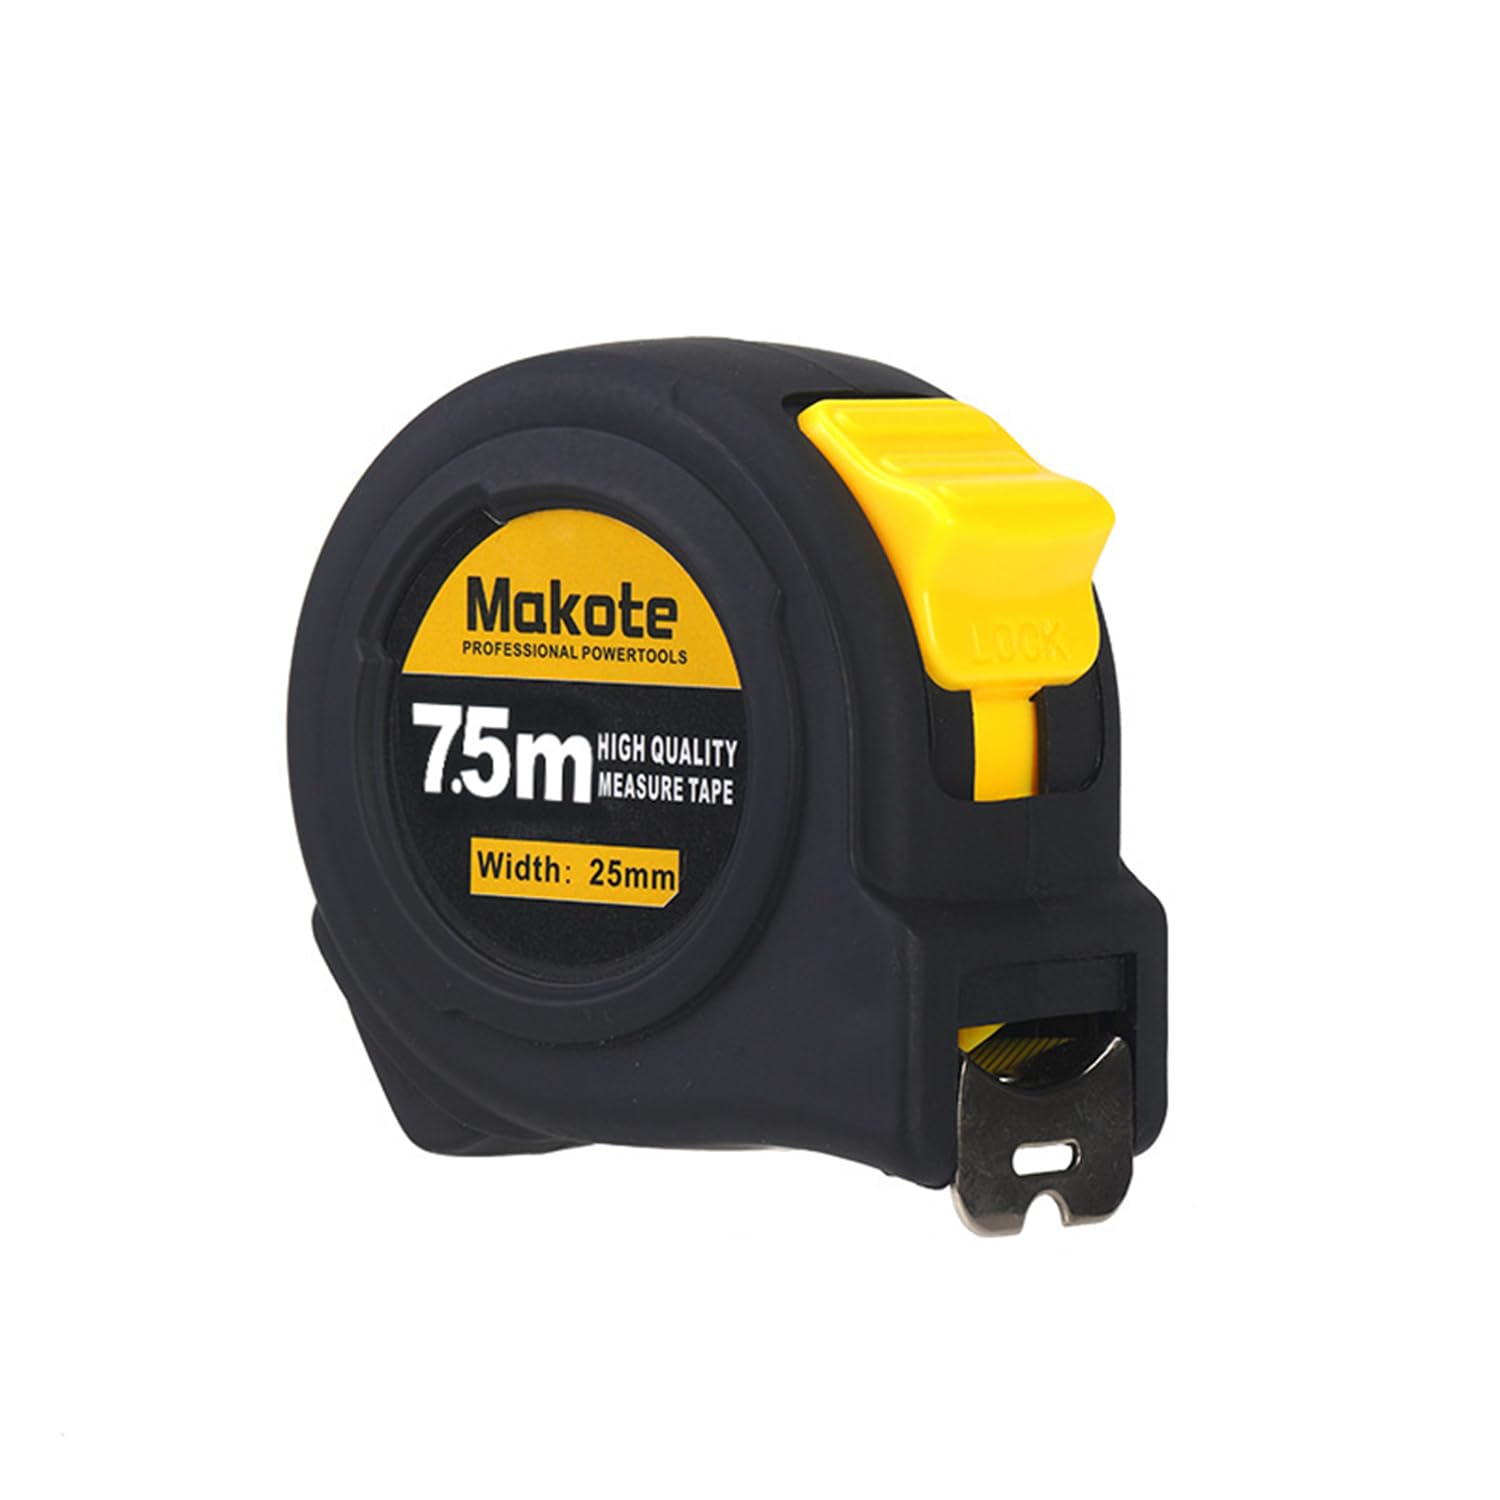
Components of a Tape Measure
A standard tape measure consists of several key parts:
- Blade: The metal tape that retracts into the housing. It typically has markings for inches and centimeters.
- Housing: The outer casing that protects the blade. It often includes additional features like a belt clip or a locking mechanism.
- Locking Mechanism: Allows the blade to stay extended for accurate measurement.
- Hook: The small metal piece at the end of the blade, which is used to anchor the tape at the starting point of the measurement.
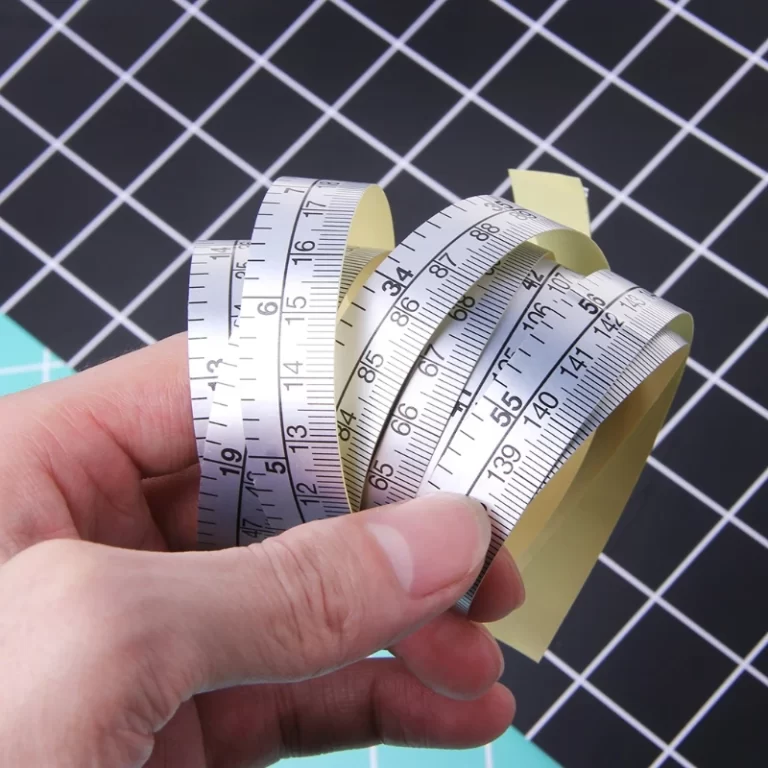
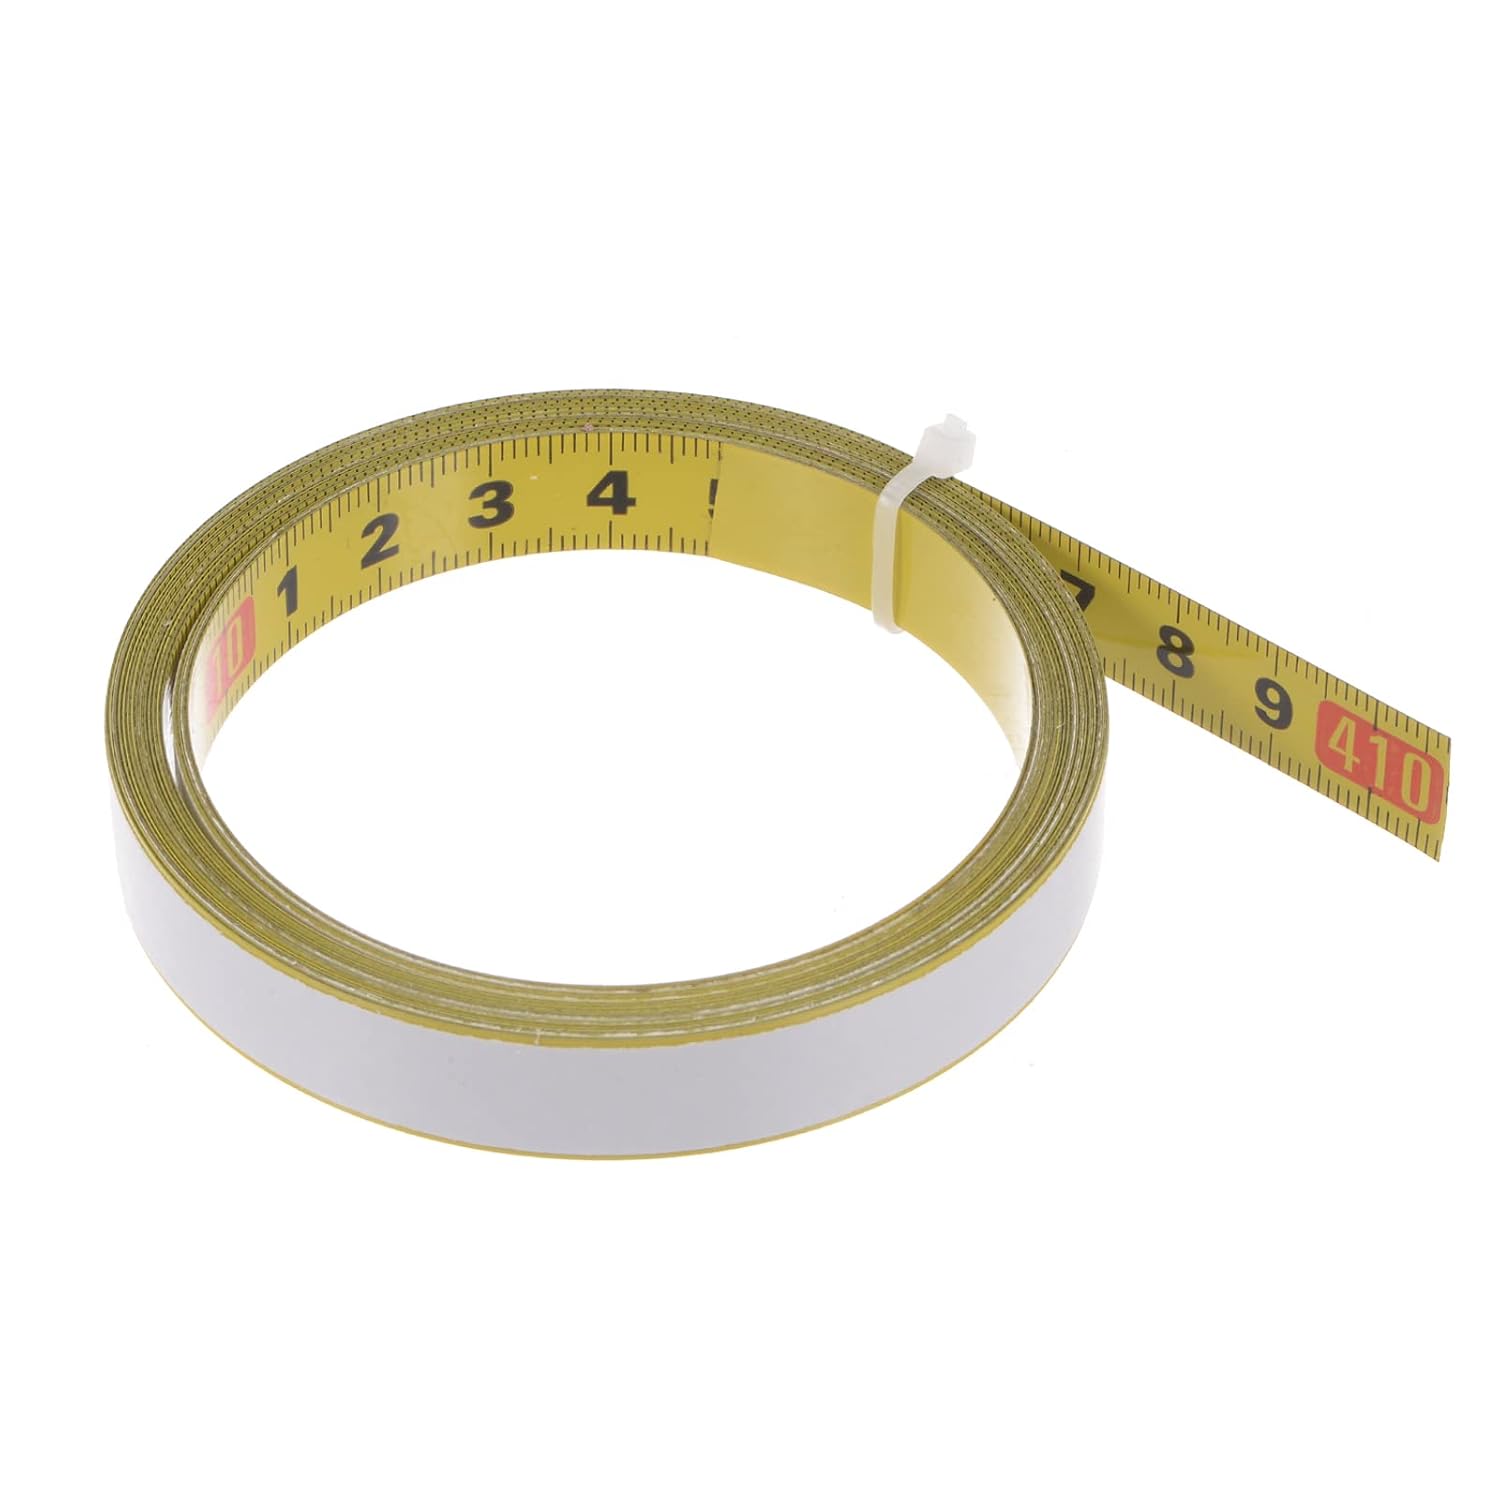
Understanding Inch and Centimeter Markings
Most tape measures feature both imperial (inches) and metric (centimeters and millimeters) markings. The inches are usually divided into halves, quarters, eighths, and sixteenths, while the metric side provides more granular measurements with millimeters.
Reading the Markings
The large numbers on a tape measure represent whole inches or centimeters. The smaller markings between them indicate fractions or millimeters. For example, in the imperial system, each inch is divided into smaller fractions, making it possible to measure with precision. Understanding these divisions is key to reading a tape measure accurately.
 Step-by-Step Guide to Reading a Tape Measure
Now that you know the parts and basic markings of a tape measure, let’s explore how to read it step by step.
Step 1: Identify the Measurement System
Determine whether you are using the imperial or metric side of the tape measure. This will depend on your project requirements and personal preference. Knowing which system you are using is the first step in interpreting the measurements correctly.
Step 2: Locate the Starting Point
The hook at the end of the tape measure serves as the starting point for your measurement. Ensure that the hook is correctly positioned at the edge of the object you are measuring to obtain an accurate reading.
Step 3: Extend the Blade
Pull the blade out to the desired length. If your tape measure has a locking mechanism, engage it to hold the blade in place. This will prevent the tape from retracting while you take your measurement.
Step 4: Read the Whole Number
Identify the largest number closest to the end of the blade you are measuring. This number represents the whole units of your measurement, such as inches or centimeters.
Step 5: Determine the Fraction or Decimal
Look at the smaller markings between the whole numbers. In the imperial system, these are typically fractions of an inch. For example, if the tape measure reads six and three-quarters inches, it indicates that the object is 6.75 inches long. In the metric system, these smaller markings are millimeters.
Step 6: Combine the Whole Number and Fraction
Add the whole number and the fraction (or decimal) to get the total measurement. For instance, if the tape measure shows 8 inches and a half-inch mark, the total measurement is 8.5 inches.
Advanced Techniques to Enhance Your Reading Skills
Once you have mastered the basics, there are several advanced techniques you can employ to improve your accuracy and efficiency when reading a tape measure.
Estimating Measurements
Sometimes, you may need to estimate measurements quickly without counting each mark. Developing the ability to estimate can save time, especially in large projects. To practice, compare the length you’re measuring to known lengths. For example, if you know that one inch on your tape measure is about the width of your fingertip, you can use that as a reference to make quick estimates.
Converting Between Systems
Many projects require measurements in both imperial and metric systems. Learning how to convert between these systems can be incredibly useful. For instance, knowing that 1 inch equals 2.54 centimeters allows you to switch between inches and centimeters seamlessly. Practice converting measurements to become more comfortable with both systems.
Using the Tape Measure for Complex Shapes
Reading a tape measure isn’t limited to straight lines. To measure complex shapes, break them down into simpler parts. Measure individual segments and add them together to get the total length. This technique is particularly useful in woodworking and construction, where structures often have angled or irregular sides.
 Common Mistakes and How to Avoid Them
Even with a good understanding of how to read tape measure, certain common mistakes can lead to inaccurate measurements. Being aware of these pitfalls will help you avoid them and ensure your projects are precise.
Misaligning the Hook
One of the most frequent mistakes is not aligning the hook correctly with the edge of the object. This can result in measurements that are off by a fraction of an inch. Always ensure that the hook is flush with the edge before taking your measurement.
Ignoring the Tape’s Sag
When measuring longer distances, the tape measure can sag, causing inaccuracies. To prevent this, support the tape measure along its length or use a second person to hold it steady. Ensuring the tape remains taut will provide a more accurate reading.
Relying Solely on Visual Estimates
While estimating can be helpful, relying only on visual guesses can lead to errors. Use the tape measure’s markings to confirm your estimates and ensure precision. Combining estimation with actual measurements strikes a balance between speed and accuracy.
Not Holding the Tape Measure Properly
Holding the tape measure at an angle can distort the measurement. Always hold it parallel to the surface you are measuring to maintain a straight line and get an accurate reading.
Tools and Accessories to Complement Your Tape Measure
Enhancing your tape measure with additional tools and accessories can improve your measuring accuracy and efficiency. Here are some useful additions to consider.
Measuring Squares
Measuring squares help ensure that your measurements are at right angles, which is particularly useful in woodworking and construction. These tools guide the tape measure, helping you maintain consistent angles and straight lines.
Laser Measures
Laser measuring tools provide digital readings and can measure distances without the need for a physical tape. They are especially useful for large projects or hard-to-reach areas. While they complement traditional tape measures, it’s still beneficial to know how to read a tape measure for situations where digital tools may not be practical.
Extension Jigs
Extension jigs allow you to extend the range of your tape measure, making it easier to measure longer distances accurately. These jigs can be attached to the tape measure to provide additional support and stability, reducing the risk of sagging or bending.
Magnetic Hooks
Upgrading to a tape measure with a magnetic hook can improve your accuracy. Magnetic hooks help hold the tape measure firmly in place, preventing it from slipping or moving while you take your measurement.
Practical Applications: How to Read a Tape Measure in Various Scenarios
Understanding how to read a tape measure is crucial in different real-world scenarios. Here are some practical applications and tips for each.
Carpentry and Woodworking
In carpentry, precise measurements are essential for cutting and assembling pieces accurately. When reading a tape measure for woodworking, always measure twice to confirm the dimensions. Use measuring squares and jigs to maintain straight lines and right angles. Additionally, understanding how to read both imperial and metric measurements can be beneficial when working with different materials or plans.
Home Improvement Projects
Whether you’re installing shelves, hanging pictures, or laying tile, reading a tape measure correctly ensures that everything aligns properly. For large projects, measure multiple points to ensure consistency. When hanging objects, use a level in conjunction with your tape measure to maintain even placement.
Sewing and Tailoring
Accurate measurements are vital in sewing to ensure that garments fit correctly. When reading a tape measure for sewing, make sure the tape is smooth and not twisted. Take measurements while maintaining a consistent posture to avoid discrepancies. Additionally, understanding how to convert measurements between different units can be helpful when working with patterns from various sources.
Construction and Building
In construction, reading a tape measure accurately is critical for laying out foundations, framing, and other structural elements. Use sturdy tape measures with reinforced blades to withstand the rigors of construction sites. Take measurements in both directions (length and width) to ensure that structures are square and aligned correctly.
 Tips for Maintaining Your Tape Measure
A well-maintained tape measure ensures accurate readings and a longer lifespan. Here are some tips to keep your tape measure in top condition.
Clean the Blade Regularly
Dirt and debris can accumulate on the blade, making it harder to read the markings. Wipe the blade with a clean cloth after each use to keep it free from grime and prevent rusting.
Store Properly
Store your tape measure in a dry place to prevent moisture from damaging the blade and markings. Using a protective case or holster can also protect it from physical damage and extend its life.
Avoid Overextending
Pulling the tape measure beyond its maximum length can cause the blade to bend or break, leading to inaccurate measurements. Always be mindful of the tape’s limit and avoid overextending it.
Inspect for Damage
Regularly check your tape measure for signs of wear or damage, such as bent hooks or cracked markings. Address any issues promptly by repairing or replacing the tape measure to maintain its accuracy.
Enhancing Your Skills with Practice
Like any skill, becoming proficient at reading a tape measure requires regular practice. Here are some ways to improve your measuring abilities.
Daily Measurement Exercises
Incorporate measuring exercises into your daily routine. Measure the dimensions of everyday objects around your home or workspace to become more comfortable with the tape measure’s markings and scales.
Simulate Real-World Scenarios
Create mock projects that require precise measurements. Simulating real-world tasks helps you apply your skills in practical situations, reinforcing your ability to read the tape measure accurately under different conditions.
Seek Feedback
Have someone else check your measurements to ensure their accuracy. Receiving feedback can help you identify and correct any errors, enhancing your overall measuring proficiency.
Use Reference Guides
Keep a reference guide or cheat sheet handy to quickly recall the conversion between fractions and decimals or the corresponding metric measurements. This resource can help you measure more efficiently and accurately during your projects.
Leveraging Technology to Improve Measurement Accuracy
While traditional tape measures are invaluable, integrating technology can further enhance your measuring accuracy and efficiency.
Digital Tape Measures
Digital tape measures provide electronic readings, which can reduce the likelihood of human error. They often come with additional features such as memory storage, unit conversion, and data transfer capabilities. Using a digital tape measure alongside your traditional one allows you to cross-verify measurements for greater accuracy.
Mobile Apps
Several mobile apps are designed to complement tape measures by offering additional measurement tools and conversion calculators. These apps can be particularly useful for quickly converting measurements or storing important data for your projects.
Smart Tape Measures
Smart tape measures combine traditional measurement capabilities with digital technology, offering features like Bluetooth connectivity and integration with other smart devices. These advanced tools provide real-time data and can streamline the measuring process, making it easier to manage complex projects.
Addressing Common Measurement Challenges
Even with the best tools and techniques, certain challenges can arise when reading a tape measure. Here’s how to tackle some common issues.
Measuring Curved Surfaces
Measuring curved surfaces can be tricky, as the tape measure may not lie flat. To ensure accuracy, gently follow the curve with the tape while keeping it as taut as possible. Alternatively, use flexible measuring tapes designed for curves to get a more precise measurement.
Limited Visibility
Low-light conditions or complex angles can make reading the tape measure difficult. In such cases, use a tape measure with larger markings or better contrast. Additionally, ensuring your workspace is well-lit can significantly improve visibility and accuracy.
Handling Large Measurements
Measuring long distances can strain the tape measure and lead to sagging or bending. To prevent this, support the tape measure along its length or use extension jigs to maintain its straightness. Taking measurements in stages and adding them together can also help manage large distances more effectively.
The Future of Tape Measuring: Innovations and Trends
The tape measure is a tool that has stood the test of time, but it continues to evolve with advancements in technology and user needs. Here are some trends and innovations shaping the future of tape measuring.
Integration with Smart Devices
Future tape measures are likely to feature more integrations with smart devices, allowing users to save, share, and analyze measurements digitally. This connectivity can enhance project management and collaboration, especially in professional settings.
Enhanced Durability and Flexibility
Manufacturers are developing tape measures with more durable and flexible materials to withstand harsh environments and frequent use. Innovations in blade technology and housing materials contribute to longer-lasting and more reliable tape measures.
Advanced Measurement Features
New features such as automatic locking mechanisms, improved ergonomic designs, and more precise markings are being introduced to make tape measures more user-friendly and accurate. These advancements aim to reduce user fatigue and increase measurement efficiency.
Eco-Friendly Designs
As sustainability becomes increasingly important, manufacturers are focusing on creating eco-friendly tape measures using recyclable materials and sustainable production methods. These initiatives contribute to reducing the environmental impact of tool manufacturing.
Conclusion
Learning how to read a tape measure accurately is a fundamental skill that empowers you to undertake a wide range of projects with confidence. Whether you’re a professional builder, a hobbyist, or someone tackling home improvement tasks, mastering the art of reading a tape measure ensures that your measurements are precise and your projects are successful. By understanding the basics, practicing regularly, and utilizing the right tools and techniques, you can enhance your measuring skills and achieve impeccable results every time you read tape measure markings.