How to Use a Tape Measure: The Complete Guide for You
Understanding how to use a tape measure is a fundamental skill for anyone involved in DIY projects, construction, sewing, or even simple home maintenance tasks. Whether you are a beginner or an experienced professional, knowing how to use a tape measure effectively ensures that your measurements are precise, reducing the risk of errors and enhancing the quality of your work. This comprehensive guide delves into the various aspects of using a tape measure, offering practical tips, techniques, and insights to help you achieve accuracy in every measurement task.
Contents
hide
 The Basics of a Tape Measure
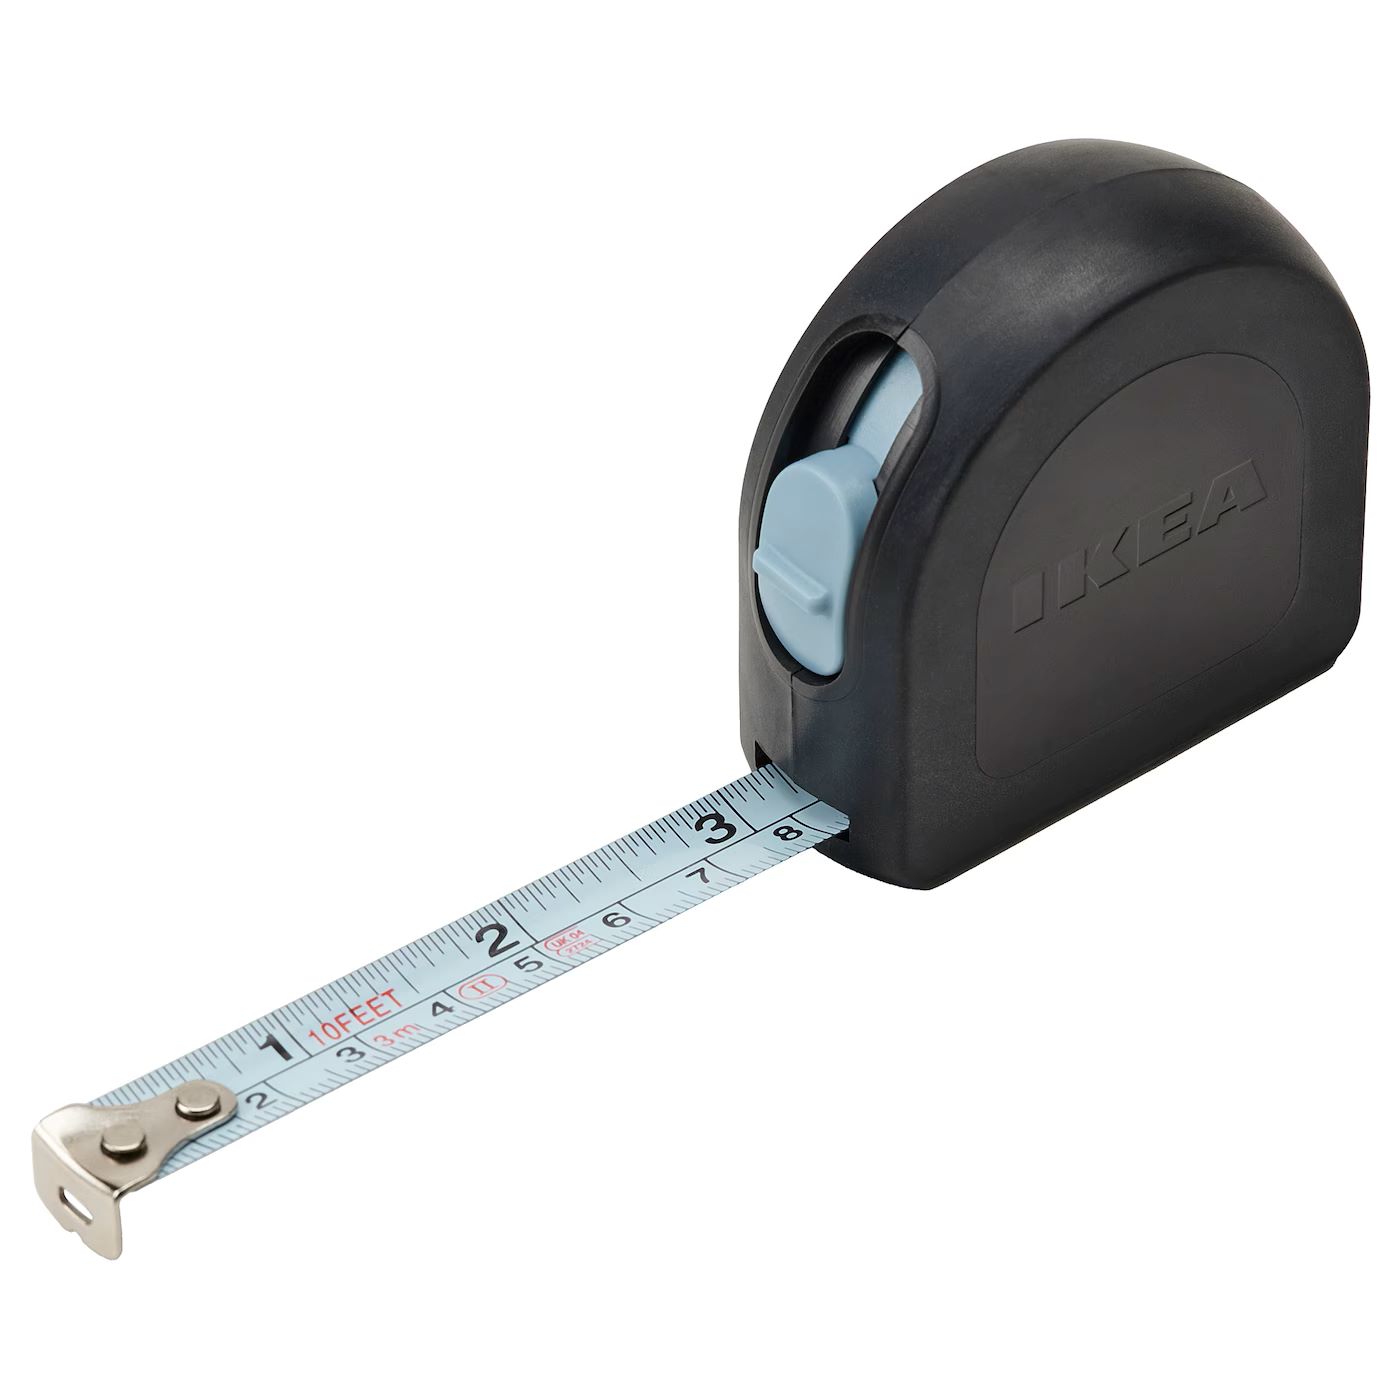
Before diving into the intricacies of how to use a tape measure, it is essential to familiarize yourself with its basic components. A typical tape measure consists of a durable metal or fiberglass tape housed within a compact casing, featuring both metric and imperial units. Understanding these components lays the foundation for accurate measurements.
Components of a Tape Measure
A standard tape measure includes several key parts:
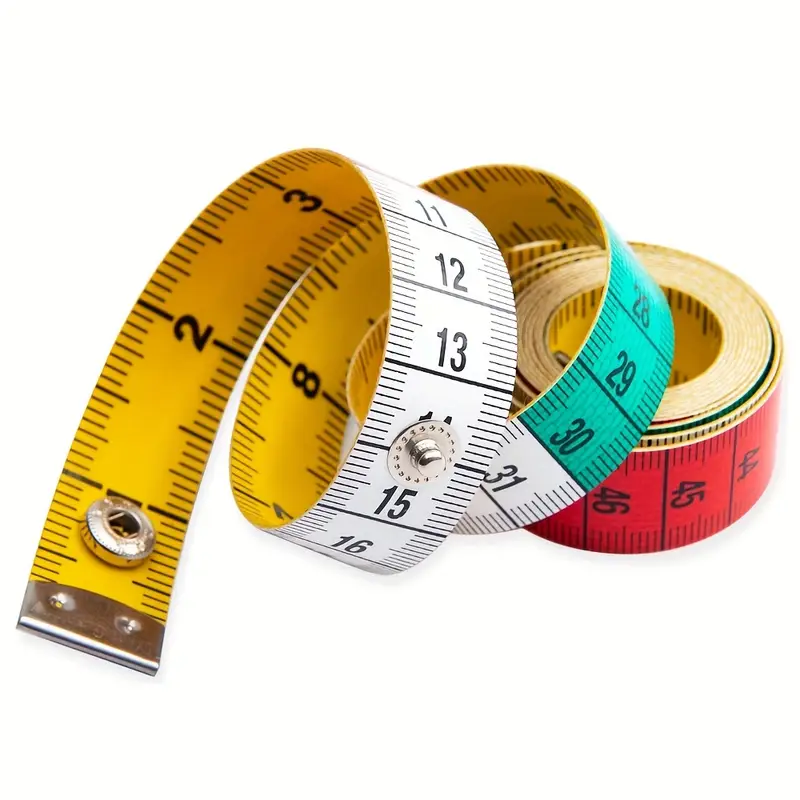
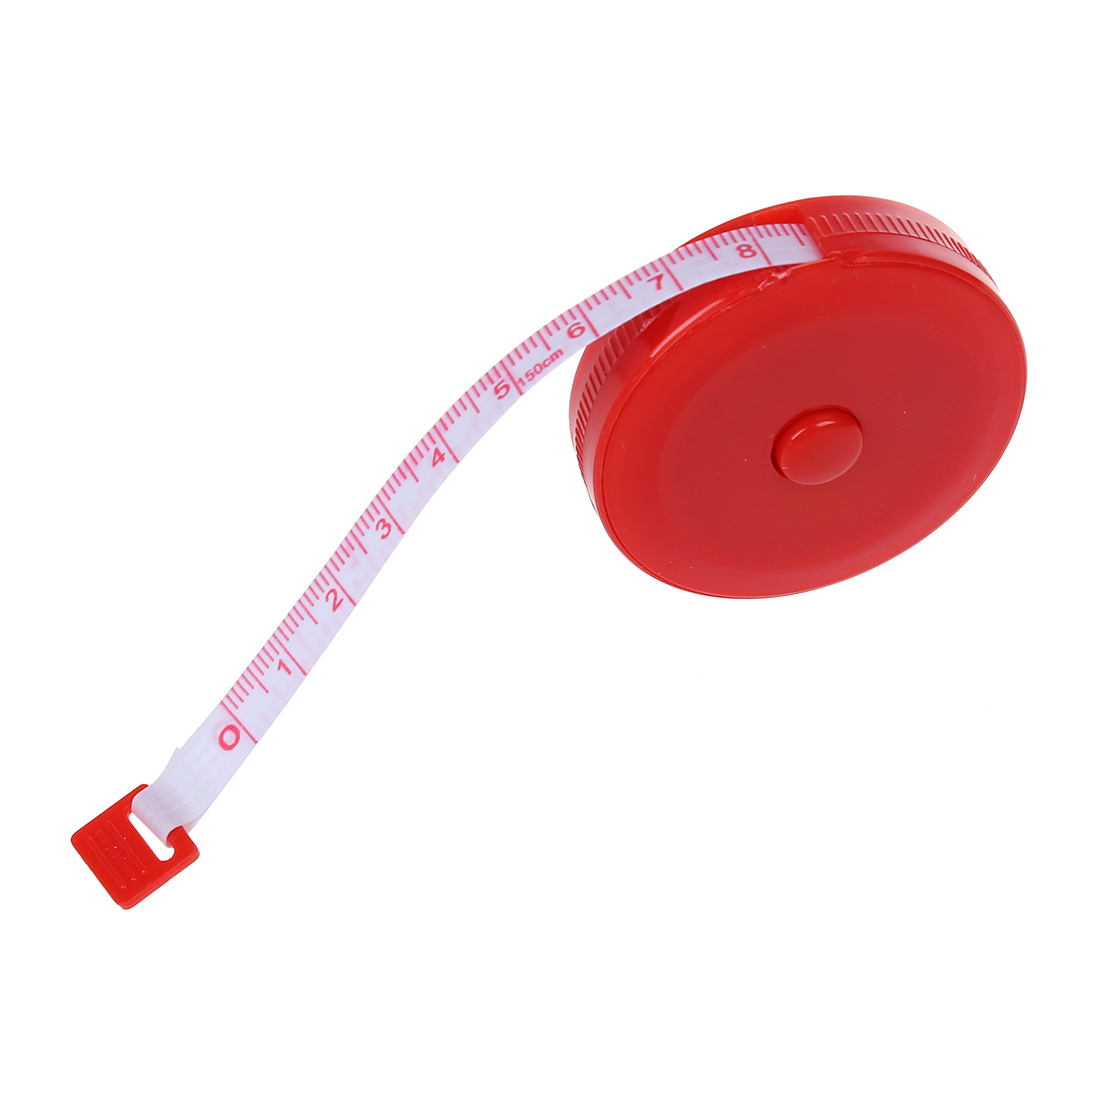
- Blade: The flexible, retractable metal or fiberglass strip marked with measurement units.
- Housing: The sturdy casing that protects the blade and houses the locking mechanism.
- Hook: The small metal tab at the end of the blade, designed to anchor the tape at the starting point.
- Locking Mechanism: A button or lever that locks the blade in place, preventing it from retracting during measurement.
- Measurement Marks: Clearly marked lines indicating units of measurement, such as inches, centimeters, and millimeters.
Familiarizing yourself with these parts is crucial for understanding how to use a tape measure effectively.
Selecting the Right Tape Measure for Your Needs
Choosing the appropriate tape measure is the first step in mastering how to use a tape measure. Different projects require different types of tape measures, each designed for specific applications.
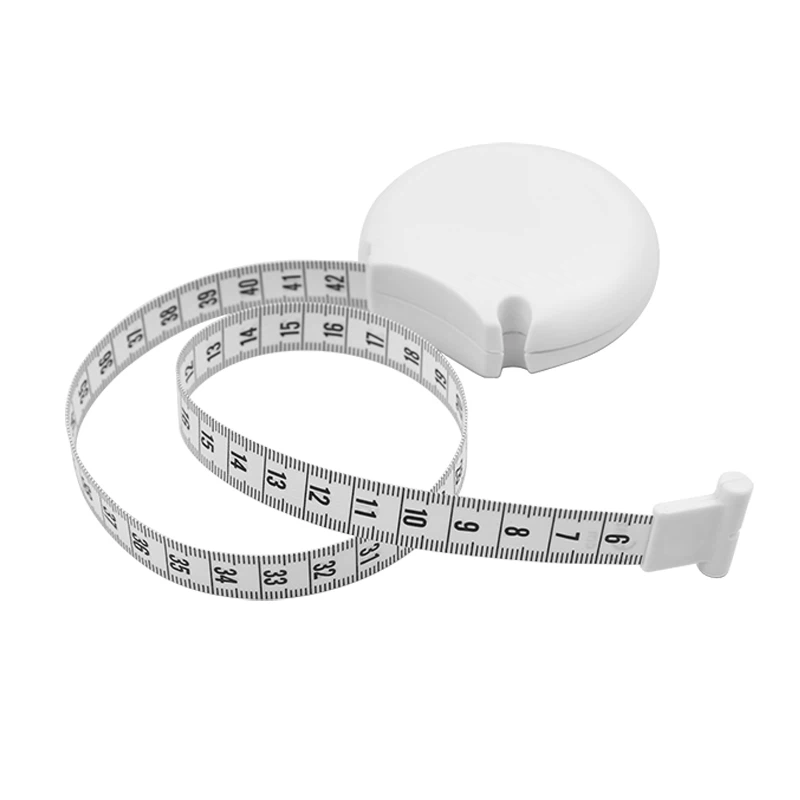
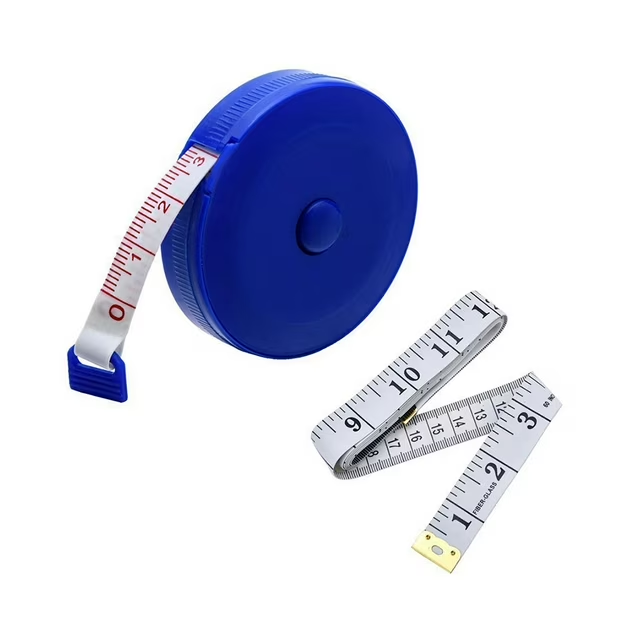
Types of Tape Measures
There are several types of tape measures available, each suited for various tasks:
- Standard Tape Measures: Ideal for general use, these tapes typically measure up to 25 feet and include both metric and imperial units.
- Steel Tape Measures: Known for their durability, steel tapes are perfect for construction and heavy-duty tasks where resistance to stretching is essential.
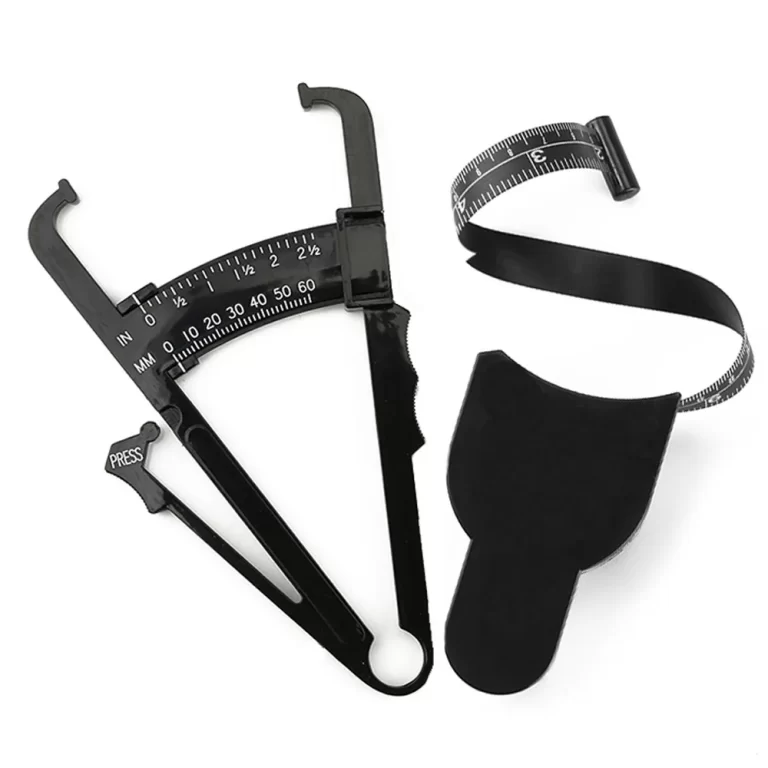
- Fiberglass Tape Measures: These flexible tapes are excellent for measuring curved surfaces or hard-to-reach areas.
- Digital Tape Measures: Equipped with electronic displays, digital tapes provide precise measurements and can store data for future reference.
- Slim Tape Measures: Designed for portability, slim tapes are easy to carry and suitable for quick, on-the-go measurements.
Selecting the right type of tape measure based on your specific needs ensures that you can perform measurements accurately and efficiently.
 How to Use a Tape Measure: Step-by-Step Guide
Now that you have chosen the appropriate tape measure, learning how to use a tape measure involves several steps. Follow this detailed guide to ensure precise measurements every time.
Step 1: Preparing the Tape Measure
Begin by extending the tape measure to zero. Ensure that the hook is securely attached to the end of the tape. Most tape measures have a spring-loaded hook that can move slightly to accommodate different measuring scenarios.
Step 2: Starting at the Correct Point
Position the hook at the starting point of the object you wish to measure. It is crucial to start at the zero mark to avoid inaccuracies. Gently press the hook against the surface to anchor the tape.
Step 3: Extending the Tape
Slowly extend the tape measure along the length of the object. Keep the tape taut and straight to prevent any sagging or bending, which can lead to incorrect measurements. Use the locking mechanism to hold the tape in place once you have extended it to the desired length.
Step 4: Reading the Measurement
Carefully read the measurement at the point where the tape aligns with the end of the object. Ensure that you are reading the correct unit of measurement (inches or centimeters) based on your project’s requirements. If your tape measure has dual markings, decide which system to use and remain consistent throughout your measurements.
Step 5: Recording the Measurement
After obtaining the measurement, record it accurately. Double-check by measuring twice to confirm consistency and avoid mistakes. This practice is especially important for critical measurements in construction or tailoring projects.
Advanced Techniques for Using a Tape Measure
While the basic steps cover how to use a tape measure, incorporating advanced techniques can enhance your measurement accuracy and efficiency.
Measuring Odd-Shaped Objects
When dealing with irregular or curved surfaces, flexible tape measures like fiberglass tapes are advantageous. To measure such objects:
- Follow the Contour: Gently bend the tape to match the shape of the object, ensuring it stays in contact with the surface.
- Mark Key Points: Identify and mark critical points along the curve, then measure the straight distances between these points.
- Use Multiple Measurements: Take several measurements from different angles to ensure comprehensive coverage of the object’s dimensions.
Utilizing the Locking Mechanism
The locking mechanism is a valuable feature that helps maintain the tape’s position during measurement. To use it effectively:
- Extend the Tape Fully: Pull the tape measure to the desired length.
- Engage the Lock: Activate the locking mechanism to hold the tape in place, preventing it from retracting or moving unintentionally.
- Adjust as Needed: Release the lock to make adjustments or take additional measurements without starting over.
Measuring in Tight Spaces
Measuring in confined or awkward areas requires a bit more finesse:
- Use a Slim or Flexible Tape: These types of tapes can navigate tight spaces more easily.
- Angle the Tape: Position the tape at an angle that allows you to extend it into the narrow space.
- Hold Steadily: Secure the tape measure in place using one hand while reading the measurement with the other to maintain stability.
 Common Mistakes and How to Avoid Them
Even with the best techniques, several common mistakes can occur when using a tape measure. Being aware of these pitfalls helps in avoiding measurement errors.
Not Starting at Zero
One of the most frequent mistakes is not starting the measurement at the tape measure’s zero mark. To prevent this:
- Align the Hook Properly: Ensure that the hook is precisely at the zero point when beginning your measurement.
- Double-Check Placement: Before taking the measurement, verify that the tape is correctly positioned at the start.
Parallax Error
Parallax error occurs when the eye is not directly in line with the measurement mark, leading to inaccurate readings. To avoid this:
- Position Yourself Correctly: Align your eye directly above the measurement mark.
- Use Proper Lighting: Ensure adequate lighting to clearly see the measurement lines without straining your vision.
Overstretching the Tape
Forcing the tape beyond its maximum length can cause it to warp or break, leading to inaccurate measurements. To avoid this:
- Respect the Limits: Know the maximum length your tape measure can extend without bending.
- Use the Right Tape for the Job: For longer measurements, use a tape measure designed to handle extended lengths without damage.
Not Using the Right Tape Measure
Using an inappropriate tape measure for a specific task can compromise measurement accuracy. To mitigate this:
- Assess the Task Requirements: Determine the type of tape measure that best suits the job at hand.
- Invest in Quality Tools: High-quality tape measures are more reliable and provide clearer measurements.
Tips for Enhancing Your Tape Measures Skills
Improving your proficiency in using tape measures involves practice and adopting best practices. Here are some tips to refine your measurement skills.
Practice Regularly
Consistent practice helps in developing a natural feel for measuring. Incorporate tape measures usage into everyday tasks, such as measuring furniture dimensions or planning space layouts, to build your confidence and accuracy.
Develop a Measurement Routine
Establishing a standardized routine for taking measurements can minimize errors. For example, always start at zero, extend the tape fully, lock it in place, and read the measurement from a consistent angle.
Use Measurement Guides or Apps
Supplementing your tape measures with digital guides or smartphone apps can provide additional assistance. These tools can offer tips, calculation aids, and measurement conversion features that enhance your overall measuring capabilities.
Double-Check Measurements
Always verify critical measurements by measuring twice. This practice helps catch any discrepancies early, preventing costly mistakes in your projects.
 How to Use a Tape Measure in Different Environments
Different environments present unique challenges when using tape measures. Adapt your techniques to suit the specific conditions of each setting.
Indoor Environments
Indoor measurements typically involve stable conditions with ample lighting. Use standard or slim tape measures for everyday tasks like measuring furniture, room dimensions, or installations.
Outdoor Environments
Outdoor measurements can be affected by factors like uneven terrain, weather, and distance. Use durable tape measures resistant to moisture and wear, and consider using laser measures for longer distances or hard-to-reach areas.
Confined Spaces
Measuring in confined spaces requires flexibility and precision. Use flexible tape measures that can bend around corners and navigate tight areas without compromising accuracy.
High-Altitude Measurements
In scenarios requiring measurements at height, such as building rooftops or high shelves, use long tape measures or laser measuring tools to reach elevated points safely and accurately.
How to Use a Tape Measure for Precision Crafting
Precision is paramount in crafting, where minor measurement errors can impact the final product’s quality. Here’s how to ensure precision when using tape measures in crafting.
Marking Measurements Clearly
Use a fine-tip pencil or fabric marker to clearly mark measurement points. Accurate markings serve as reference points for cutting, stitching, or assembling components.
Using a Stable Surface
Work on a flat, stable surface to maintain the tape measure’s alignment. A stable workspace minimizes movement and helps in obtaining precise measurements.
Measuring Multiple Times
Confirm measurements by measuring at least twice. Double-checking ensures that your measurements are accurate and reduces the likelihood of errors in your craft.
Keeping the Tape Straight
Maintain a straight tape line when measuring rigid materials. A straight tape ensures that the measurement reflects the true length of the object without distortion.
Conclusion
Learning how to use a tape measure is an invaluable skill that enhances your ability to perform a wide range of tasks with precision and confidence. From home improvement and construction to sewing and crafting, accurate measurements are the cornerstone of successful projects. By understanding the components of a tape measure, selecting the right type for your needs, and mastering both basic and advanced techniques, you can ensure that your measurements are reliable and your work is of the highest quality. Additionally, maintaining your tape measures properly and incorporating modern tools can further refine your measuring skills, making every project you undertake a testament to your attention to detail and commitment to excellence. Whether you are a novice embarking on your first DIY project or a seasoned professional seeking to sharpen your skills, knowing how to use a tape measure effectively remains an essential asset in your toolkit.