Reading Tape Measure: Step-by-Step Guide for Measurements
Accurate measurements are fundamental in various fields, from construction and carpentry to sewing and DIY projects. One essential tool that facilitates precision is the tape measure. Understanding reading tape measure is crucial for anyone who values exactness in their work. This comprehensive guide will delve into the nuances of reading a tape measure, offering detailed instructions and tips to ensure you achieve flawless results every time.
Contents
hide
 The Significance of Reading Tape Measure Accurately
In any project, the accuracy of your measurements can make or break the outcome. Whether you’re building a bookshelf, tailoring a garment, or laying out tiles, knowing how to read a tape measure correctly is indispensable. Proper interpretation of the numbers and markings on a tape measure ensures that your work is both functional and aesthetically pleasing.
Why Precision Matters in Measurements
Precision in measurements impacts several aspects of your work:
- Fit and Functionality: Accurate measurements ensure that parts fit together seamlessly, preventing gaps or overlaps.
- Material Efficiency: Proper measurements reduce waste by minimizing errors that lead to excess material usage.
- Professional Appearance: Projects that adhere to precise measurements appear more polished and professional.
By mastering reading tape measure, you enhance the quality and reliability of your projects, whether they’re simple home improvements or complex constructions.
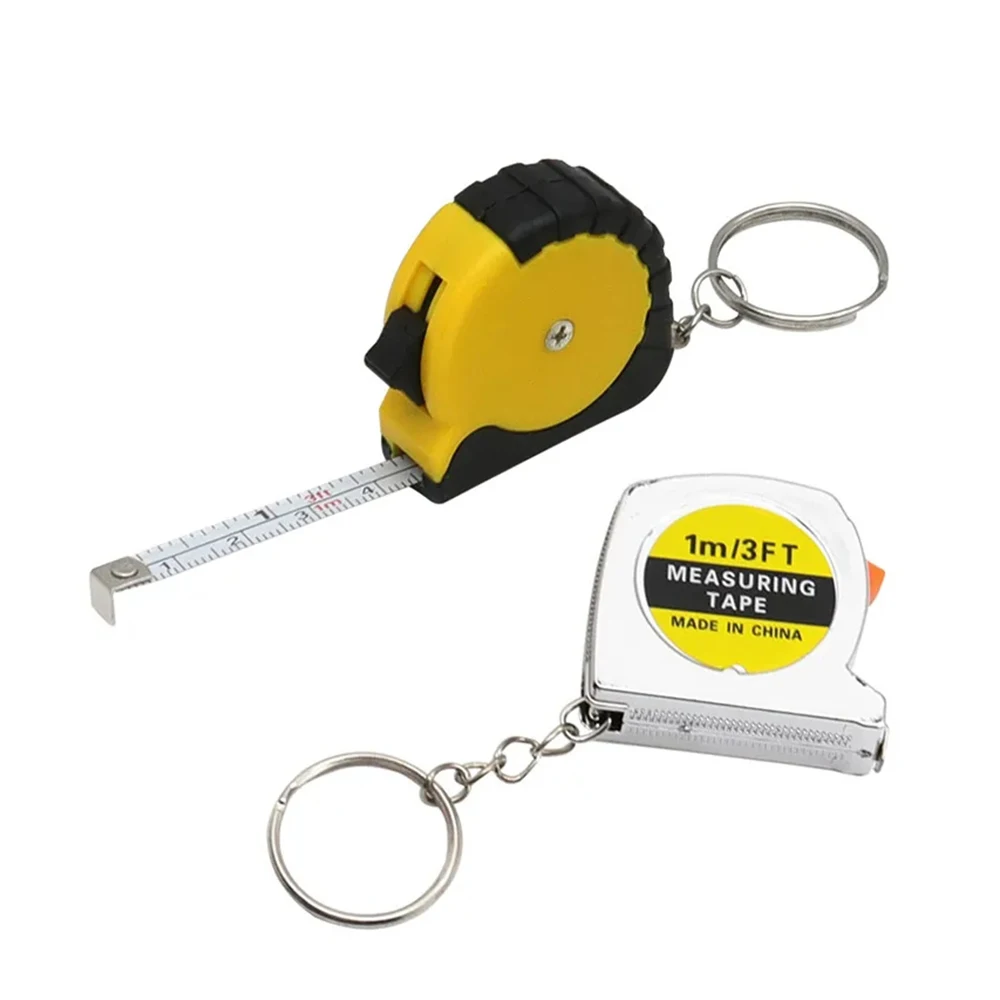
Understanding the Components of a Tape Measure
Before diving into how to read a tape measure, it’s essential to familiarize yourself with its various components. A typical tape measure consists of the following elements:
Blade
The blade is the long, flat strip that extends from the housing. It’s usually made of metal and marked with measurement units. The blade retracts into the housing when not in use.
Housing
The housing is the case that holds the tape measure’s blade. It often features a belt clip for easy portability and may include additional features like a locking mechanism.
Locking Mechanism
This feature locks the blade in place, allowing you to take measurements without worrying about the tape retracting.
Hook
At the end of the blade, the hook is a small metal piece that anchors the tape measure to the object being measured. It ensures that measurements are accurate by preventing the tape from moving.
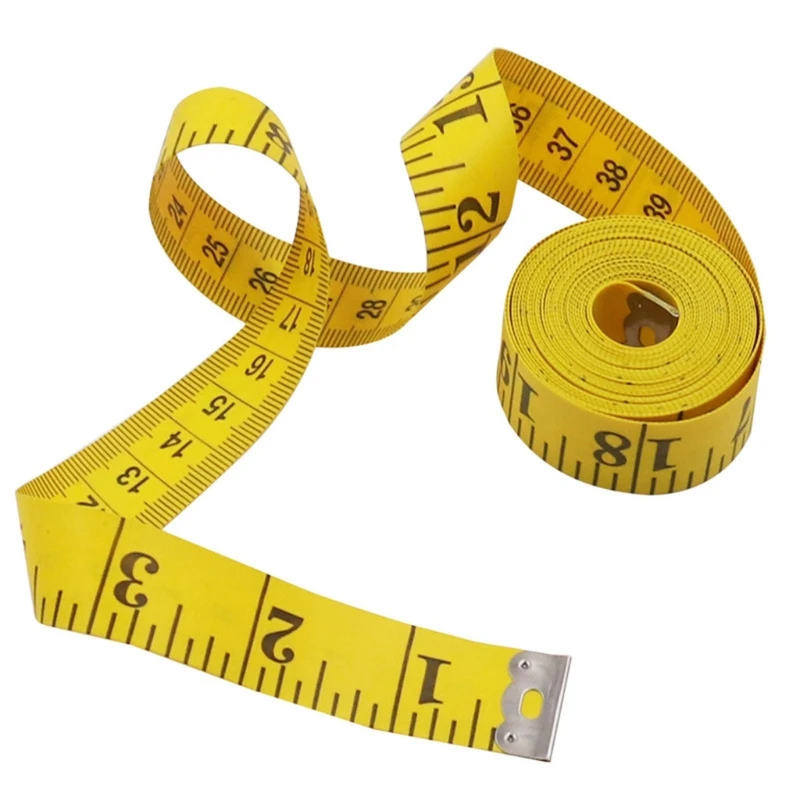
Measurements and Markings
The blade is marked with numbers and lines indicating different units of measurement, such as inches, centimeters, and millimeters. Understanding these markings is key to reading a tape measure correctly.
 How to Read a Tape Measure: Step-by-Step Instructions
Mastering reading tape measure involves understanding the different markings and knowing how to interpret them accurately. Follow these steps to ensure precise measurements every time.
Step 1: Identify the Units of Measurement
Most tape measures feature both imperial and metric units. The imperial system uses inches and feet, while the metric system uses centimeters and millimeters. Determine which unit you need for your project before taking your measurement.
Step 2: Locate the Zero Point
The zero point is the starting point of the tape measure. Ensure that the hook is aligned with the zero mark for an accurate measurement. Some tape measures have a small shift in the hook to account for its thickness, enhancing precision.
Step 3: Extend the Blade
Pull the blade out to the desired length. Make sure the blade lies flat against the object you’re measuring to avoid parallax errors, which occur when the tape measure is viewed at an angle.
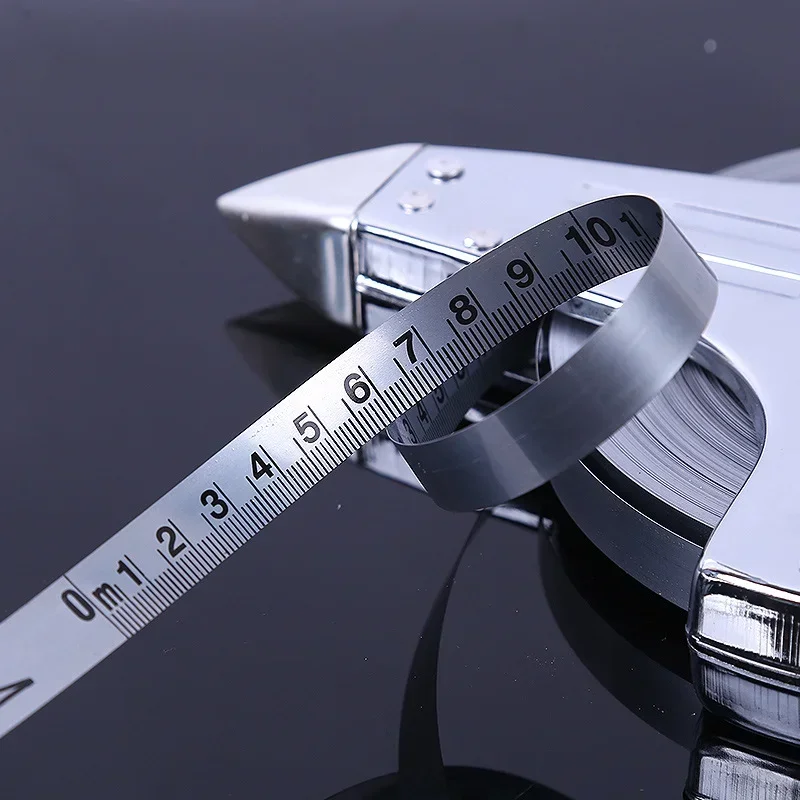
Step 4: Read the Main Numbers
The main numbers on the tape measure represent whole units (inches or centimeters). For example, if you’re using the imperial system, the numbers will typically range from 1 to 16 in a standard 16-foot tape measure.
Step 5: Interpret the Subdivisions
Between each main number, there are smaller marks indicating fractions of an inch or millimeters. In the imperial system, each inch is divided into halves, quarters, eighths, and sixteenths. The metric system divides each centimeter into ten millimeters.
Step 6: Calculate the Measurement
To determine the exact measurement, combine the main number with the subdivisions. For instance, if you measure to the third eighth of an inch past the third inch, your measurement is 3 3/8 inches.
Step 7: Verify the Measurement
Double-check your measurement to ensure accuracy. Repeating the measurement process can help prevent errors and confirm that your reading is correct.
Tips for Accurate Tape Measure
Achieving precise measurements requires practice and attention to detail. Here are some valuable tips to enhance your ability to read a tape measure accurately:
Use Proper Alignment
Ensure that the tape measure is aligned correctly with the object you’re measuring. Misalignment can lead to inaccurate readings, which can compromise the quality of your project.
Keep the Tape Straight
Avoid bending or twisting the tape measure while taking your measurement. A straight tape measure lies more flatly against the object, providing a more accurate reading.
Utilize the Locking Mechanism
Engage the locking mechanism to hold the blade in place while you take your measurement. This prevents the tape measure from retracting unexpectedly and ensures a stable reading.
Read at Eye Level
Position your eyes directly above the measurement mark to prevent parallax errors. Viewing the tape measure at an angle can distort the numbers, leading to incorrect measurements.
Practice Regularly
Like any skill, reading a tape measure accurately improves with practice. Regularly measuring various objects will enhance your proficiency and confidence.
 Common Mistakes to Avoid
Even experienced users can make errors when reading a tape measure. Being aware of these common mistakes can help you avoid them and ensure more accurate measurements.
Ignoring the Hook Adjustment
The hook at the end of the tape measure is designed to account for its thickness. Ignoring this adjustment can result in measurements that are slightly off. Always ensure the hook is aligned correctly with the zero mark.
Relying Solely on Memory
After taking a measurement, jot it down immediately instead of relying on memory. This practice reduces the risk of forgetting the measurement, especially during longer projects.
Overlooking Small Subdivisions
Small markings between the main numbers are essential for precise measurements. Overlooking these subdivisions can lead to estimates rather than accurate readings.
Measuring Over Uneven Surfaces
Measuring over uneven or angled surfaces can distort the tape measure, leading to inaccurate measurements. Ensure that the tape lies flat and is parallel to the surface being measured.
Not Securing the Object
If the object being measured can move, secure it before taking the measurement. Movement can cause the tape measure to shift, resulting in incorrect readings.
Advanced Techniques
For those who frequently use tape measures and require higher precision, advanced techniques can further enhance accuracy and efficiency.
Using the Inside and Outside Measurements
Different applications may require using the tape measure’s inside or outside markings. Knowing when to use each can improve the accuracy of your measurements. For instance, measuring the inside circumference of a window frame requires careful alignment of the hook with the zero mark.
Converting Between Units
Being proficient in converting between imperial and metric units can be invaluable, especially in projects that require both systems. Familiarize yourself with common conversion factors, such as 1 inch equals 2.54 centimeters, to streamline your workflow.
Memorizing Fractional Equivalents
Memorizing fractional equivalents of common subdivisions can speed up the reading process. For example, knowing that 0.375 inches is equivalent to 3/8 inches can help you interpret measurements more quickly.
Utilizing Color-Coded Markings
Some tape measures come with color-coded markings to differentiate between units or highlight specific subdivisions. Leveraging these color codes can make reading the tape measure more intuitive and reduce the chances of misreading.
 Choosing the Right Tape Measure for Accurate Reading
Selecting a tape measure that suits your needs can significantly impact your ability to read measurements accurately. Consider the following factors when choosing a tape measure:
Length and Capacity
Choose a tape measure length that aligns with your typical project requirements. Common lengths include 12, 16, 25, and 30 feet. Longer tapes are suitable for large construction projects, while shorter tapes are ideal for detailed work.
Blade Material and Coating
The blade should be made of durable materials like steel or fiberglass to withstand regular use. Additionally, a coated blade can resist rust and corrosion, ensuring the tape measure remains in good condition for accurate readings.
Number of Markings
A tape measure with clear and distinct markings facilitates easier reading. Look for tapes that feature bold numbers and well-defined subdivisions to enhance visibility and reduce reading errors.
Locking Mechanism Quality
A reliable locking mechanism is crucial for stable and accurate measurements. Test the locking feature to ensure it holds the blade securely in place without slipping.
Ergonomic Design
An ergonomic design with a comfortable grip makes handling the tape measure easier and reduces fatigue during extended use. Features like a rubberized grip or balanced weight distribution can improve overall usability.
Additional Features
Some tape measures offer extra features like a built-in level, stud finder markings, or magnetic hooks. These features can add convenience and versatility, making the tape measure more useful across different applications.
Maintenance Tips for Long-Lasting, Accurate Tape Measure Readings
Proper maintenance ensures that your tape measure remains accurate and reliable over time. Follow these tips to extend the lifespan of your tape measure and maintain precise readings.
Clean the Blade Regularly
Dust and debris can accumulate on the blade, obscuring the markings and affecting accuracy. Wipe the blade with a dry cloth after use to keep it clean.
Protect from Extreme Temperatures
Avoid exposing the tape measure to extreme heat or cold, as this can cause the blade to expand or contract, leading to inaccurate measurements.
Store Properly
Store the tape measure in a cool, dry place to prevent rust and corrosion. Using a protective case or sleeve can also safeguard the tape from damage during storage.
Handle with Care
Avoid dropping or bending the tape measure, as physical damage can distort the blade and markings. Handle the tool gently to preserve its integrity.
Inspect for Wear and Tear
Regularly inspect the tape measure for signs of wear, such as faded markings or a damaged hook. Replace the tape measure if it shows significant wear that could compromise measurement accuracy.
Applications in Different Fields
Understanding reading tape measure is beneficial across various industries and activities. Here’s how different fields utilize this skill:
Construction
In construction, precise measurements are critical for building structures that are safe and functional. Tape measures are used to determine the dimensions of materials, layout building components, and ensure that construction elements fit together seamlessly.
Carpentry
Carpenters rely heavily on accurate tape measure readings to cut wood, assemble furniture, and create detailed project plans. Precision in measuring ensures that joints and fittings are tight and that the final product is sturdy and well-finished.
Tailoring and Fashion Design
In the fashion industry, precise measurements are essential for creating garments that fit well. Tailors use tape measures to determine body dimensions and fabric lengths, ensuring that clothing items are tailored to perfection.
Home Improvement and DIY Projects
Homeowners and DIY enthusiasts use tape measures for a variety of tasks, from hanging pictures to installing shelves. Accurate readings help ensure that projects are completed correctly and aesthetically pleasing.
Engineering
Engineers use tape measures to measure components, draft plans, and verify dimensions in their projects. Precision in measurements is crucial for designing functional and efficient systems.
Frequently Asked Questions
To address common queries and further clarify the topic, here are some frequently asked questions about reading tape measure:
How Do I Convert Inches to Centimeters on a Tape Measure?
To convert inches to centimeters, multiply the number of inches by 2.54. For example, 5 inches equals 12.7 centimeters. Many tape measures include both imperial and metric units to simplify this process.
Can I Use a Measuring Tape for Both Small and Large Projects?
Yes, tape measures come in various lengths, making them suitable for both small and large projects. Choose a tape measure with an appropriate length based on the scale of your work.
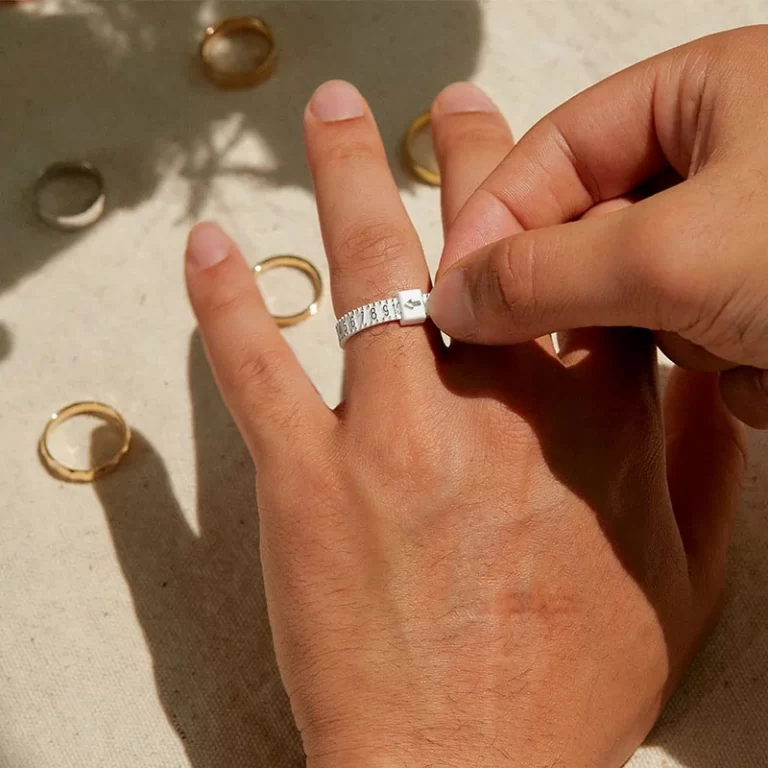
What is the Best Time of Day to Measure for Accuracy?
Finger sizes can fluctuate based on temperature and time of day. For consistent ring sizing measurements, it’s best to measure at room temperature and after your hands have been resting for a while.
How Do I Avoid Parallax Errors When Reading a Tape Measure?
To prevent parallax errors, ensure that your eye is directly above the measurement mark. Viewing the tape measure at an angle can distort the numbers, leading to inaccurate readings.
What Should I Do If My Tape Measure Numbers are Faded?
If the numbers on your tape measure are faded, consider replacing the tape measure to maintain accuracy. Alternatively, you can use a fine-tipped permanent marker to reinforce the faded numbers for better visibility.
Conclusion
In the realm of measurements, knowing reading tape measure is a fundamental skill that enhances the quality and accuracy of your projects. By understanding the components of a tape measure, following accurate measurement techniques, and avoiding common mistakes, you can achieve precise results in any task you undertake. Whether you’re a professional tradesperson, a hobbyist, or someone who enjoys DIY projects, mastering this skill equips you with the confidence and capability to tackle projects with precision and ease. Invest time in practicing and perfecting your tape measure reading skills, and watch as your projects transform into meticulously crafted successes.