How to Read Tape Measure: A Guide for Accurate Measurements
Whether you’re a DIY enthusiast, a professional carpenter, or someone embarking on home improvement projects, understanding how to read tape measure is an essential skill. This versatile tool is indispensable for ensuring precision and accuracy in various tasks, from measuring rooms and furniture to crafting intricate woodworking projects. In this guide, we’ll delve into the intricacies of a tape measure, offering clear explanations and practical tips to enhance your measurement skills.
Contents
hide
 Understanding the Anatomy of a Tape Measure
Before diving into the specifics of reading a tape measure, it’s crucial to familiarize yourself with its basic components. A typical tape measure consists of several key parts, each serving a unique function to aid in accurate measurement.
The Blade
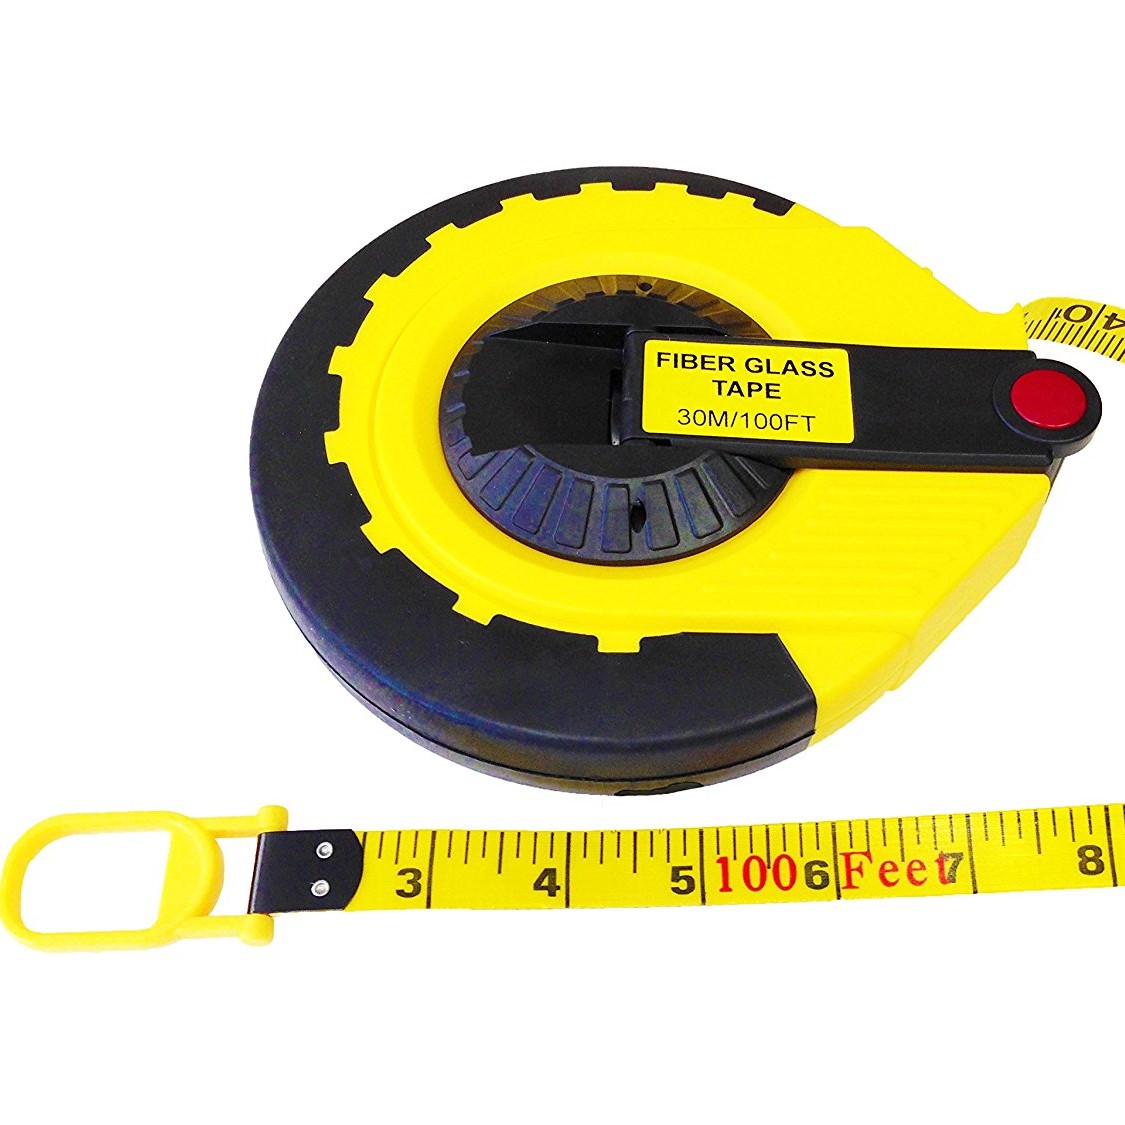
The blade is the elongated metal strip that houses the measurement markings. It’s usually made of steel or fiberglass, providing durability and flexibility. The blade retracts into the casing, allowing for easy storage and portability.
The Locking Mechanism
Located within the casing, the locking mechanism secures the blade at the desired length. By engaging the lock, you can prevent the blade from retracting, ensuring the measurement remains steady while you record it.
The Hook
At the end of the blade, the hook is a small metal piece designed to latch onto edges or objects, facilitating precise measurements. Its flexibility allows for slight variations, ensuring accuracy even when measuring materials with thickness.
The Casing
The casing protects the tape measure’s internal components and provides a comfortable grip. It often includes a belt clip for easy access during projects.
 Decoding the Measurement Units
Tape measures typically feature two primary units of measurement: inches and centimeters (or meters). Understanding both units is essential, especially in regions where the metric system is prevalent.
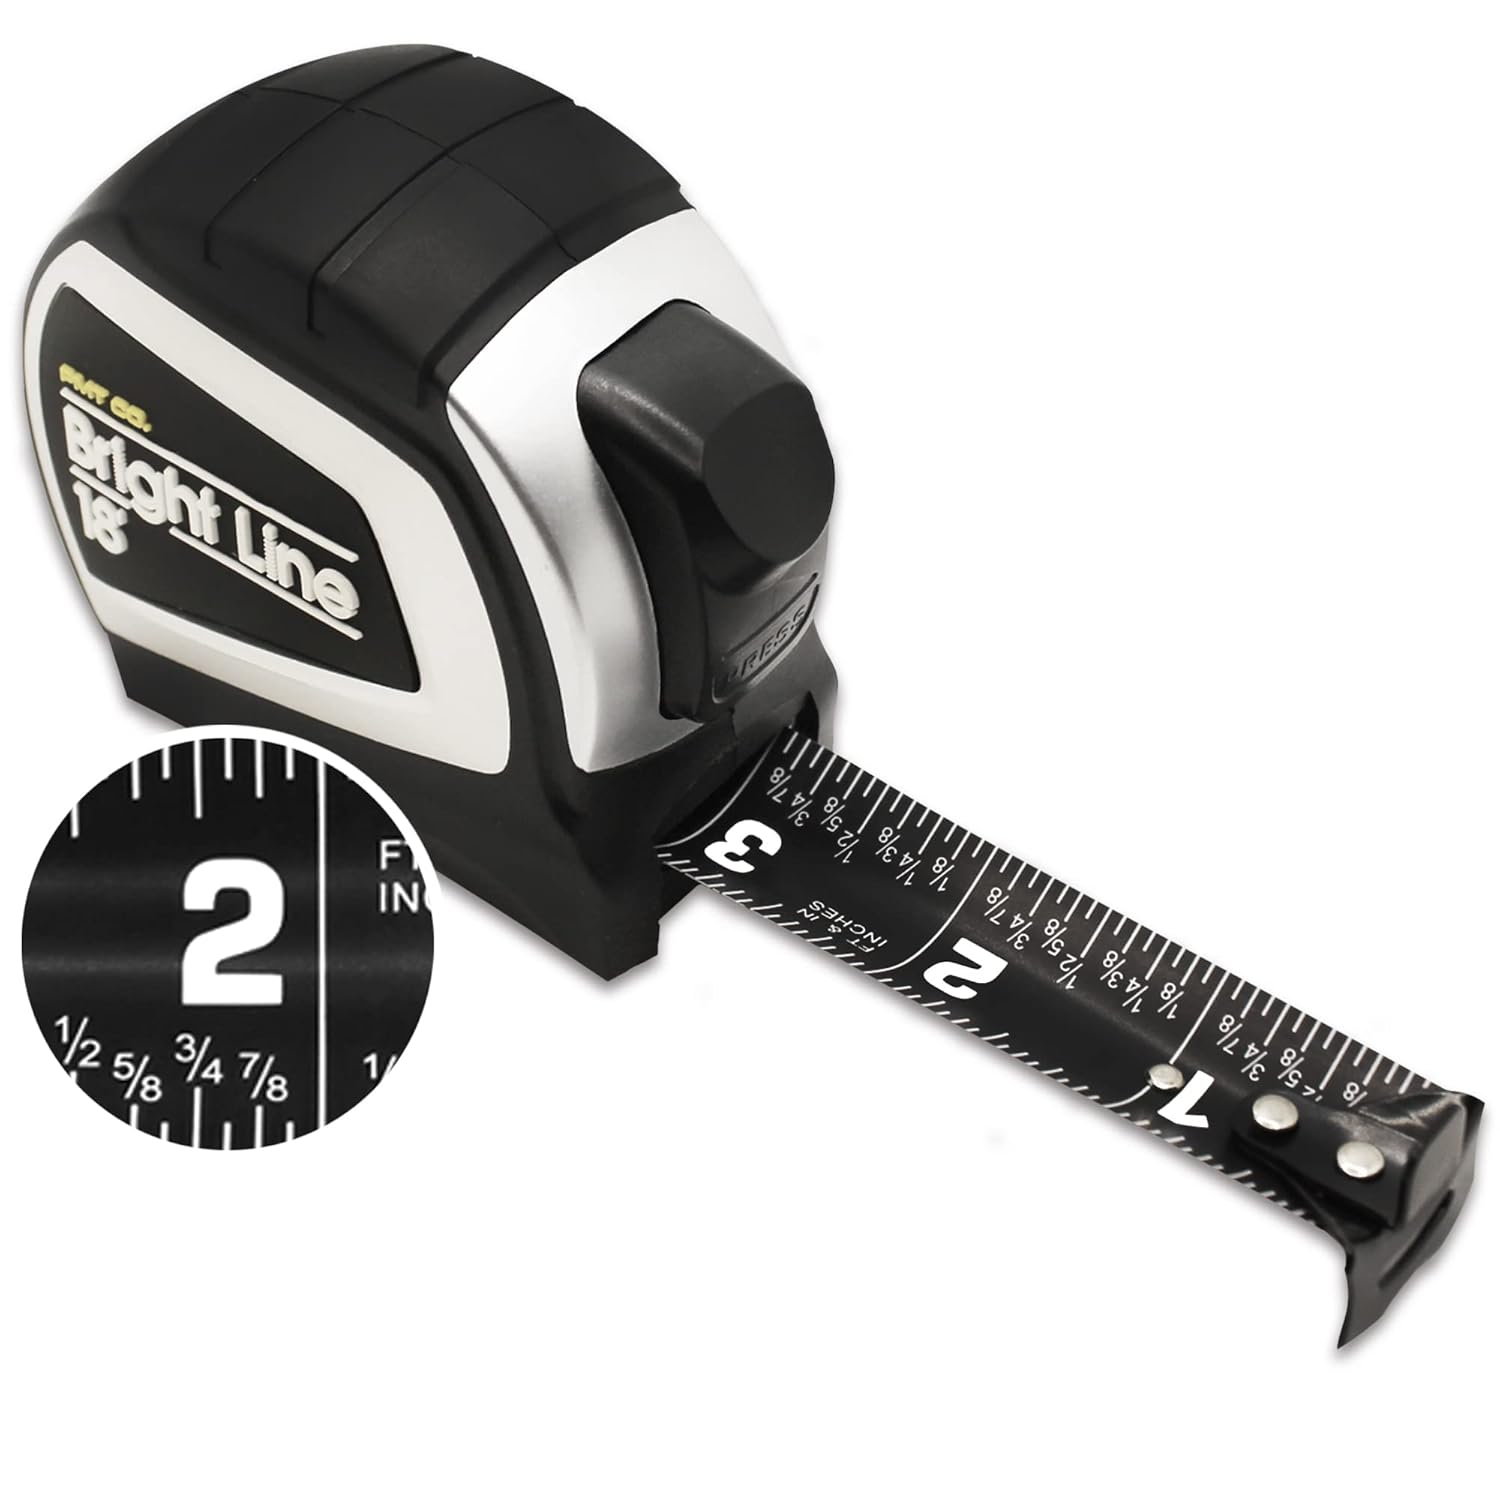
Inches and Fractions
In the United States and other countries that use the imperial system, tape measures display measurements in inches, divided into fractions. Each inch is typically subdivided into halves (1/2), quarters (1/4), eighths (1/8), and sixteenths (1/16). These divisions allow for precise measurements and easy conversions between fractions.
Centimeters and Millimeters
In metric regions, tape measures indicate measurements in centimeters (cm) and millimeters (mm). Each centimeter is divided into ten millimeters, offering a straightforward and consistent measurement system. Understanding metric units is beneficial, especially for projects requiring high precision.
Steps on How to Read a Tape Measure Accurately
Mastering how to read tape measure involves understanding the markings and knowing how to interpret them correctly. Follow these steps to ensure precise measurements every time.
1. Extend the Blade
Start by pulling the blade out from the casing to the desired length. Ensure that the blade is fully extended and straight to avoid inaccuracies.
2. Identify the Zero Point
Locate the zero mark on the tape measure’s blade. This is typically situated at the very end of the tape, adjacent to the hook. Align this zero point with the starting edge of the object you’re measuring.
3. Find the Desired Measurement
Move along the blade to the point that corresponds with your measurement. For example, if you’re measuring 24 inches, identify the mark labeled ’24’ on the tape.
4. Read the Fractions or Metric Units
Depending on your tape measure’s unit system, read the corresponding fraction or centimeter. For instance, if the measurement falls between 24 and 25 inches, note the fraction to determine the exact length, such as 24 3/4 inches.
5. Record the Measurement
Once you’ve identified the correct mark, record the measurement for future reference. Ensure that the blade remains locked in place to maintain accuracy.
 Tips for Accurate Measurements
Even with a solid understanding of how to read tape measure, certain practices can enhance measurement accuracy. Implement these tips to ensure your measurements are reliable and precise.
Ensure the Blade is Straight
Before taking a measurement, confirm that the blade is straight and not bent or damaged. A warped blade can lead to incorrect readings and compromise the quality of your project.
Use the Hook Correctly
The hook at the end of the tape measure is designed to move slightly to accommodate different measurement scenarios. When measuring an object with thickness, allow the hook to flex outward. This ensures that both the object and the tape measure’s thickness are accounted for, preventing measurement errors.
Double-Check Your Measurements
Always take measurements twice to confirm their accuracy. This practice reduces the likelihood of mistakes and ensures that your measurements are consistent.
Mark the Measurement
Use a pencil or another marking tool to indicate the exact measurement on the object or material you’re working with. This visual reference helps maintain precision throughout your project.
Keep the Tape Measure Clean
Dust, dirt, or debris on the blade can obscure measurement marks, leading to misreads. Regularly clean your tape measure to ensure clear visibility of all markings.
Common Mistakes to Avoid
While reading a tape measure may seem straightforward, several common mistakes can lead to inaccurate measurements. Being aware of these pitfalls can help you achieve better precision.
Not Starting at Zero
One of the most frequent errors is not aligning the tape’s zero mark with the object’s edge. Always ensure that the zero point is correctly positioned to avoid adding or subtracting unintended lengths.
Ignoring Material Thickness
When measuring objects with thickness, neglecting to account for this can result in overstated or understated measurements. Utilize the tape measure’s hook to adjust for material thickness, ensuring accurate readings.
Reading the Tape at an Angle
Holding the tape measure at an angle rather than parallel to the surface can distort measurements. Always keep the blade perpendicular to the surface for the most accurate results.
Relying Solely on Memory
Attempting to recall measurements without recording them can lead to errors, especially on large projects. Always document your measurements to maintain accuracy and consistency.
 Practical Applications of Tape Measures
Understanding how to read tape measure opens the door to a myriad of practical applications. Whether you’re engaging in DIY projects, construction, or tailoring, accurate measurements are paramount.
Home Improvement Projects
From measuring wall spaces for painting to determining the size of new furniture, a tape measure is indispensable in home improvement. Accurate measurements ensure that installations fit perfectly and that materials are used efficiently.
Sewing and Tailoring
In the realm of fashion, precise measurements are crucial for creating well-fitted garments. Tailors rely on tape measures to capture exact body dimensions, ensuring that clothing fits comfortably and stylishly.
Carpentry and Construction
Carpenters and construction workers use tape measures daily to cut materials to the correct length, ensuring structural integrity and aesthetic appeal. Accurate measurements are the foundation of quality craftsmanship.
Landscaping and Gardening
Measuring spaces accurately helps in planning garden layouts, installing fences, or setting up outdoor structures. A tape measure assists in creating well-organized and functional outdoor environments.
Advanced Measurement Techniques
While basic tape measure skills are essential, mastering advanced techniques can further enhance your measurement accuracy and efficiency.
Measuring Angles
Tape measures can also be used to measure angles indirectly. By marking distances along two adjacent sides of an angle and using trigonometric principles, you can calculate the angle’s measure.
Measuring Curves and Irregular Shapes
For curved or irregular shapes, use the tape measure to take multiple small measurements along the curve. Summing these measurements provides an approximate total length, which is helpful in tasks like laying out flooring or fencing.
Using the Tape Measure in Two Dimensions
Sometimes, measurements require considering both length and width. By taking separate measurements for each dimension, you can calculate areas or plan layouts accurately.
Selecting the Right Tape Measure
Choosing the appropriate tape measure for your needs can significantly impact the ease and accuracy of your measurements. Consider the following factors when selecting a tape measure.
Length and Flexibility
Tape measures come in various lengths, typically ranging from 12 to 100 feet. Select a length that suits your typical projects. Additionally, consider the blade’s flexibility, which affects how easily it can be maneuvered around objects.
Material Quality
Higher-quality materials ensure durability and resistance to wear and tear. Steel blades are robust, while fiberglass blades offer flexibility and resistance to rust.
Locking Mechanism
A reliable locking mechanism is essential for maintaining measurement stability. Test the lock to ensure it engages smoothly and holds the blade firmly in place.
Ease of Use
Features like a comfortable grip, clear markings, and a sturdy casing contribute to the tape measure’s ease of use. Choose a model that feels comfortable in your hand and meets your specific needs.
Maintaining Your Tape Measure
Proper maintenance extends the lifespan of your tape measure and ensures it remains accurate over time. Follow these maintenance tips to keep your tool in top condition.
Clean After Use
After completing a project, wipe down the blade and casing to remove dust and debris. This practice prevents buildup that can obscure measurement marks or interfere with the tape’s movement.
Store Properly
Store your tape measure in a dry, safe place to prevent damage. Avoid dropping it or subjecting it to harsh conditions, as this can affect its functionality.
Inspect Regularly
Periodically check your tape measure for signs of wear, such as bent blades or loose hooks. Address any issues promptly to maintain measurement accuracy.
Replace Worn Components
If parts of the tape measure become worn or damaged, consider replacing them or investing in a new tape measure to ensure continued precision in your measurements.
Enhancing Precision with Digital Tape Measures
For those seeking even greater accuracy and convenience, digital tape measures offer advanced features that can streamline the measurement process.
Digital Readouts
Digital tape measures provide clear numerical displays of measurements, eliminating the need to interpret markings manually. This feature reduces the risk of human error and speeds up the measurement process.
Memory Functions
Some digital models can store multiple measurements, allowing for easy reference and comparison. This is particularly useful in complex projects requiring numerous measurements.
Bluetooth Connectivity
High-end digital tape measures may offer Bluetooth connectivity, enabling measurements to be transferred directly to smartphones or tablets. This integration facilitates seamless project planning and documentation.
Enhanced Accuracy
Digital tape measures often incorporate advanced sensors and calibration techniques to deliver highly accurate measurements, making them ideal for precision-critical tasks.
Conclusion
Mastering how to read tape measure is a foundational skill that enhances your ability to execute projects with precision and confidence. By understanding the tape measure’s components, units of measurement, and accurate reading techniques, you can ensure that your measurements are reliable and your projects are successful. Whether you’re embarking on a simple DIY task or tackling a complex construction project, proficiency with a tape measure empowers you to bring your visions to life accurately and efficiently. Embrace these guidelines, and you’ll find that reading a tape measure becomes second nature, contributing to the quality and success of all your endeavors.