Pro Tips for Using a Digital Tape Measure in Home Renovations
A digital tape measure is an indispensable tool for DIY enthusiasts and homeowners tackling renovations. Unlike traditional tape measures, digital versions offer advanced features that can significantly enhance accuracy, efficiency, and convenience during projects. This comprehensive guide will provide you with pro tips on using a digital tape measure effectively, featuring methods for continuous measurement, area calculations, angle determination, and more.
 Understanding the Digital Tape Measure
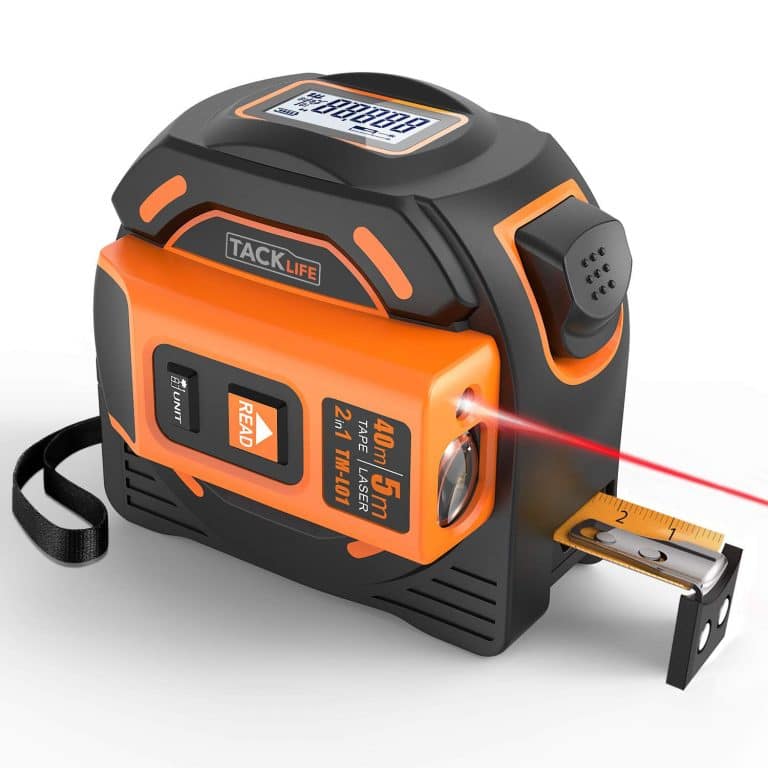
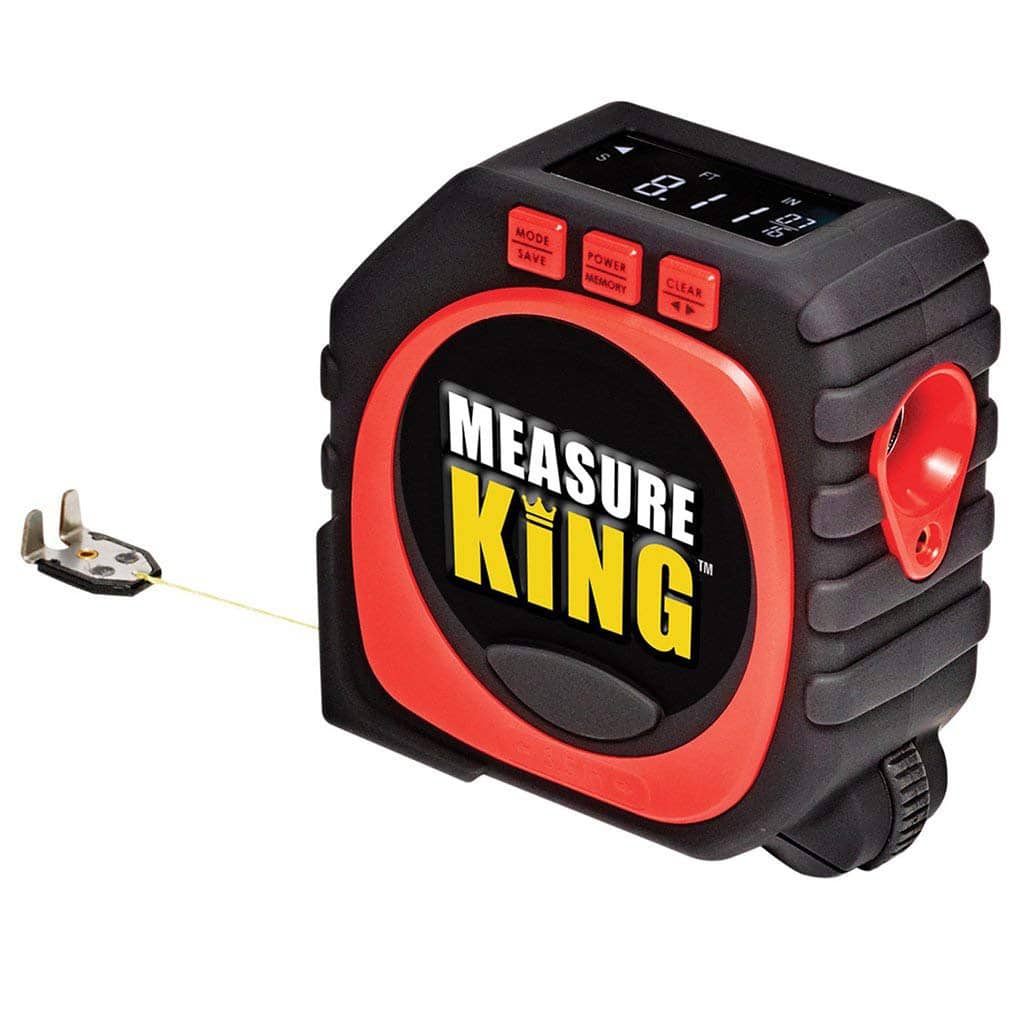
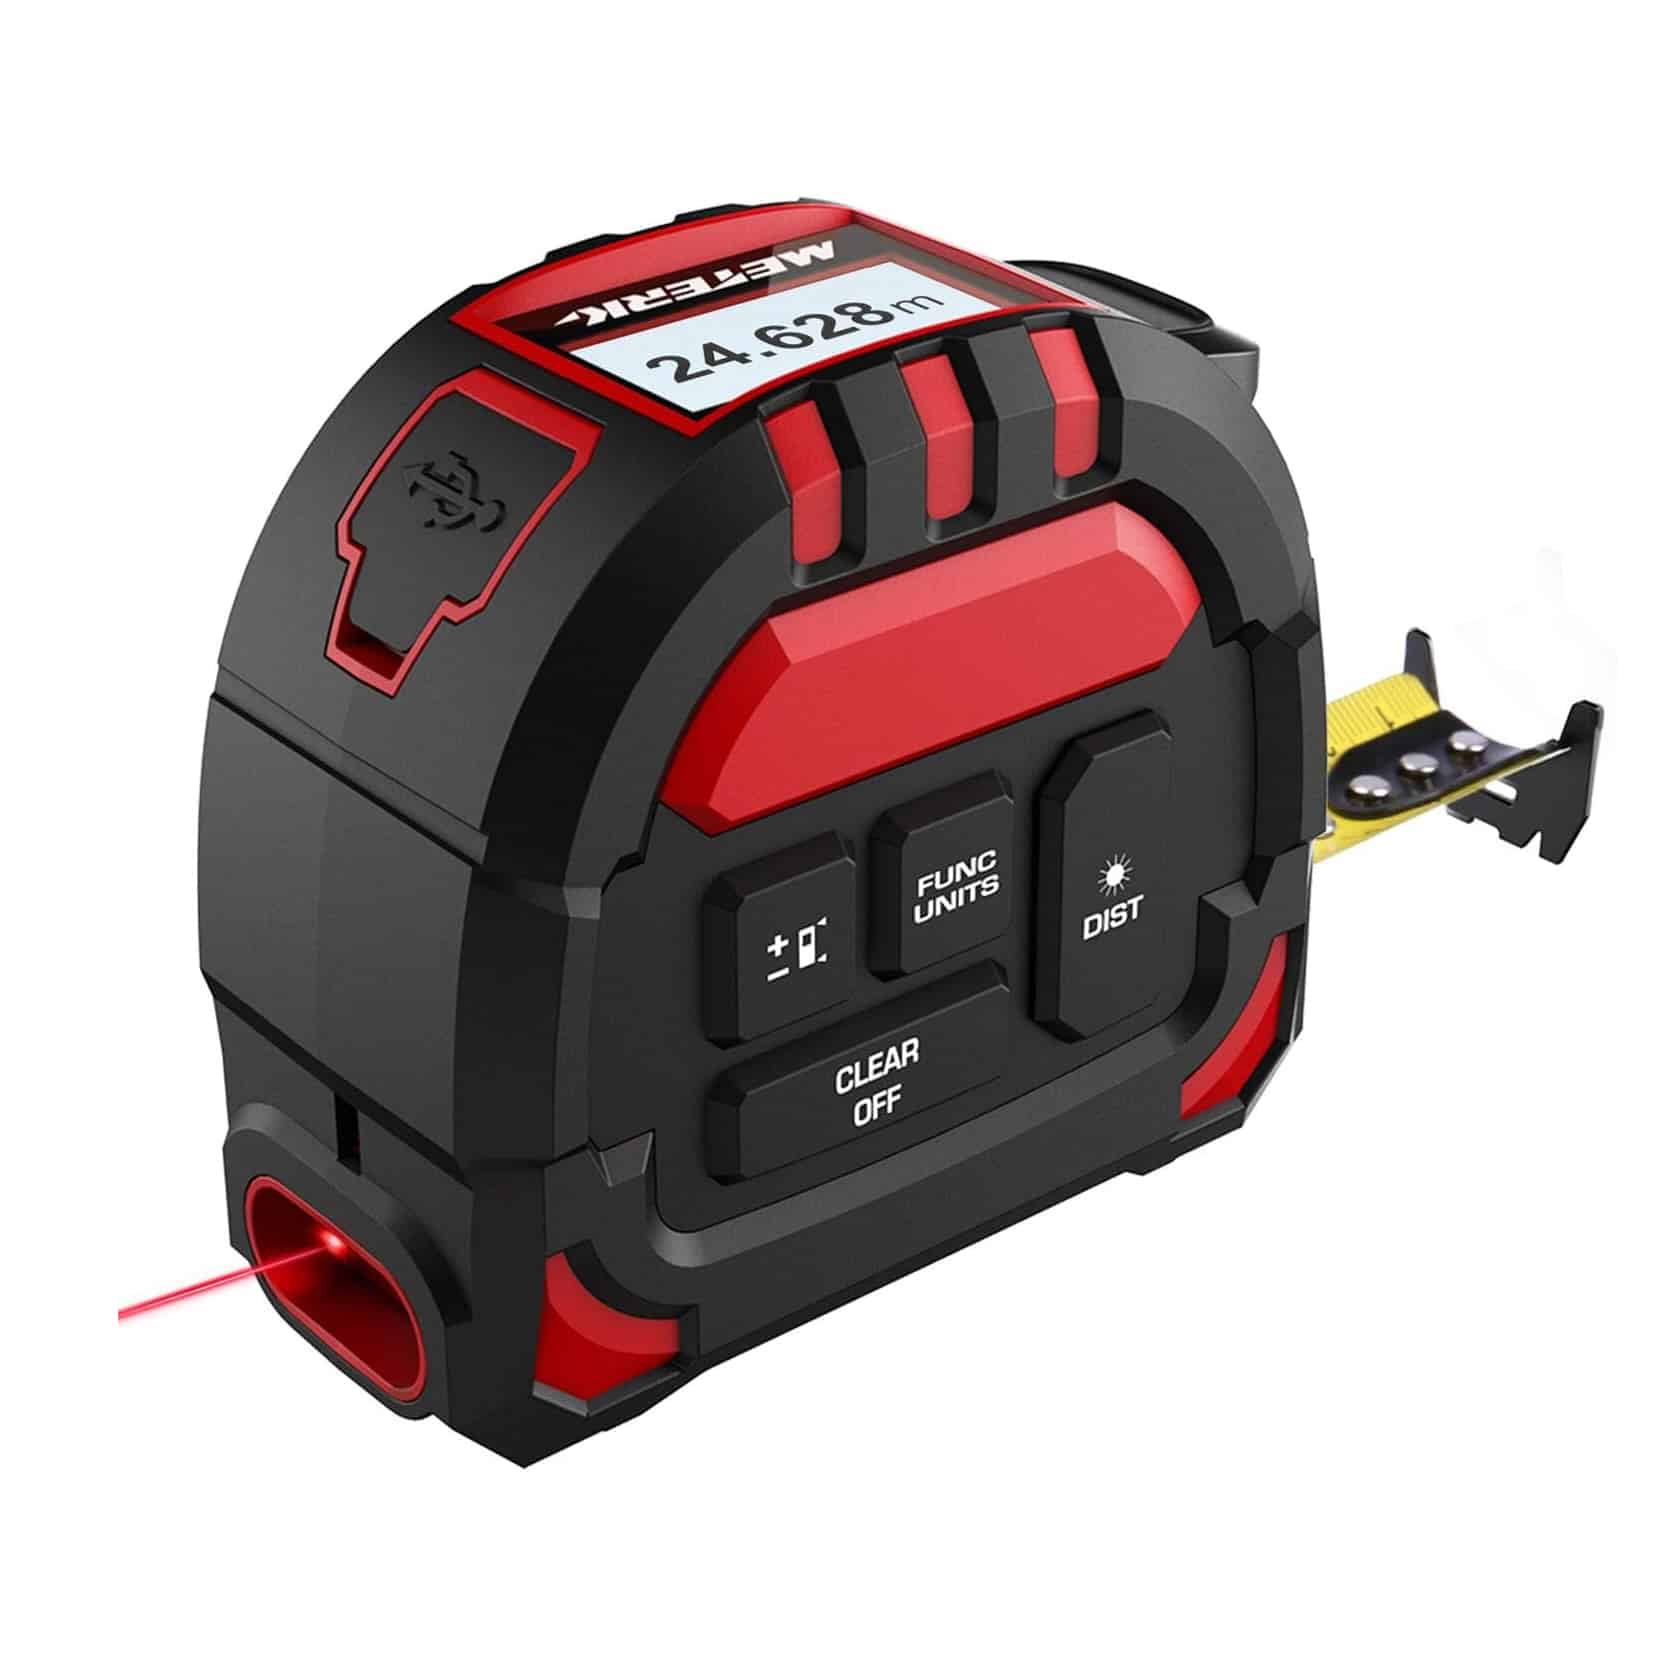
Digital tape measures are equipped with smart technology that makes measuring more intuitive and precise. They typically include features like a digital display, laser measuring capabilities, Bluetooth connectivity for synchronization with apps, and automated calculations.
Key Features
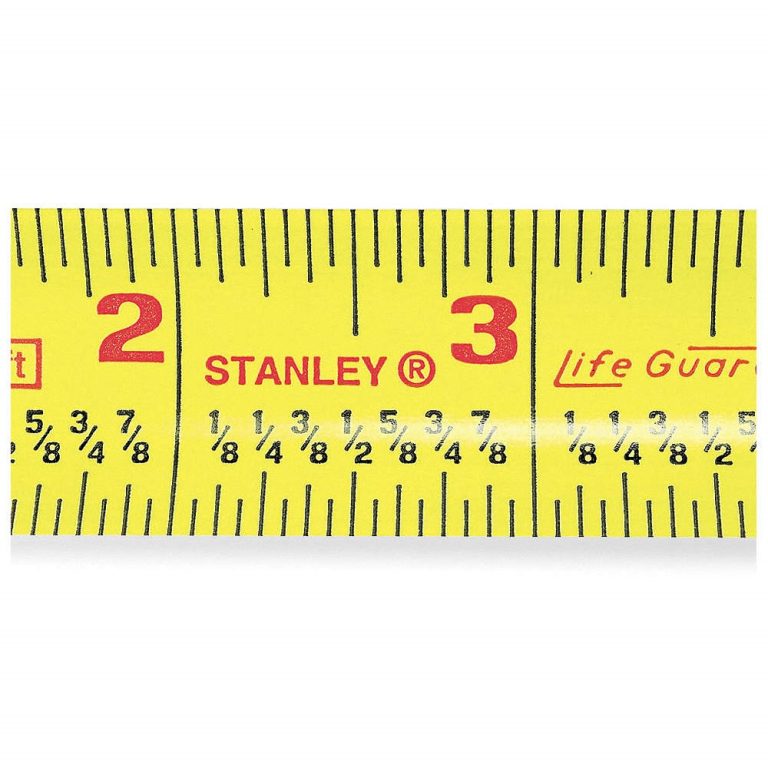
- Measurement Range: Most digital tape measures range from 0.1 mm to 100 m, accommodating various projects. This wide range allows for both small indoor measurements and larger outdoor tasks. Understanding the measurement range allows you to choose the right device for your specific needs.
- Precision: Digital tape measures often have a measurement accuracy of approximately ±1.5 mm, which is essential for keeping results consistent and reliable. This level of precision is particularly beneficial when precision is paramount, such as in cabinetry or flooring installations.
- Display Types: Many digital tape measures feature a backlit LCD screen that enhances visibility in low-light conditions. Some advanced models even offer laser projection for visualizing measurements in 3D spaces, which can help in planning room layouts effectively.
Mastering Continuous Measurement Mode
One of the standout features of a digital tape measure is its continuous measurement mode. This function allows you to measure multiple distances quickly, which is especially useful in environments with complex layouts.
How to Use Continuous Measurement Mode
- Activate the Mode: Turn on your digital tape measure and select the continuous measurement option. This function is beneficial for quickly measuring multiple lengths without needing to reset the tape each time.
- Position the Measure: Place the end of the tape against the starting point of your measurement. For best results, ensure that the measure is flat against the surface at the starting point.
- Move Along the Path: Extend the tape measure to the next point you wish to measure. The device will automatically update the total distance measured, allowing you to record results swiftly, even in multi-segment measuring scenarios. This is ideal for measuring baseboards, crown moldings, or furniture dimensions without any interruption.
Real-World Applications
This feature is ideal for measuring:
- Crown Molding or Trim: When installing crown molding or trim where multiple lengths must be summed up, the continuous measuring option will help ensure accuracy without the hassle of re-measuring.
- Large Wall Areas: In scenarios where precise area measurement is critical, such as calculating paint or wallpaper requirements, this function greatly enhances efficiency.
- Furniture Placements: When rearranging furniture or planning interior layouts, being able to quickly and accurately measure incompatible spaces can be a game changer.
 Utilizing Area and Volume Calculations
Another powerful capability of digital tape measures is their ability to quickly compute areas and volumes, saving time on calculations and reducing the chance of error.
Area Calculation Steps
- Measure Length and Width: Upon entering the area calculation mode, measure the length and then the width of your space. A digital tape measure usually has a button that allows you to save these measurements temporarily while switching tasks.
- One-Touch Calculations: The digital tape measure calculates the area and displays it instantly, sparing you the hassle of manual calculations. This instantaneous feedback helps you make quick decisions about materials needed for flooring, wall coverings, or landscaping.
Volume Calculation
Calculating the volume for projects involving cubic spaces, such as determining how much paint you need or estimating the cubic footage of a room, is equally straightforward:
- Measure All Dimensions: Similar to the area calculation, measure the length, width, and height. Understanding the volume of a space is particularly useful for air conditioning calculations, filling spaces with insulation, or planning furniture that fits spatial constraints.
- Automatic Volume Calculation: The digital tape measure will automatically multiply these measurements to give you the volume. The convenience of this feature ensures you always have the data you need for projects where cubic measurements are essential.
Angle Measurement and Leveling
For more advanced DIY projects, measuring angles can be essential, especially when installing items like cabinets, shelves, or framing for structures.
How to Measure Angles
Many digital tape measures also come with an angle measurement feature, often combined with a digital level. This provides a holistic view of the surface to ensure installations are accurate.
- Align the Tape Measure: Position the tape measure’s base against one side of the angle. Ensure the tape is taut for an accurate reading, especially in tight spaces.
- Extend to the Other Side: Pull the tape to the other side of the angle you wish to measure. The digital readout will provide the angle measurement in either degrees or as a percentage slope.
- Read the Angle: The digital display will show the measurement, allowing you to adjust your installation accordingly. For angles in more complex structures, being able to quickly measure and adjust reduces installation time and increases precision.
Using the Leveling Feature
Utilizing the leveling feature can help ensure that all installations are perfectly level.
- Place the Tool Horizontally: Lay the digital tape measure flat against the surface you want to check. Make sure it is in contact with the surface fully to get an accurate reading.
- Read the Level Indicator: The indicator on the display will tell you if you are level or tilting. This feature is invaluable for projects ranging from hanging cabinets to laying floors.
 Complex Layout Modeling
For complex home layouts, utilizing your digital tape measure in conjunction with design software can vastly improve your renovation efficiency.
Bluetooth Connectivity
- Sync with Design Apps: Many modern digital tape measures can connect to design software via Bluetooth. This feature allows you to send measurements directly without manual input. As a result, design and estimation are made much easier.
- Import Measurements: Once your measurements are synced, use them to create accurate models of your space. This planning ensures you consider measurements for windows, doors, and any architectural elements.
Steps to Model Complex Spaces
- Take Measurements: Take measurements for every section of the room or layout.
- Use the App: Use the connected app to create a digital design that reflects all dimensions accurately. Advanced apps allow you to play with different layouts and furniture to visualize your end project.
- Adjustments Made Easy: Adjust and tweak the design as needed based on the synchronized data, allowing you to plan with confidence and precision.
Avoiding Measurement Errors
Maintaining precision in your measurements is critical, especially in renovation projects where small errors can lead to costly mistakes. Here’s how to avoid common pitfalls.
Tips for Accurate Measurements
- Keep the Tape Measure Vertical: Ensure the digital tape measure stays vertical when taking vertical measurements. If the tape measure is at an angle, your data may be skewed.
- Calibrate the Zero Point: Before taking measurements, always calibrate the tape measure’s zero point as instructed. Regular calibration can prevent inaccurate readings, especially if you suspect drift from use.
- Use Proper Pressure: Apply even pressure on the measuring tool to avoid misalignment, especially when measuring large distances. Avoid pulling the tape measure taut too aggressively, which can result in bending or misalignment of internal components.
Additional Recommendations
- Check for Obstructions: Ensure there are no obstructions in your line of sight when measuring. If the tape locates behind furniture or appliances, consider removing them temporarily for a more accurate measure.
- Mark Measurements Clearly: Use painter’s tape or a pencil to mark measurements on walls or flooring to ensure clarity as you work.
 Enhancing Efficiency with Digital Tape Measures
A study from home improvement bloggers states that integrating a digital tape measure into DIY projects can enhance efficiency by as much as 30%. This significant productivity boost results from speedier measurements, reduced recalibrations, and more accurate calculations.
Case Study: Time-Saving Innovations
- Proven Results: One prominent DIY blogger documented how switching to a digital tape measure helped them complete a kitchen renovation in significantly less time compared to using traditional measuring methods.
- Successful Outcomes: By harnessing smart technology, they assured every measurement was precise and accounted for, leading to fewer errors and rework sessions that saved both time and money.
Choosing the Right Digital Tape Measure
When selecting a digital tape measure, consider factors that match your specific DIY or renovation needs.
Features to Look For
- Measurement Range and Precision: Look for models that offer a wide range and high accuracy, tailored to your typical projects whether they be small indoor measurements or large outdoor tasks.
- Display Type: Ensure the device features a bright, easy-to-read display, especially if you work in dimly lit areas. An illuminated screen allows for easy reading when working in storage spaces or basements.
- Data Transmission Capabilities: Choose a device capable of syncing measurements via Bluetooth to streamline your project management. Compatibility with your devices can significantly enhance your productivity during renovations.
Conclusion: Maximizing Your Digital Tape Measure Skills
Incorporating a digital tape measure into your DIY toolkit doesn’t just simplify measuring tasks; it revolutionizes your approach to home renovations and projects. By mastering features like continuous measurement, area calculations, and angle determination, you not only enhance your efficiency but also ensure greater accuracy in your projects.
As you embark on your next home renovation, remember to utilize these pro tips and techniques to fully harness the capabilities of your digital tape measure. With practice, you’ll find that this tool will not only save you time but also increase the quality of your work. Embrace digital measurement technology and elevate your craftsmanship to new heights in your DIY endeavors!
By keeping these insights and techniques in mind, you’ll ensure that you maximize the potential of your digital tape measure, transforming your renovation projects into successful and satisfying results.