How to Read a Tape Measure: A Beginner’s Step-by-Step Guide
Introduction: Understanding the Tape Measure
A tape measure is not just an accessory; it’s a fundamental tool in various fields ranging from woodworking to sewing, construction, and home improvement. To illustrate, understanding how to read a tape measure accurately can save you time and resources. In this guide, we will cover not only the basic components of a tape measure but also explore the specific techniques for reading measurements in different applications—helping you to avoid common mistakes. Therefore, by the end of this article, you’ll have a firm grasp on how to read a tape measure and how to apply that knowledge effectively.
 The Basic Structure of a Tape Measure
Before we dive into the specifics of how to read a tape measure, let’s familiarize ourselves with its fundamental components:
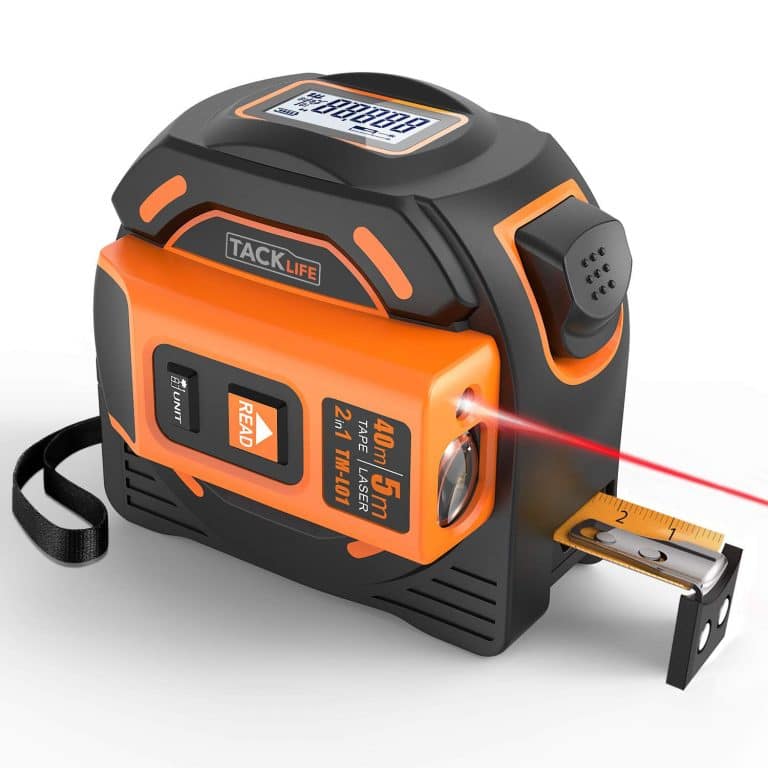
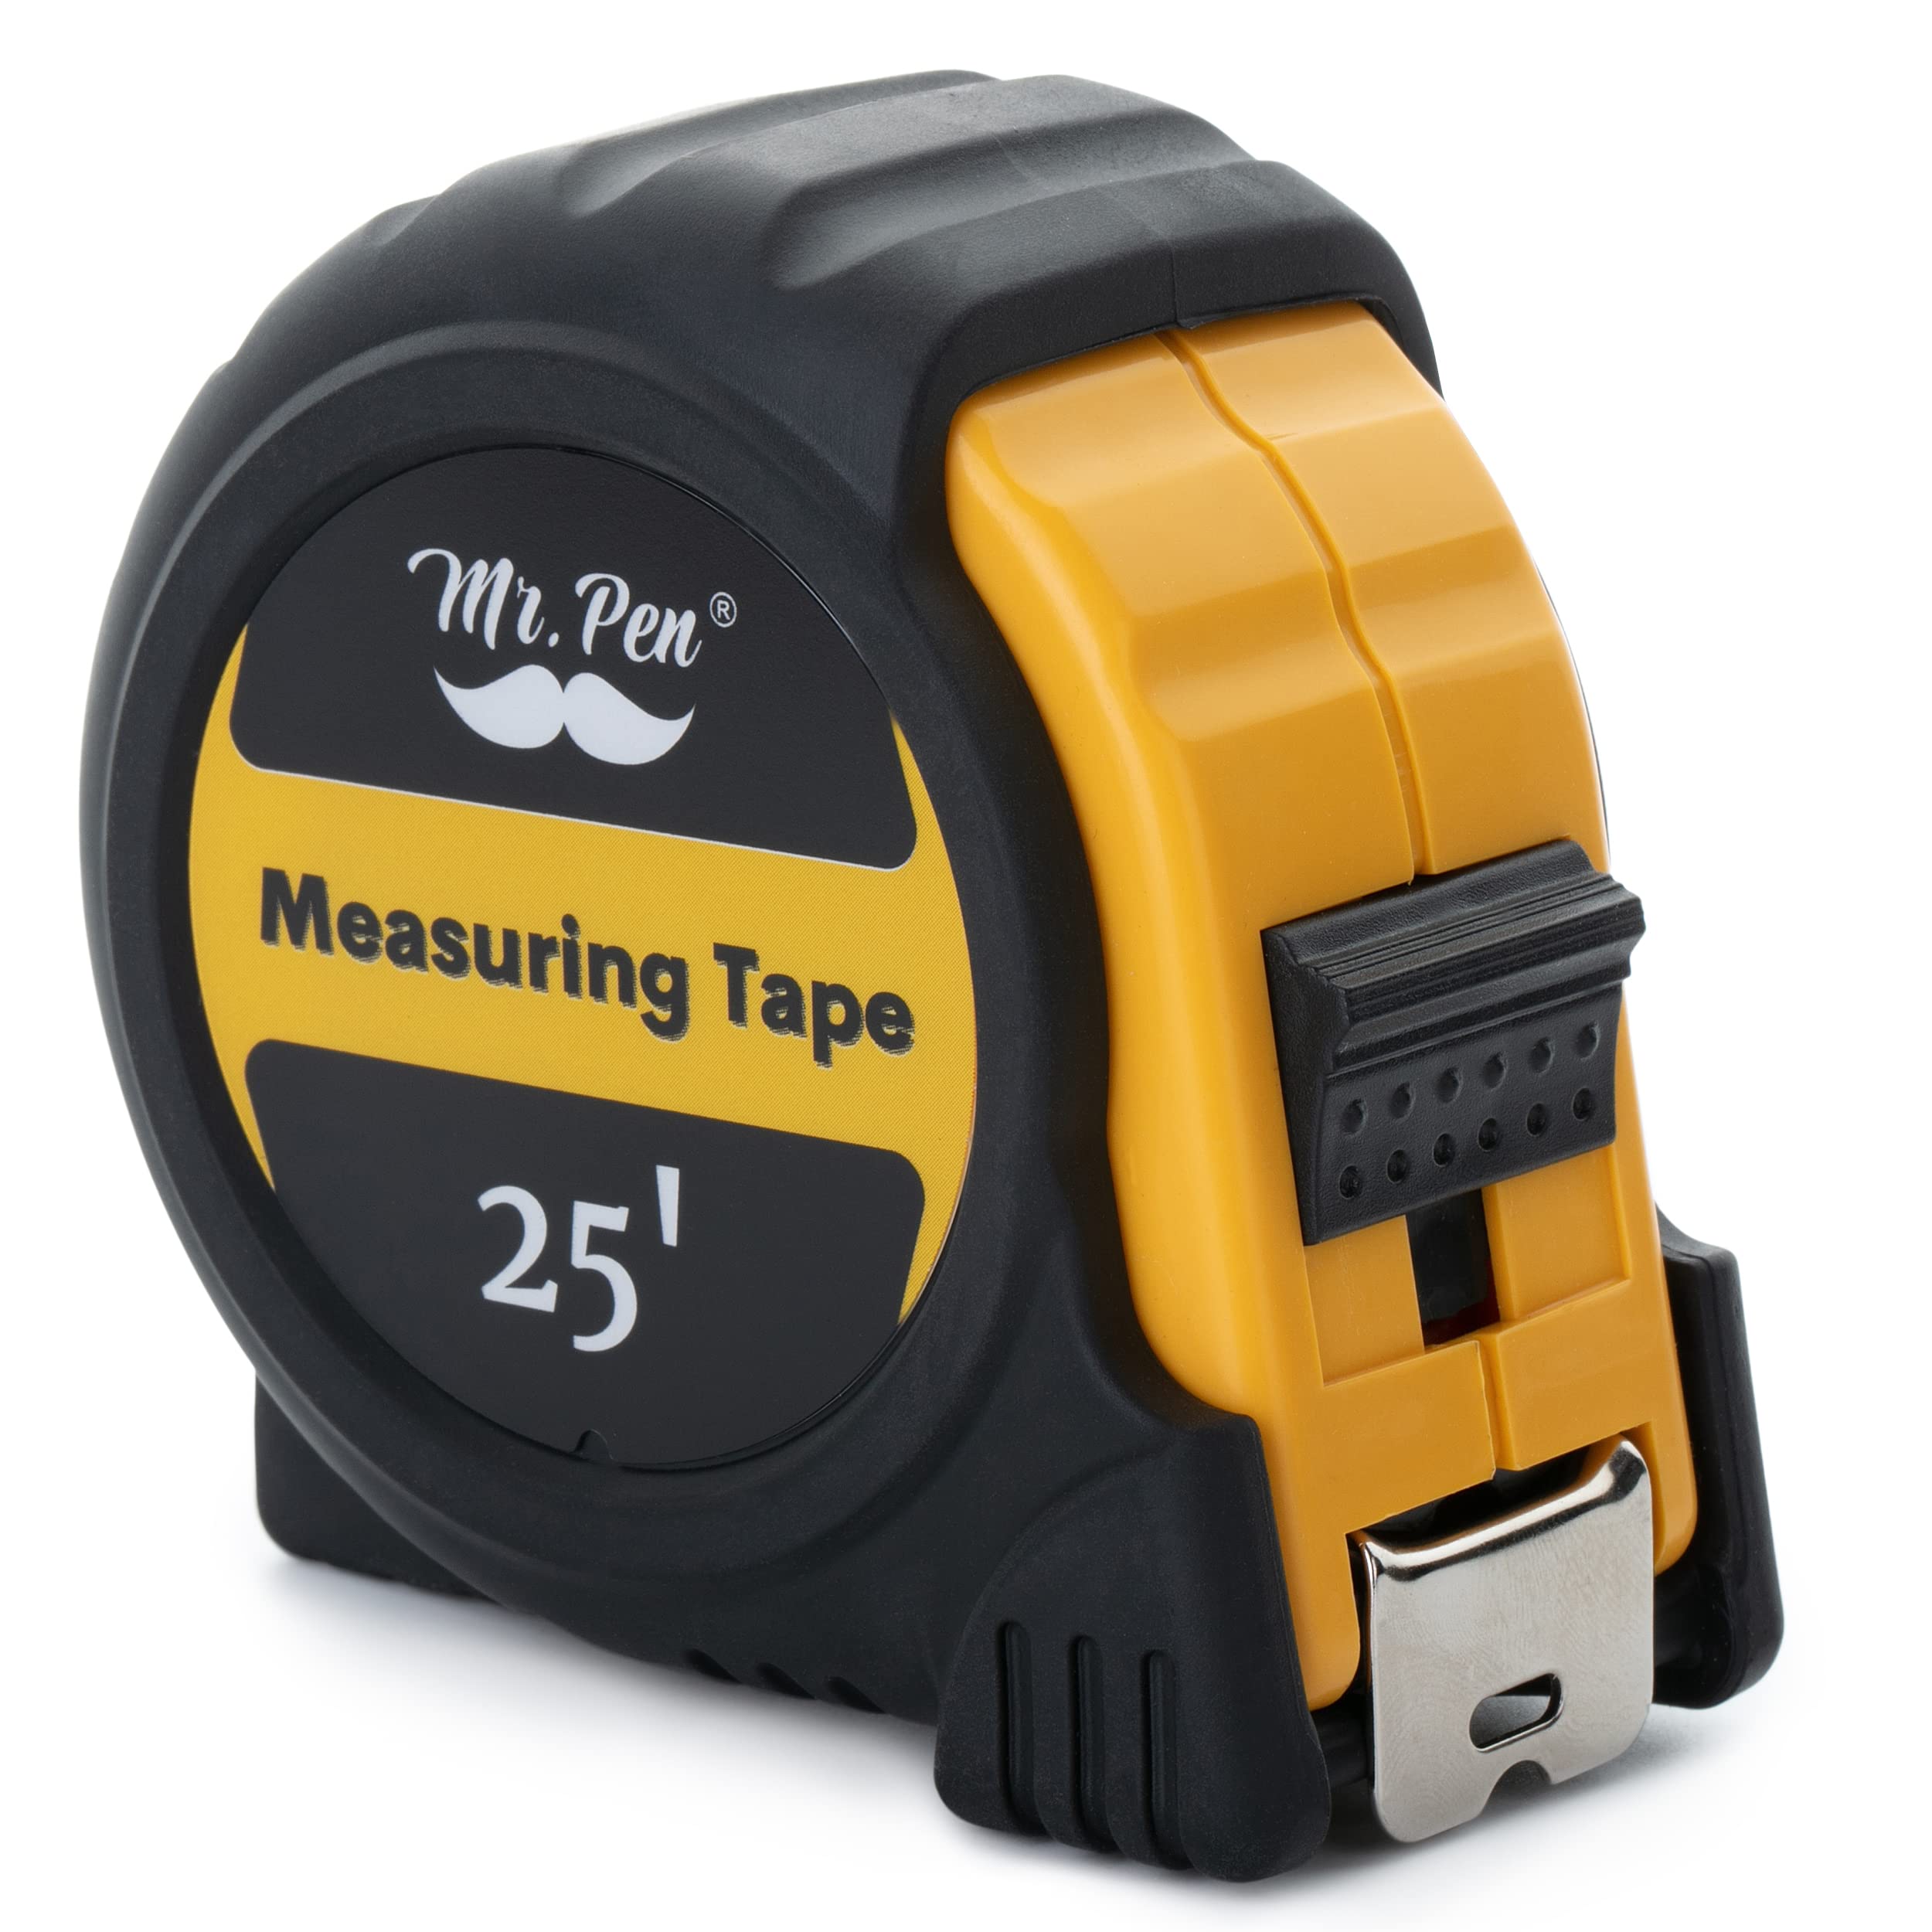
The Housing
The housing, or outer casing, protects the measuring tape inside. Moreover, it usually features a locking mechanism to hold the tape in place when extended, which can be very helpful during measurements.
The Tape Itself
The tape is a long, flexible strip marked with measurements. Notably, it extends from the housing, allowing for easy measurement of various lengths. It typically retracts back into the housing, making it easy to store.
The Scale Markings
Most tape measures have two primary scales: imperial (inches) and metric (centimeters). Understanding how to interpret these scales is crucial for accurate measurements. The tape will usually have smaller increments between the larger whole numbers, offering a wide range of precision.
How to Read Inches on a Tape Measure
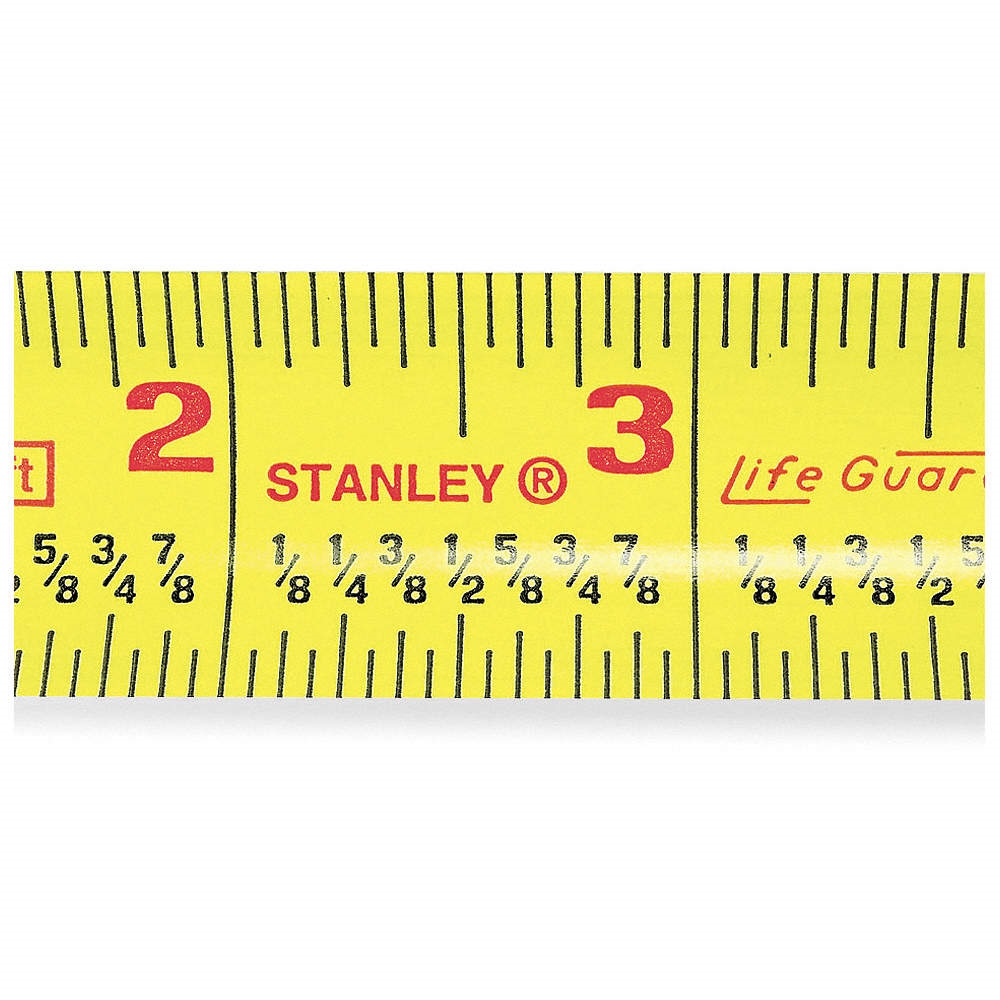
Identifying Whole Inches
In the imperial scale, the larger numbers are whole inches, spaced one inch apart. For instance, if you see the number “3,” that means you are at three inches. These major marks stand out distinctly against the smaller ones.
Recognizing Half Inches
Each whole inch has a corresponding half-inch mark at the middle. If you observe a line exactly between the numbers “2” and “3,” that will indicate 2.5 inches. This clear demarcation allows for better readings when small adjustments are needed.
Understanding Quarter and Eighth Inches
Additionally, there are smaller marks that denote quarter inches (1/4) and eighth inches (1/8). The ability to recognize these subdivisions is particularly important in certain trades, such as woodworking, where precise measurements are vital. For example, a measurement of 1.75 inches is read as 1 inch and three-quarters.
By practicing these readings regularly, you will become more familiar with the scale and find that you read the tape measure faster over time.
 How to Read Centimeters on a Tape Measure
How to read a tape measure? Most tape measures also feature a metric scale for centimeters. Here’s how you can navigate this:
Whole Centimeters
The larger numbers represent whole centimeters. For example, the number “5” indicates 5 centimeters. This system is useful for quick measurements in various contexts, such as fabric or material.
Calculating Millimeters
Each centimeter is subdivided into ten millimeters, usually represented by smaller lines between the centimeter markings. Being aware of these markings allows for more precise measuring in crafts and construction. For instance, if you see the marking between 5 and 6 centimeters, you may identify it as 5.3 centimeters easily if you know how to read the smaller dashes.
Converting Between Scales
It’s vital to understand how to convert from inches to centimeters, and vice versa. For example, 1 inch equals approximately 2.54 centimeters. You should practice converting measurements seamlessly based on project needs.
Practical Measurement Examples
For instance, if you know a piece of furniture is 30 inches wide and you need to convert that measurement for a metric plan, you would calculate: 30 inches * 2.54 cm/inch = 76.2 cm.
This conversion is particularly relevant in different industries where international standards may apply.
Application in Different Fields
Woodworking
In woodworking, precision is paramount. For instance, you may need to measure down to an eighth of an inch or smaller. The fine details are essential to ensure joints fit correctly without gaps. Using a tape measure accurately means understanding the fractions well and double-checking measurements before making cuts or fittings.
Practical Project Example: If you’re building a cabinet, measuring the width to fit into a space is crucial. You would first take the measurement, then note it down both in inches and centimeters. Such diligence prevents miscalculations.
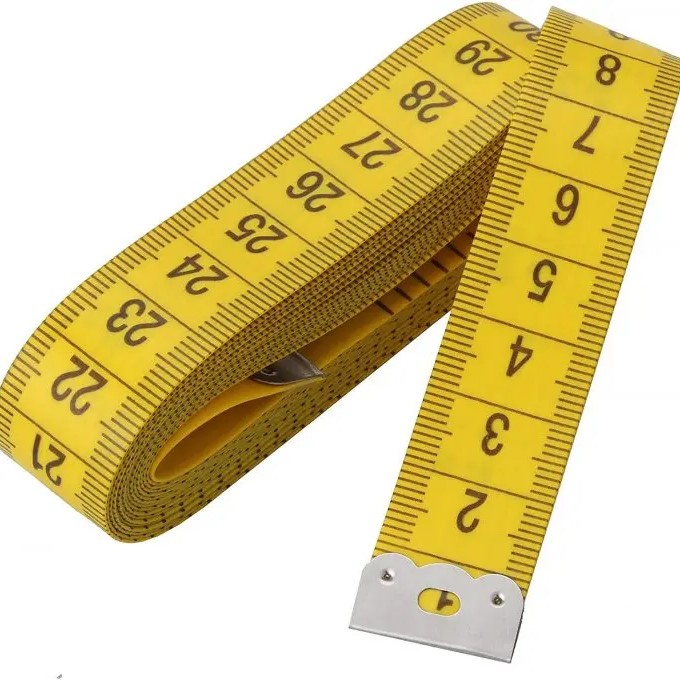
Sewing
In sewing, tape measures often have both metric and imperial markings. Understanding how to convert between inches and centimeters quickly becomes essential, especially when following patterns that may use one measurement system over another. As an example, if your pattern calls for 10 cm and you only have an imperial tape measure, that translates to about 4 inches.
A good practice is to have a chart or digital calculator at hand when using patterns unless you’re confident in your conversions.
Construction
When engaged in construction, tape measures become even more prominent, especially for framing walls or laying foundations. In construction, one might measure in feet and inches for larger frameworks. Knowing how to read both feet (12 inches = 1 foot) and converting that into meters (where 1 meter equals about 3.28 feet) ensures that builders can communicate measurements effectively, regardless of what unit is being used.
 Tips to Avoid Measurement Errors
While measuring, mistakes can easily occur. Here are common issues and how to avoid them:
Parallax Errors
These occur when your eye position isn’t directly over the marking. For example, if you look at the scale from an angle, your reading might be off. To avoid this, always align your eye with the measurement line. Stand directly above your measuring point instead of off to the side.
Misreading Scales
Sometimes, it’s easy to misinterpret a marking, especially when switching between fractions. For example, confusing 1/2 inch with 3/4 inch can lead to significant errors. A solution is to slow down and verify each marking clearly! If necessary, use your finger to mark the spot you’re measuring to keep track of your focus.
Forgetting to Zero
Always remember to pull the tape measure taut and ensure it starts exactly at zero. If you start your measurement from a point other than zero, this could lead to inaccuracies. Tip: Always check that both the end of the tape is against the item being measured and the start is at the zero mark.
Calculating Common Measurement Mistakes
Scenario: You measured a wall and noted it down as 100 inches long, but forgot to account for the thickness of the tape housing, which added an extra 1/2 inch. As a result, your measurements for fittings or installations will be incorrect. To avoid such an error, always ensure your tape measure is pressed flat against the object you’re measuring.
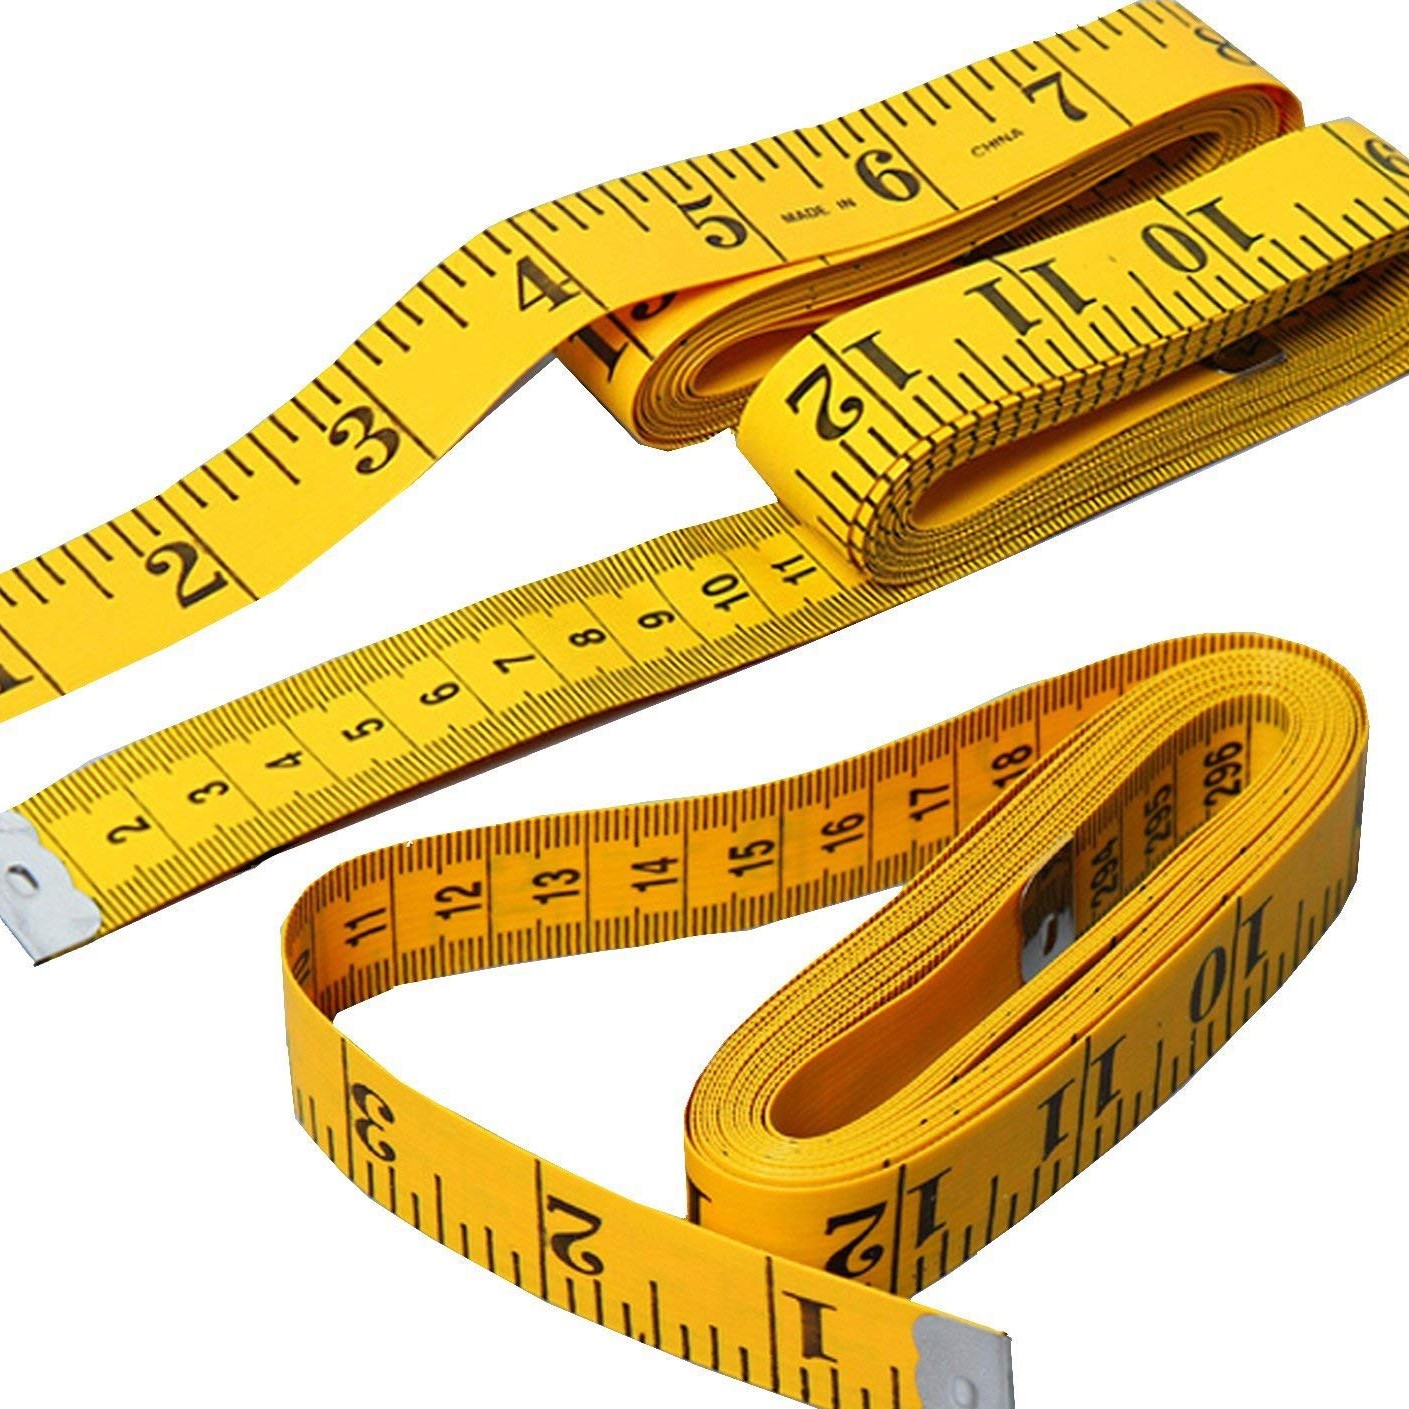
Taking Care When Measuring Angles or Curves
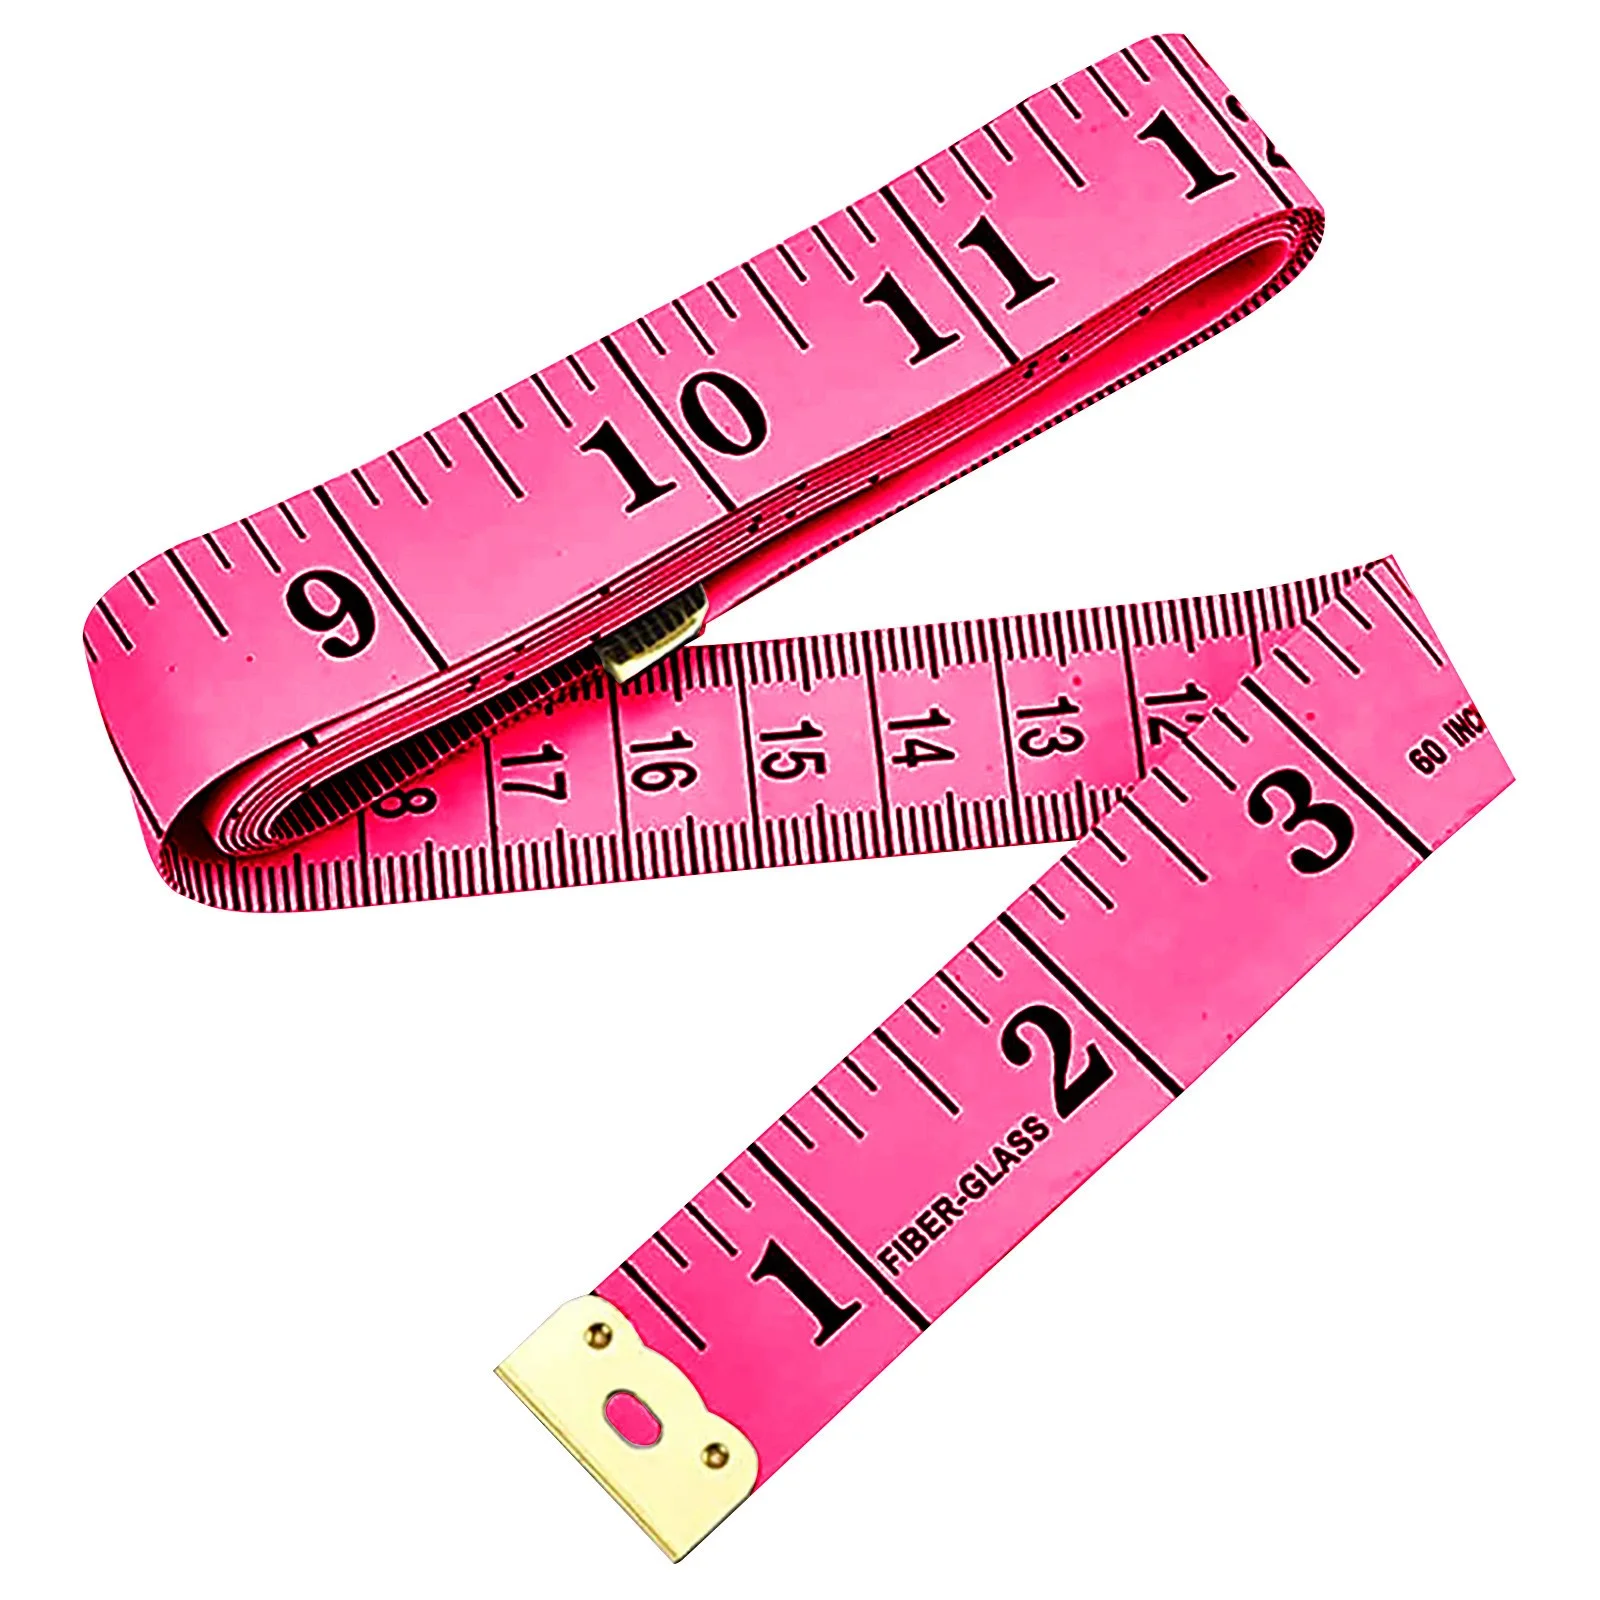
When measuring around corners or curves of an object, ensure that the tape follows the contour accurately. If the tape measure is bent or angled disproportionately, it can affect the accuracy. To mitigate this, consider using a flexible measuring tape that can conform better to curves, particularly useful in tailoring projects.
Comparison of Imperial and Metric Scales
The imperial and metric systems serve different needs, and understanding when to use each is key:
Scale Characteristics
- Imperial Measurements use inches and feet, where 12 inches = 1 foot, which allows for larger increments but can be less precise when finer measurements are required.
- Metric Measurements employ centimeters and meters, where 100 centimeters = 1 meter, providing a more standardized approach to measurement that can often feel more intuitive for many users.
Conversion Tips
To transition smoothly between the two systems, keep these conversion tips in mind:
- For quick conversions: Remember that 1 inch equals approximately 2.54 centimeters. Keep this conversion handy while working on DIY tasks.
- Visual Aids: Consider creating a small chart with common conversions that you can keep in your workspace as a reference. Such a visible reminder can act as a prompt to reinforce quick conversions.
Common Conversions to Know
Here’s a handy reference for common conversions:
- 1 inch = 2.54 cm
- 2 inches = 5.08 cm
- 3 inches = 7.62 cm
- 1 foot = 30.48 cm
- 1 meter = 39.37 inches
By maintaining a list of frequent conversions, you can quickly adapt to either system when measuring different projects.
 Practical Measurement Scenarios
Applying these methods in real life can solidify your understanding. Here are a few scenarios:
- Measuring furniture dimensions for your home can help in planning layouts. For example, if you’re really interested in a sectional sofa that is given in metric dimensions, you can use your tape measure and conversion charts to get the correct length in inches to see how much space it would take in your living area.
- Crafting projects often require switching between measurement systems, especially when using overseas patterns. Some craft kits may only list dimensions in cm while the tools or threads you have on hand are in inches.
A tangible project where this knowledge applies could be sewing curtains. You might see a pattern calling for 1.5 meters of fabric. Being able to convert that to inches quickly (1.5 meters = 59 inches) will help you purchase the correct amount of fabric.
Conclusion: Mastering the Art of Reading a Tape Measure
In conclusion, knowing how to read a tape measure is critical for successful projects in various fields—boasting utility in woodworking, sewing, construction, and home improvement. Ultimately, we discussed the basic structure, how to read both imperial and metric scales, the specific applications depending on the trade, and essential tips to avoid common errors in measurement.
With the knowledge shared in this guide, you can confidently face any measuring task before you. Remember, practice makes perfect! As you use your tape measure in real-life scenarios, these skills will become second nature, ensuring your projects are accurate and successful. So, equip yourself with this knowledge and measure with confidence!