Wood Planer: The Essential Tool for Smooth Woodworking
Contents
hide
Introduction to Wood Planers
Wood planers play a crucial role in woodworking projects. These powerful tools transform rough lumber into smooth, flat surfaces. Woodworkers rely on planers to achieve precise thickness and create even boards. The planer’s ability to quickly remove material makes it indispensable in both professional workshops and home garages. By understanding how wood planers work, craftsmen can elevate their projects to new levels of quality and precision. This blog post will explore the various aspects of wood planers, their types, uses, and maintenance. Additionally, it will provide insights into selecting the right planer for specific needs and offer tips for achieving the best results. Whether you’re a seasoned woodworker or a beginner, mastering the use of a wood planer will undoubtedly enhance your craftsmanship and expand your creative possibilities.
Types of Wood Planers
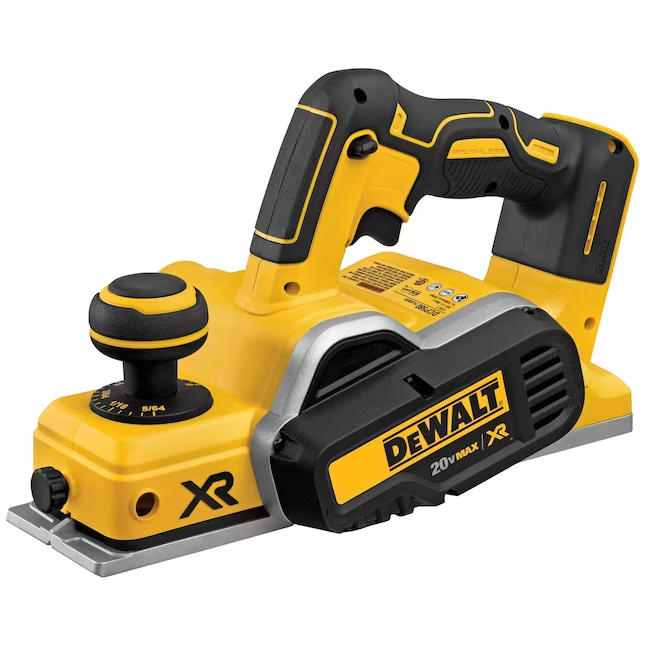
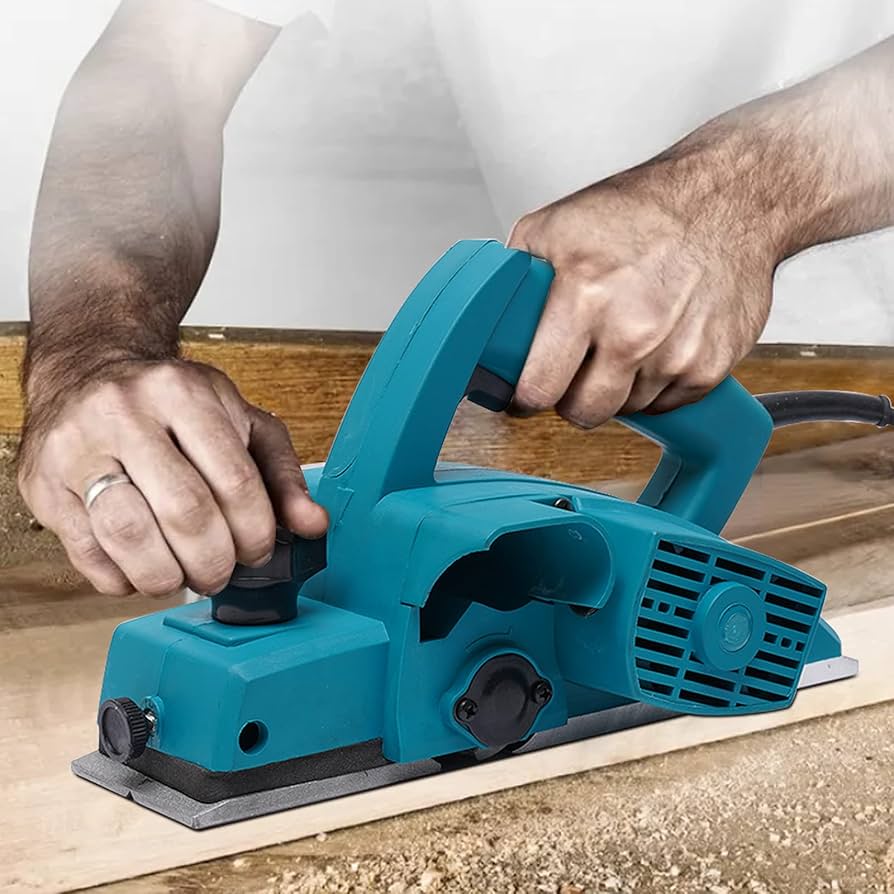
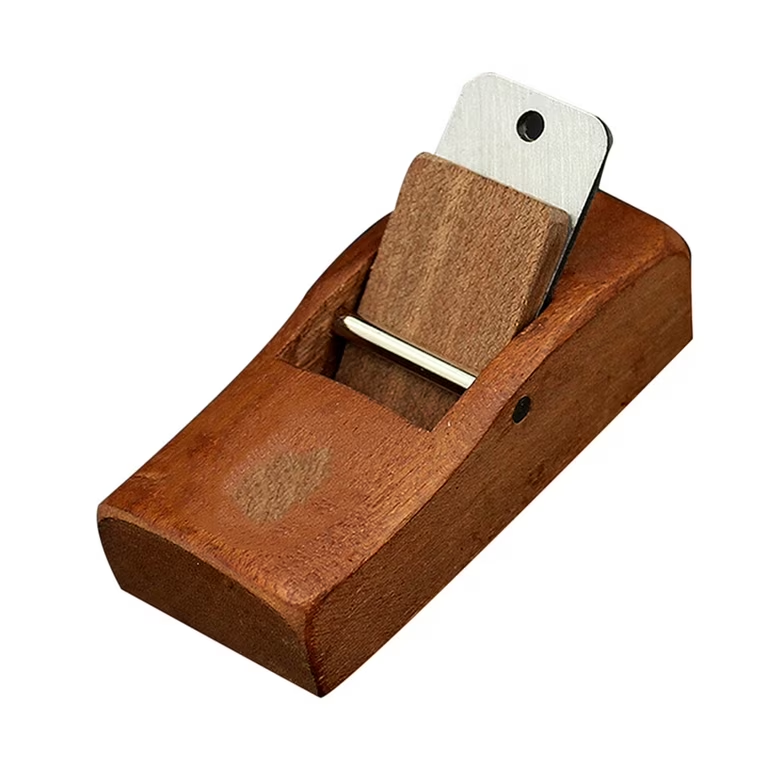
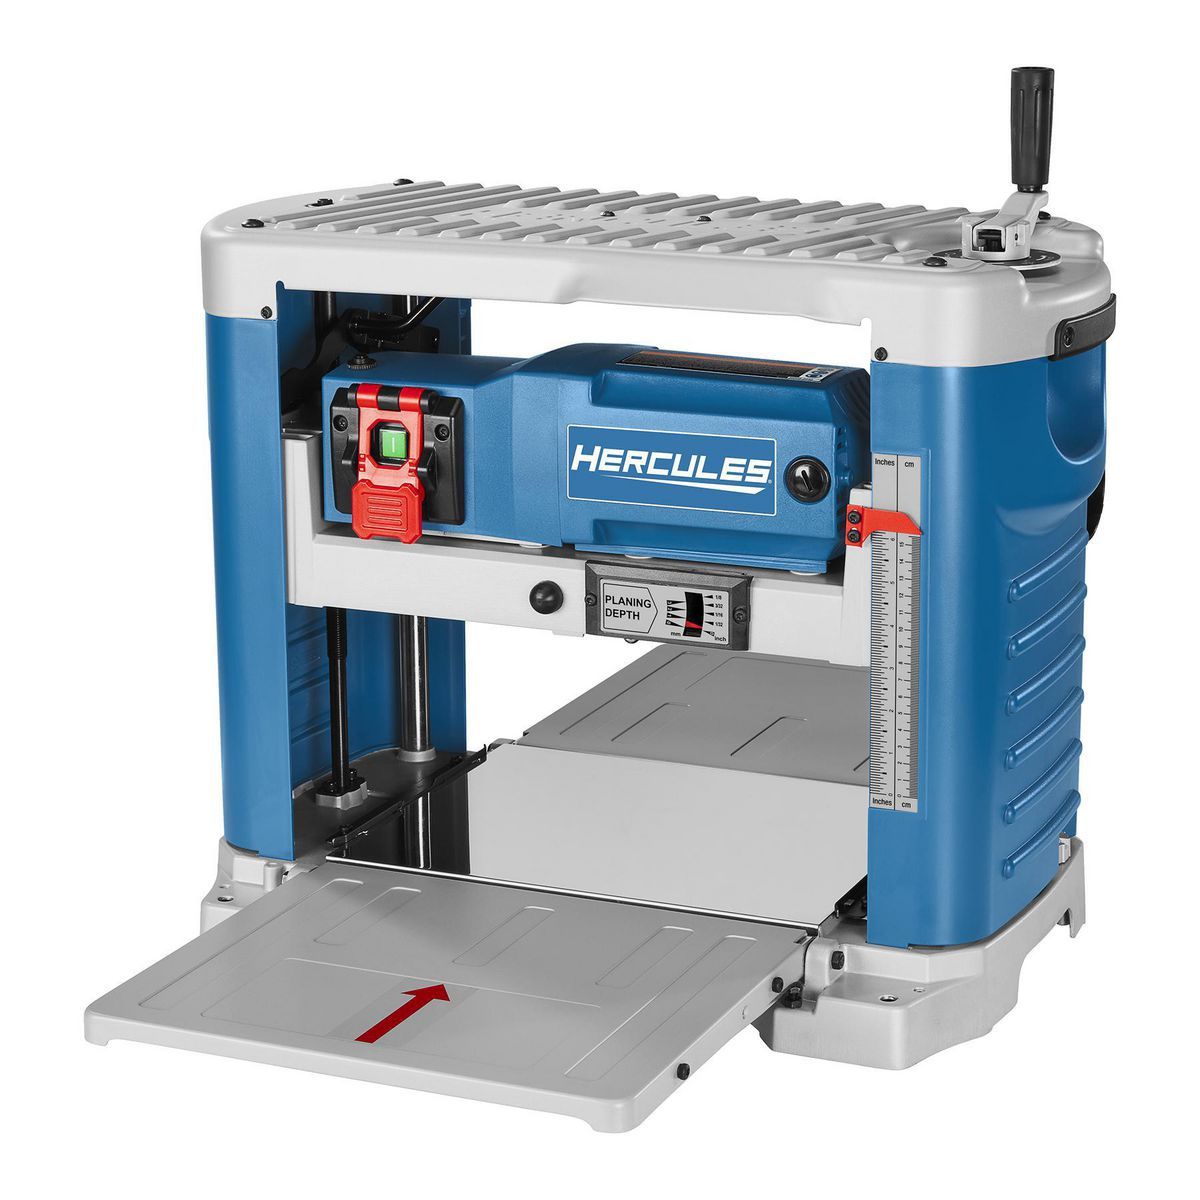
Wood planers come in several varieties, each designed for specific tasks and project scales. The most common types include benchtop planers, stationary planers, and hand planers. Benchtop planers offer portability and convenience, making them ideal for small to medium-sized workshops. These compact machines can handle boards up to 12-13 inches wide and are perfect for hobbyists and DIY enthusiasts. On the other hand, stationary planers provide more power and capacity, suitable for professional woodworking shops.
They can process wider boards and handle larger volumes of work. Hand planers, while less common in modern woodworking, still have their place in fine detail work and restoration projects. Electric hand planers combine the precision of manual tools with the convenience of power tools. Each type of planer has its strengths and limitations, and choosing the right one depends on the specific needs of the woodworker. Factors such as project size, frequency of use, and available space play crucial roles in determining the most suitable planer.
How Wood Planers Work
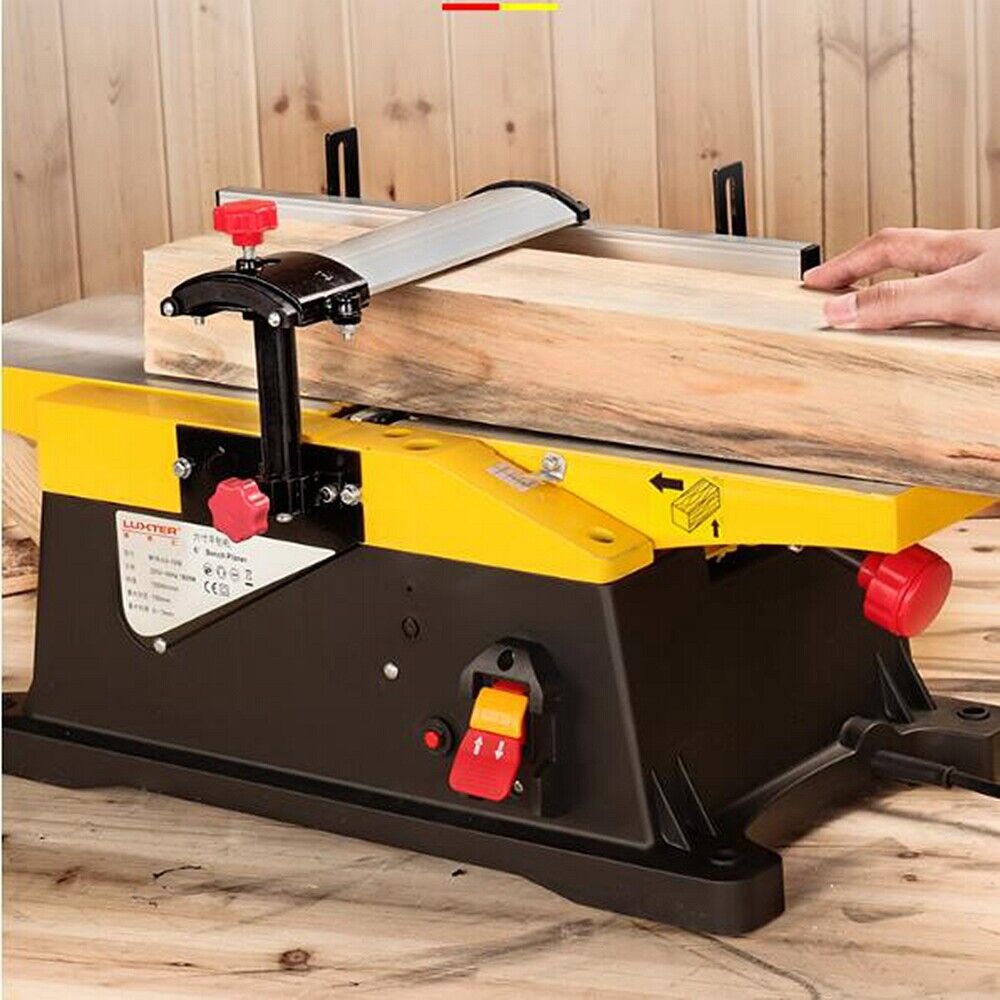
Wood planers operate on a simple yet effective principle. The machine feeds a board through a set of rollers, passing it under a rapidly spinning cutterhead. This cutterhead houses sharp blades or knives that shave off a thin layer of wood from the surface. As the board moves through the planer, it emerges with a smooth, even surface on one side. The depth of cut can be adjusted, allowing for precise control over the final thickness of the board. Most planers also feature adjustable feed rates, which determine how quickly the wood passes through the machine.
Slower feed rates generally produce smoother finishes but take longer, while faster rates increase productivity at the cost of some surface quality. The planer’s ability to create parallel surfaces is crucial for many woodworking projects. By running a board through the planer multiple times, flipping it over between passes, woodworkers can achieve boards with perfectly parallel faces and consistent thickness throughout. This precision is essential for creating furniture, cabinetry, and other projects that require exact dimensions and smooth surfaces.
Benefits of Using a Wood Planer
Wood planers offer numerous advantages to woodworkers of all skill levels. Firstly, they save significant time and effort compared to manual planing methods. What might take hours by hand can be accomplished in minutes with a power planer. This efficiency allows craftsmen to take on larger projects and meet tighter deadlines. Secondly, planers ensure consistency across multiple boards, which is crucial for projects requiring matching pieces. They also enable woodworkers to rescue old or warped lumber, giving new life to materials that might otherwise be discarded.
By planing rough-sawn lumber, craftsmen can save money on expensive pre-milled boards while gaining more control over their materials. Additionally, planers open up creative possibilities by allowing woodworkers to create custom thicknesses not readily available in stores. This flexibility is particularly valuable for specialized projects or when working with exotic woods. The smooth surfaces produced by planers also reduce the need for extensive sanding, further streamlining the woodworking process. Overall, incorporating a wood planer into a workshop can significantly enhance productivity, precision, and the quality of finished projects.
Selecting the Right Wood Planer
Choosing the appropriate wood planer requires careful consideration of several factors. Budget often plays a primary role, as planers can range from affordable benchtop models to high-end industrial machines. However, it’s essential to balance cost with the planer’s capabilities and the woodworker’s needs. Consider the types of projects typically undertaken and the size of the lumber usually worked with. For occasional use on smaller projects, a benchtop planer might suffice. However, for frequent use or larger boards, a more robust stationary planer could be a better investment.
Pay attention to the maximum width and depth of cut the planer can handle, as this will determine the size of boards it can process. The motor power is another crucial factor, especially when working with hardwoods or taking deeper cuts. Look for features like adjustable feed rates, dust collection ports, and ease of blade replacement. Some planers come with built-in tables for better support of long boards, while others may require separate infeed and outfeed tables. Read reviews and seek recommendations from experienced woodworkers to gain insights into the reliability and performance of different models. By carefully evaluating these factors, woodworkers can select a planer that will serve their needs effectively for years to come.
Preparing Wood for Planing
Proper preparation of wood before planing is crucial for achieving the best results. Start by inspecting each board for any metal objects like nails or screws, which can damage the planer’s blades. Use a metal detector if necessary to ensure all hardware has been removed. Next, clean the boards to remove dirt, sand, or other debris that could dull the planer’s blades. For very rough or dirty lumber, a quick pass with a wire brush can be helpful. Consider the grain direction of the wood, as planing against the grain can cause tear-out and rough surfaces.
Mark the grain direction on each board to ensure consistent feeding through the planer. If working with lumber that has been recently cut or is still “green,” allow it to dry properly before planing to prevent warping or other issues. For boards with severe cups or twists, consider using a jointer to flatten one face before running them through the planer. This step helps create a stable reference surface for the planer to work with. Lastly, organize the boards by thickness and species to streamline the planing process and minimize the need for frequent machine adjustments. By taking these preparatory steps, woodworkers can ensure smoother operation of their planer and achieve better results in their projects.
Techniques for Effective Planing
Mastering proper planing techniques enhances the quality of work and extends the life of the planer. Begin by setting the correct depth of cut. For most woods, taking off 1/16 inch or less per pass produces the best results. Harder woods or wider boards may require even shallower cuts to prevent overloading the motor. Always start with the highest point of the board to ensure even planing across the entire surface. Feed the wood into the planer at a steady pace, allowing the machine to do the work without forcing it. Listen to the motor; if it sounds strained, reduce the depth of cut or slow the feed rate.
For boards wider than the planer’s capacity, plane one side, then flip and rotate the board to plane the other side. This technique, known as “skip planing,” ensures even thickness across the entire width. When working with figured or difficult-to-plane woods, try using a higher feed rate to reduce tear-out. Alternatively, wetting the surface slightly can sometimes help with problematic grain. Always plane with the grain direction to achieve the smoothest surface possible. For very long boards, use roller stands or have an assistant support the wood to prevent sagging, which can result in uneven planing. By employing these techniques, woodworkers can achieve consistently smooth and accurately dimensioned boards, setting the foundation for high-quality projects.
Maintenance and Care of Wood Planers
Regular maintenance keeps wood planer performing at their best and extends their lifespan. Start by keeping the machine clean. After each use, remove sawdust and debris from all surfaces, paying special attention to the cutterhead and feed rollers. Use compressed air or a shop vacuum to clean hard-to-reach areas. Regularly check and tighten all bolts and screws, as vibration can cause them to loosen over time. Lubricate moving parts according to the manufacturer’s recommendations to ensure smooth operation. The planer’s knives or blades require particular attention. Dull blades not only produce poor results but can also strain the motor.
Learn to recognize signs of wear, such as increased noise during operation or rough surfaces on planed boards. Sharpen or replace blades as needed, following the machine’s manual for proper procedure. Some planers feature reversible blades, which can be flipped to expose a fresh cutting edge before replacement is necessary. Keep spare blades on hand to minimize downtime. Regularly inspect and clean the dust collection system to maintain efficient chip removal. For benchtop planers, consider occasionally waxing the bed to reduce friction and improve wood feeding. Store the planer in a dry environment and cover it when not in use to protect it from dust and moisture. By implementing a regular maintenance routine, woodworkers can ensure their planer remains a reliable tool for years to come.
Troubleshooting Common Planing Issues
Even with proper techniques and maintenance, planing issues can occasionally arise. One common problem is snipe, where the ends of boards are planed slightly deeper than the rest. To minimize snipe, use infeed and outfeed tables to support the wood, or slightly lift the board’s ends as they enter and exit the planer. Tear-out, where chunks of wood are ripped from the surface, often occurs when planing against the grain or with dull blades. Combat this by taking lighter passes, using a higher feed rate, or in severe cases, applying a sealer to the problem areas before planing. Uneven planing might result from worn or improperly adjusted feed rollers.
Check the roller pressure and adjust if necessary. Chatter marks, appearing as regular ripples across the board’s surface, can be caused by vibration or improper blade installation. Ensure all components are tight and correctly aligned. If boards are coming out with a rough or fuzzy surface, the blades likely need sharpening or replacement. For planers that struggle to feed wood smoothly, clean the feed rollers and bed, and consider applying a dry lubricant to reduce friction. When troubleshooting, always consult the user manual for model-specific guidance. If problems persist, don’t hesitate to seek advice from experienced woodworkers or the manufacturer’s customer support. By understanding and addressing these common issues, woodworkers can maintain the quality of their work and the longevity of their planer.
Advanced Planing Techniques and Applications
As woodworkers gain experience with their planers, they can explore advanced techniques to expand their capabilities. One such technique is taper cutting, where boards are planed to a gradual thickness change along their length. This is useful for creating tapered legs or custom moldings. Another advanced application is figure-matching, where multiple boards are planed to create a continuous grain pattern across a wider surface. This technique is often used in high-end furniture making. Some woodworkers use their planers for timber framing, creating large, precisely dimensioned beams for structural projects.
Planers can also be used to create custom veneer by repeatedly planing thin sheets from a larger block of wood. For woodturners, planers offer a way to quickly create blanks of consistent thickness. In instrument making, planers play a crucial role in achieving the precise dimensions required for soundboards and other components. Some craftsmen use planers in conjunction with jigs to create curved or shaped pieces, expanding the tool’s versatility beyond simple flat surfaces. By mastering these advanced techniques, woodworkers can tackle more complex projects and push the boundaries of their craftsmanship. As with all woodworking skills, practice and experimentation are key to developing proficiency in these advanced planing applications.
Conclusion: The Impact of Wood Planers on Woodworking
Wood planers have revolutionized the woodworking industry, transforming how craftsmen approach their projects. These machines have made it possible to achieve levels of precision and efficiency that were once unattainable by hand tools alone. By enabling woodworkers to quickly and accurately dimension lumber, planers have opened up new possibilities in design and construction. They allow for the use of rough-sawn lumber, giving craftsmen more control over their materials and often resulting in cost savings. The consistency provided by planers has elevated the overall quality of woodworking projects, from fine furniture to large-scale construction.
As technology advances, wood planer continue to evolve, incorporating features like digital readouts and automated adjustments. These improvements make the tools more accessible to hobbyists while offering professionals even greater control and efficiency. The impact of wood planers extends beyond individual workshops, influencing the broader woodworking community and industry. They have become an essential part of woodworking education, teaching students the importance of precision and material preparation. As woodworkers continue to push the boundaries of their craft, wood planers will undoubtedly play a crucial role in shaping the future of woodworking.