Expert Tips on Sharpening Your Garden Tools
Contents
hide
The Importance of Sharpening Garden Tools
Maintaining sharp garden tools is essential for several reasons. How to sharpen garden tools?Firstly, sharp tools make gardening tasks easier and more efficient, reducing the time and effort needed to cut and trim plants. Dull blades can make clean cuts difficult and may damage plants, which can lead to disease and decay.
Secondly, using sharp tools is safer. Blunt tools require more force, increasing the risk of slips and injuries. A sharp tool, in contrast, is more predictable and requires less force, minimizing the risk of accidents.
Thirdly, well-maintained tools can last longer. Regular sharpening prevents wear and tear, extending the lifespan of your gardening equipment. This not only saves money in the long run but also ensures that the tools remain effective for their intended use.
Inherited tools carry a sentimental value. Sharpening and maintaining these tools honors the legacy of previous generations and allows for the possibility of passing them on to the next.
Finally, remembering to regularly sharpen garden tools can improve the health of your garden. Clean and precise cuts help plants heal faster and remain healthy. This practice contributes to a more vibrant and flourishing garden that any gardener can take pride in.
In summary, the importance of sharpening garden tools cannot be understated. It ensures efficiency, safety, longevity, plant health, and the preservation of valuable equipment.
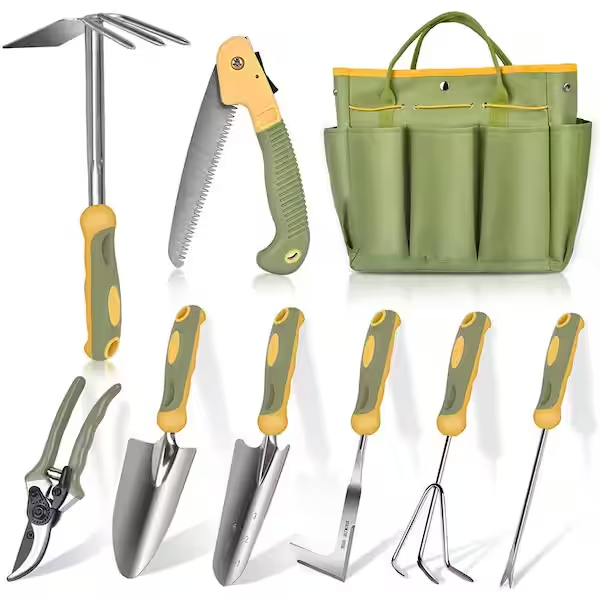
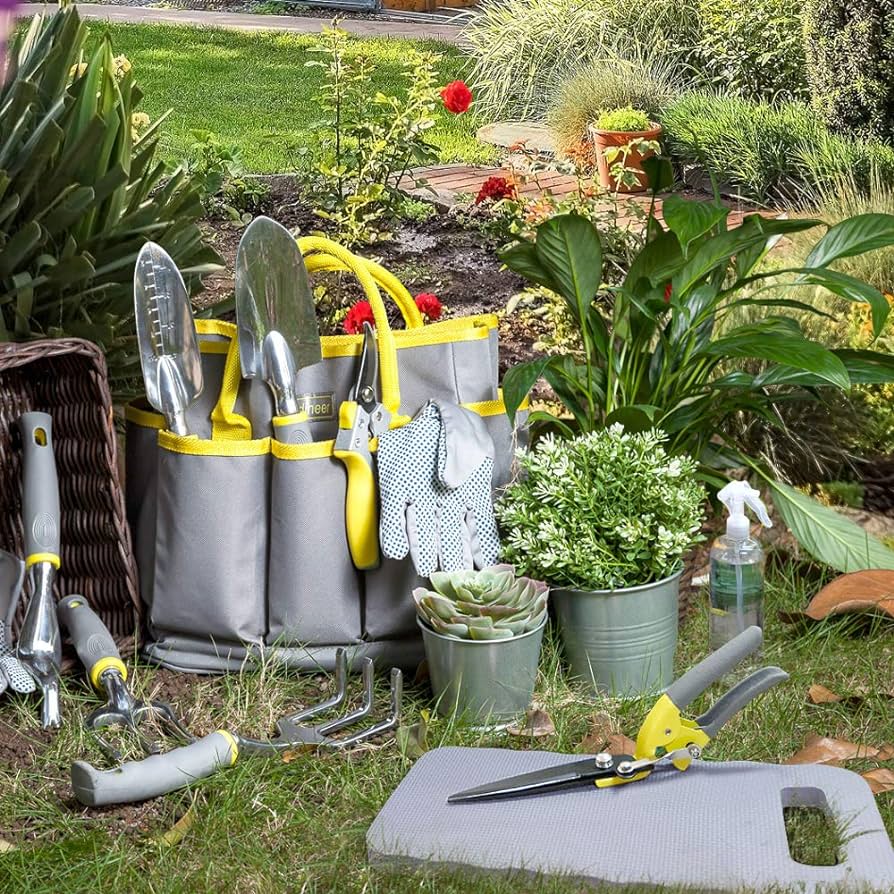
Essential Tools for Sharpening Garden Equipment
Having the right tools at hand is the first step in ensuring your garden equipment is properly sharpened. The essentials include a flat file or a whetstone for sharpening blades, safety gloves to protect your hands, and multi-purpose spray lubricant for cleaning and protecting your tools against rust. Additionally, fine-grit sandpaper is useful for smoothing any imperfections after sharpening, and a cleaning cloth helps in wiping away debris. Clamps or vices are also necessary to keep tools stable while you work.
Here’s a quick rundown:
- Flat file or whetstone: Used for sharpening the edges.
- Safety gloves: Mandatory to protect your hands during the process.
- Spray lubricant: Helps clean and prevent rust on metal parts.
- Fine-grit sandpaper: Smooths out the edges post sharpening.
- Cleaning cloth: For removing metal filings and debris.
- Clamps or vices: To hold tools securely as you sharpen.
Remember, using a whetstone requires practice, but it is highly effective for a variety of blades. Whether you are tending to secateurs, loppers, or even kitchen knives, mastering the whetstone can provide excellent results. On the other hand, a flat file is user-friendly and more suitable for beginners. Always prioritize your safety by wearing gloves and following the correct sharpening techniques for each tool. Keeping these tools in good condition will make your garden work more enjoyable and efficient.
Step-by-Step Guide to Sharpening Secateurs and Loppers
Sharpening secateurs and loppers is a straightforward process, but safety is key. Here’s how you can get your cutting tools in top shape.
- Gather Your Tools: Assemble a flat file or whetstone, spray lubricant, sandpaper, cleaning cloth, and safety gloves.
- Clean the Blades: Remove all dirt and residue with a brush or cloth. Cleaning prepares the tool for sharpening.
- Find the Bevel: Identify the angled side of the blade, known as the bevel. This is the side that you’ll sharpen.
- Fix the Tool Securely: Clamp the tool or use a vice so it doesn’t move. Safety comes first!
- Sharpening with a Flat File: Press the file against the bevel and stroke smoothly along the blade. Do not sharpen the flat side.
- Whetstone Technique: Apply oil to the whetstone for secateurs. Move the bevel in a sweeping arc, keeping the angle.
- Check Sharpness: Test the blade edge gently with your finger. It should feel sharp to the touch.
- Remove Burrs: Finish the edge by smoothing it with sandpaper. This step ensures a clean cut.
- Clean and Lubricate: After sharpening, clean the blade. Apply lubricant to prevent rust.
- Test the Tool: Cut a small branch to check sharpness. The blades should make a clean cut.
By following these steps, your secateurs and loppers will cut cleanly and efficiently, making your gardening jobs easier and more enjoyable.
Techniques for Sharpening Digging Tools like Spades and Shovels
Sharpening spades and shovels boosts digging performance. It also makes the task easier and more pleasant.
Here are steps to sharpen your digging tools effectively:
- Gather Your Sharpening Tools: You need a flat metal file or a bench grinder. Also, get safety gear and lubricant.
- Wear Protection: Eye goggles and gloves are vital. They protect against metal debris and sharp edges.
- Clean the Blade: Remove built-up grime with a wire brush or steel wool. A clean blade reveals nicks needing attention.
- Inspect for Damage: Look for nicks and dull spots. You’ll fix these as you sharpen.
- Smooth Out Damage: Use your file or grinder on big nicks. Secure your tool on a workbench.
- Sharpen Edges: File the tool’s edge by following its original angle. Go from the blade’s base to the tip.
- Check Sharpness: Lightly run a finger across the edge. Be careful! A sharp blade will feel smooth.
- Handle Burrs: Use fine sandpaper to refine the edge once sharp. This ensures a clean cut.
- Clean and Protect: Wipe metal filings off the blade. Spray lubricant to prevent rust.
Take your time and work safely. The goal is to have a sharp tool that boosts work efficiency.
The Right Way to Sharpen Lawn Mower Blades
To get a lawn with a perfect cut, sharp mower blades are a must. Dull blades tear grass, causing damage and impeding recovery. Sharp blades, on the other hand, ensure a clean cut. Here’s how to sharpen lawn mower blades properly.
- Disconnect Power Source: Safety first. For gas mowers, remove the spark plug wire; for electric, take out the battery.
- Remove Blade: Turn the mower so you can reach the blade. Use a wrench to take off the bolt or nut.
- Clean the Blade: Before sharpening, brush off dirt and grime. A clean blade is easier to inspect and sharpen.
- Secure Blade for Sharpening: Lock the blade in a vice. It must not move to prevent accidents.
- File or Grind the Blade: Follow the blade’s angle with a file or grinder. Keep strokes even and don’t overheat the blade.
- Check Blade Balance: Hang the blade on a nail. Make sure it doesn’t tilt; if it does, remove metal from the heavier side.
- Re-attach Blade: Put the blade back on. Make sure you fasten it securely before using the mower again.
These steps will give you a lawn that looks professionally cared for. Remember to always follow safety precautions and take your time for the best results.
How to Maintain and Sharpen Wooden Handled Tools
Wooden handled tools need regular care to stay in good condition. Here’s what you need to do:
- Clean the Handle: Use a damp cloth to remove any dirt. Ensure the handle is dry before the next step.
- Sand the Handle: With medium to fine sandpaper, sand the handle. Always move in the direction of the wood grain.
- Wipe Off Dust: After sanding, remove the dust with a clean cloth.
- Oil the Handle: Apply linseed oil with a rag. Cover the handle evenly with a thin layer. Let it soak in.
- Wipe Excess Oil: After 15-20 minutes, use a clean cloth to rub off any extra oil.
- Dry the Handle: Let the handle dry completely. This may take a few hours.
- Repeat Occasionally: Re-oil the handle when needed to keep it in top shape.
These steps will protect the handle from splinters and cracks. They also make it more comfortable to use.
Tips for Safely Sharpening Garden Tools at Home
When sharpening garden tools at home, safety should be your top priority. Here are key tips to keep in mind:
- Wear Protective Gear: Always put on safety gloves and eyewear.
- Secure Tools Firmly: Use clamps or vices to hold tools steady.
- Work in a Well-Lit Area: Make sure your workspace is brightly lit.
- Keep Children and Pets Away: Ensure they are not in the sharpening area.
- Use the Right Equipment: Choose a flat file or whetstone based on the tool.
- Sharpen Away from Your Body: Move the file or stone away from you as you sharpen.
- Check Tools for Damage: Inspect tools for wear before you sharpen them.
- Maintain the Correct Angle: Keep the same angle as the tool’s original edge.
- Don’t Rush: Take your time to avoid mistakes and injuries.
- Store Sharpeners Safely: After use, put sharpening tools in a secure place.
By following these safety tips, you can sharpen your garden tools effectively and without harm.
Preserving Your Sharpened Tools: Cleaning and Lubrication Methods
After sharpening your garden tools, it’s vital to clean and lubricate them. This ensures they stay in good condition and last longer. Here’s an easy guide to maintaining your tools post-sharpening.
- Wipe Tools Clean: Use a clean cloth to remove metal filings and debris from all surfaces.
- Inspect for Rust: Look for any signs of rust or corrosion. Tackle these areas first.
- Apply Lubricant: Spray a light layer of multi-purpose lubricant on pivot points and blades.
- Use Sandpaper: For stubborn rust, gently rub with fine-grit sandpaper until smooth.
- Oil Moving Parts: Add a few drops of oil on hinges and springs for smooth action.
- Dry Completely: Ensure tools are dry to avoid moisture that can lead to rust.
- Store Properly: Keep your sharpened tools in a dry place, away from harsh weather.
- Regular Checks: Periodically inspect tools for sharpness, rust, and needed cleaning.
By keeping these steps in mind, your garden tools will retain their sharpness and function at their best. Always handle tools with care, even after maintenance. Keep them stored safely and in a place easy to reach for whenever you need them next.